One of the most frequently asked questions I get is something along the lines of, “How can I dye fabric with natural dyes and get more even colours?”
The truth is that is is very tricky to dye with totally even results; it’s a challenge even for experienced dyers. However there are certainly some tricks for getting more uniformity across fabric and garments that you are dyeing.
Keep stirring
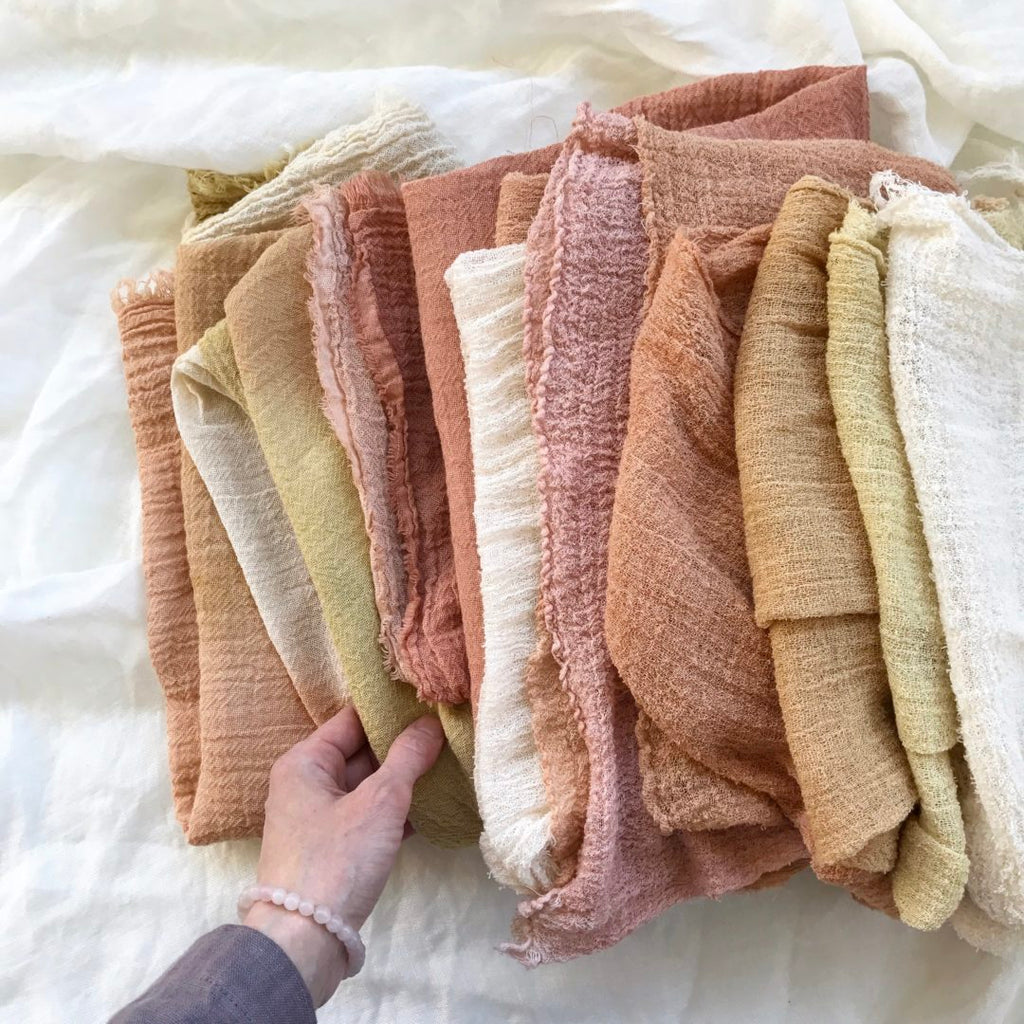
Getting even results can be time-intensive and the biggest secret isn’t really a secret after all: the fabric just needs lots stirring. You need to keep the fabric moving so the dye doesn’t settle into the folds and dye those areas darker.
It’s much easier to dye an even colour on smaller pieces of fabric. It’s virtually impossible to produce an even colour across an entire bedspread or pair of curtains. In these situations I always suggest using a tie dye technique to create a subtle pattern. Then you can control the pattern, rather than end up with unexpected patchiness.
But even when dyeing smaller pieces of fabric, we can try to do everything perfectly and sometimes the results are slightly patchy for various reasons. Hopefully some of the points in this blog post will help you resolve any patchy dye problems you experience. This is like a brainstorm of all the different things that could happen – and have happened to me at one point. I hope there are a few tips that you can take away to help you.
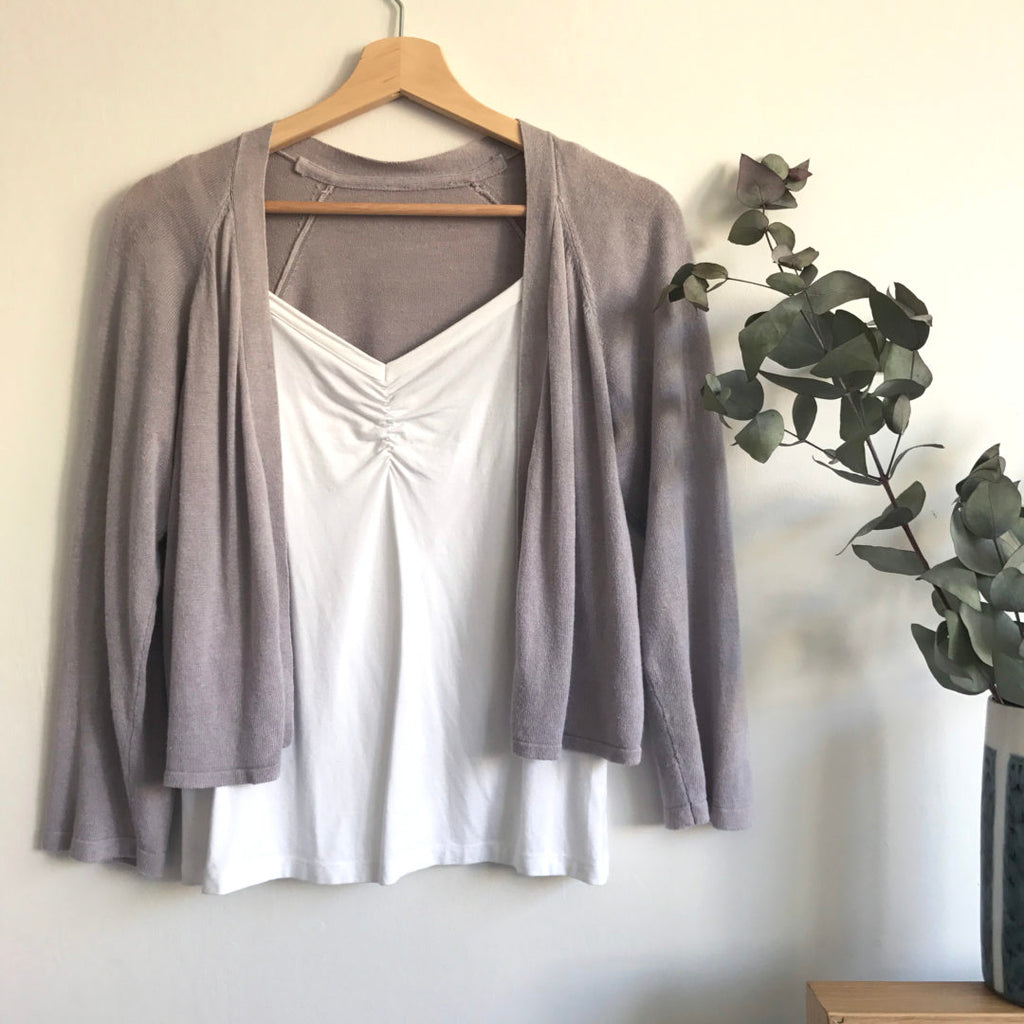
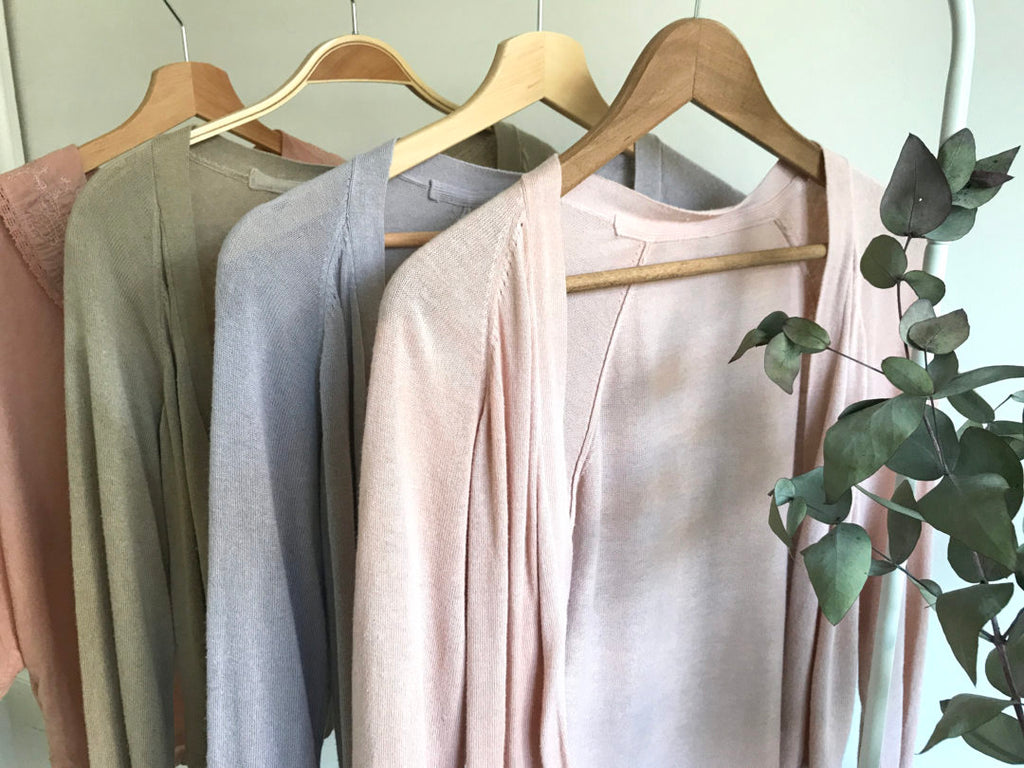
(Above: viscose cardigan dyed with avocado skins and modified with ferrous sulphate).
1. Prewashing fabric
- Clean your fabric as well as possible before dyeing to remove the residues of oils from the manufacture. For lightweight fabric, you can probably get away with a thorough machine wash as I describe in my book, but for thicker canvas-type fabric and thicker linens, you may decide you need to “scour” the fabric. Or maybe you will choose to do a very hot machine wash. I tend to dye mostly delicate fabric or clothing and choose to treat it more carefully and don’t like the effects of traditional “scouring”, but I always thoroughly wash (sometimes more than once) and rinse well.
- If you don’t prewash your fabric or clothing well, then your dye will most likely attach to the fabric unevenly and look patchy. The dye may wash off easily as it hasn’t truly bonded to the fibres, but is sitting on the surface over the top of the residue of oil.
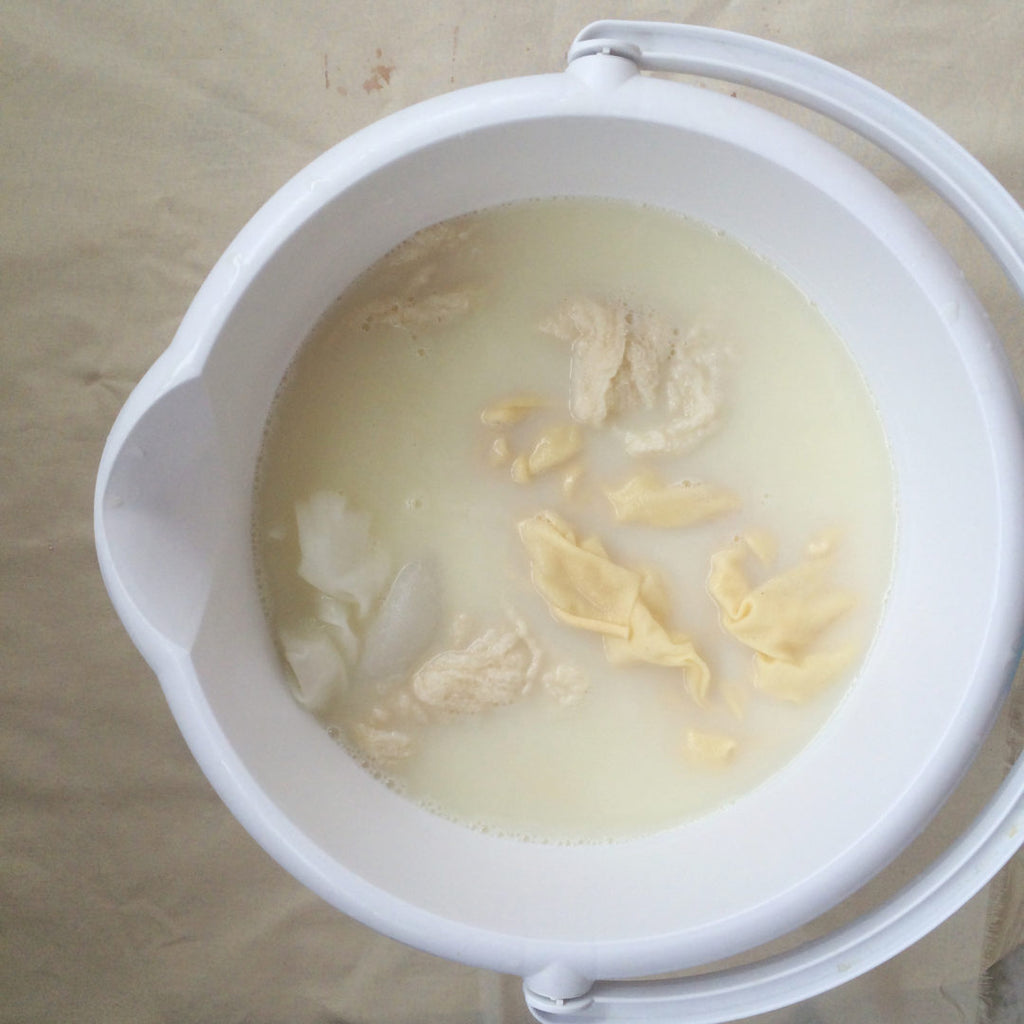
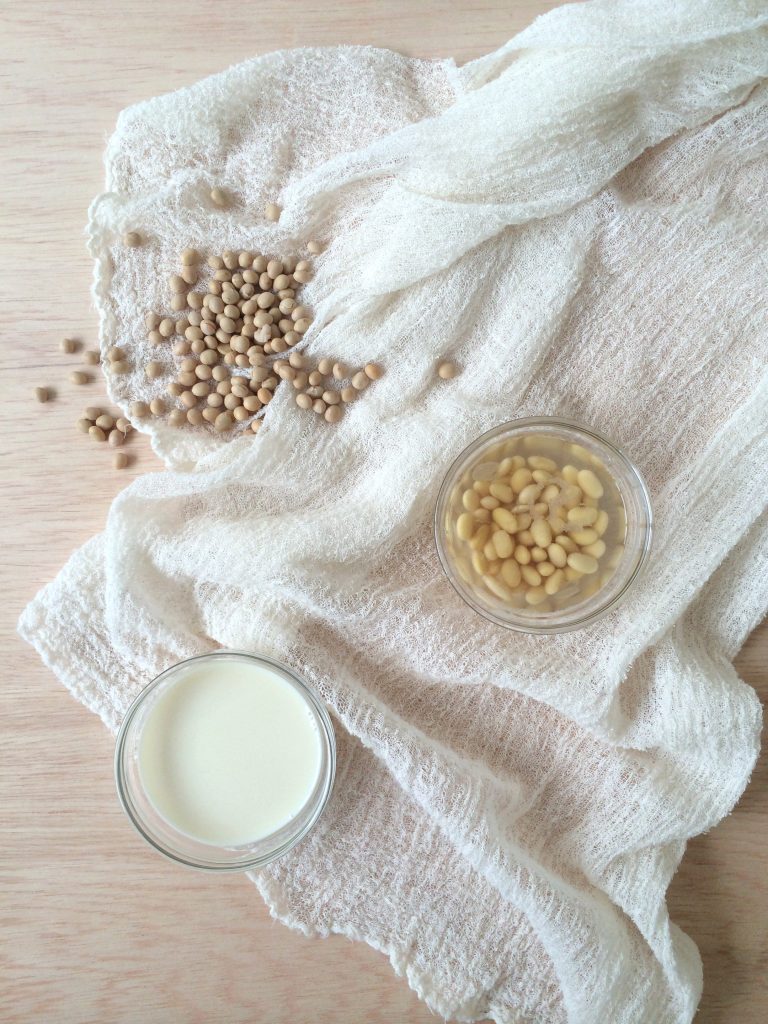
(Above: pretreating fabric in soya milk)
2. Mordanting
- If you use the soya milk pretreatment method for “mordanting” your fabric (as per the instructions in my book) remember that the aim is to get a really light coating of soy protein on the fibres and then spin out the excess milk in the washing machine.
- When you hang the fabric to dry, it’s vital that the milk does not drip down the fabric. These drips will ultimately cause darker streaks of colour when you come to dye the fabric. If you don’t have a washing machine to spin out the excess milk, then you might decide to dilute your milk solution even more than I suggest (such as a 10:1 ratio of water:milk) as this will reduce the chance of a patchy milk coating. Keep in mind that you are aiming for several dips in diluted milk.
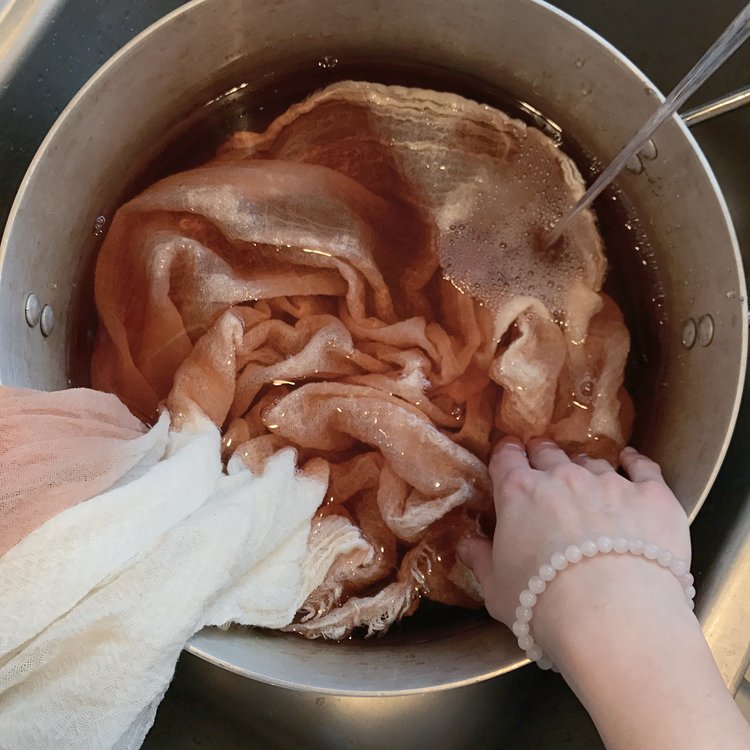
3. Dyeing Fabric
- Strain your dye through fine fabric to remove any left over bits of plants. Any residual pieces of plants could cause marks on the fabric.
- Use the largest pot you can find to give the fabric as much space to move around as possible. There isn’t an easy way to calculate the perfect dye pot size; my suggestion is to look for the biggest you can possibly find.
- The thicker and heavier the fabric, the larger the dye pot you will need.
- Before you add your fabric into the dye pot, add in extra water to bring the liquid level up. This gives the fabric more dye to move around in. The aim is to allow the fabric to move as freely as possible. Remember that when you add in extra water, you’re not actually diluting the dye. There are still the same amount of dye particles in the pot, they are just more dispersed within the dye bath. It might take a bit longer to dye the fabric a darker shade, but the overall colour is likely to be more even than if you dye in a smaller volume of liquid where the fabric has less space to move freely.
- Dampen fabric before putting in the dye pot as this helps the fabric takes up the dye more evenly when it first enters the dye. Wearing gloves, try to squeeze the fabric in your hands as you put it in the dye bath to eliminate pockets of air. Keep squeezing and agitating when the fabric is under the dye level until no more air bubbles rise.
- Keep the fabric moving when it first enters the dye bath. Wet fabric can stick together and areas that don’t receive the first take-up of dye can end up lighter in colour. It’s important to agitate and stir as much as you can.
- Keep stirring the fabric in the dye pot for the entire time that it is in there. Don’t leave it unattended and forget about it, as the dye can settle into the creases and dye those areas darker which causes streaks. Sometimes if I need to go out or I’m busy and I know I can’t give my dye pot the attention it needs, I take the fabric out of the dye pot, squeeze out the excess dye, hang up somewhere. Then when I’m back in my kitchen I will put it back in the dye pot to dye for longer.
- Use gentle heat for longer periods of time, rather than intense heat.
- Make sure the fabric is submerged at all times as some dyes can oxidise (e.g. avocado dye) when the fabric goes above the water level and the fabric develops darker patches.
- Don’t heat your dye too intensely and cause it to bubble, as pockets of fabric will rise up and air will be trapped. If this happens, put some gloves on to protect your hands and then squeeze out the air in the fabric and submerge under the dye again.
4. Dyeing clothes
- For a really even dye job, I like to remove buttons so the dye doesn’t collect behind the buttons, then sew them back on at the end.
- Unzip all parts of the clothing to allow the garment to be as open as possible.
- Make sure that sleeves are all facing the same way so the colour will be even on both.
Why aim for uniformity? Create subtle patterns instead
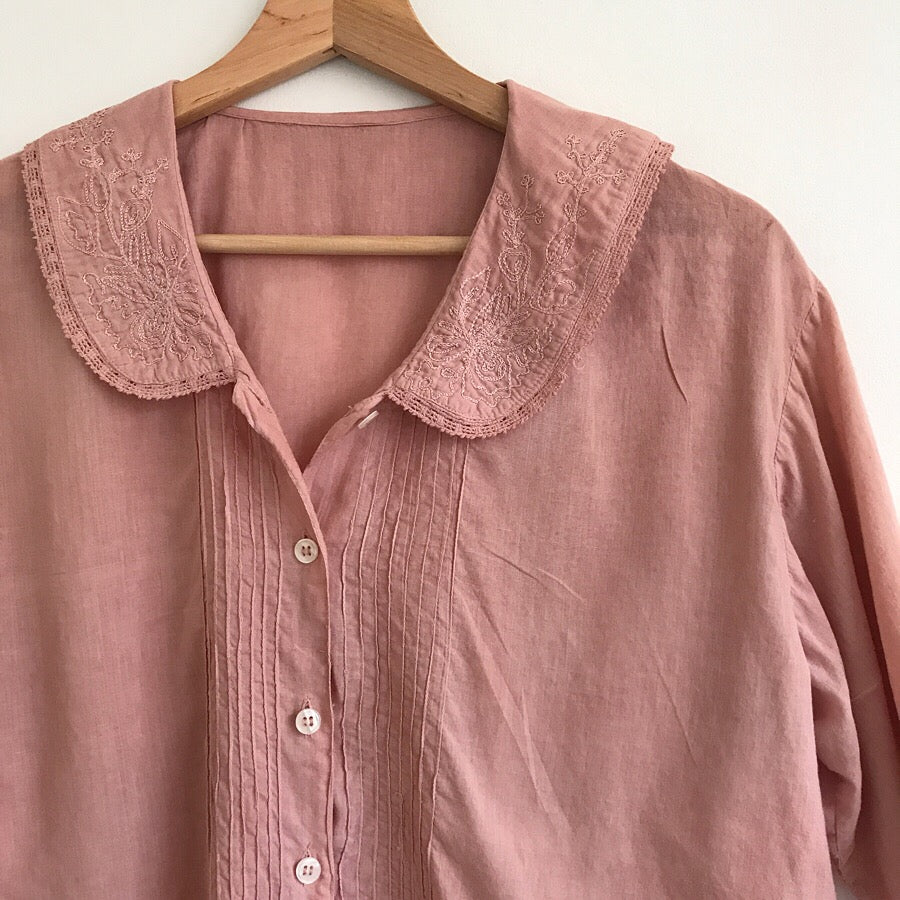
Sometimes no matter how careful we are with our dyeing with plants, the results are still slightly patchy. Rather than getting too frustrated in these situations, it can be more helpful to try to accept that it’s a natural process using natural materials and embrace the imperfect beauty.
It’s very difficult to dye a large piece of fabric or clothing entirely evenly and sometimes the effort spent trying just isn’t worth it (in my opinion anyway). Why are we trying to create a colour so uniform? Are we trying to replicate something that synthetic dyes do?
Quite often I prefer to dye with simple tie dye/shibori techniques to have more control over the final result. For example, scrunch dyeing can be a way to accentuate the patchy areas that dyeing can produce. So instead of random streaks that may appear as part of the process, you can control these darker areas and make them into a feature. I’ll show you how to do this in a future blog post.
If you’re dyeing curtains, scrunch dyeing can be a useful method to use. Imagine trying to dye two curtains exactly the same colour without any patchiness? I would feel quite stressed at the thought of attempting this, and it’s a question that I get often. You could buy a pair of enormous dye pots and stand there stirring for a few hours (you’d need two pots so you could measure the dye and get them the same colour), or you could scrunch or fold the fabric and dye in one dye pot. When asked about dyeing curtains, my suggestion is usually to avoid aiming for uniform colours in the first place. It’s totally do-able for items of clothing, but it’s virtually impossible for enormous pieces of fabric without industrial-sized pots.
I hope that this blog post has some helpful tips. Do you have any other questions? I’d be happy to try to answer them, or even turn your question into a blog post and answer it in more detail.

