Today I’m thrilled to invite Merlin Fox from Knives Fox Spoons to my blog with a fantastic bead carving tutorial. With just a few tools, you can make your own beads from elder branches – then dye them to make beautiful jewellery (or leave them a natural colour and simply oil them, if you prefer). It’s an easy and rewarding beginner project.
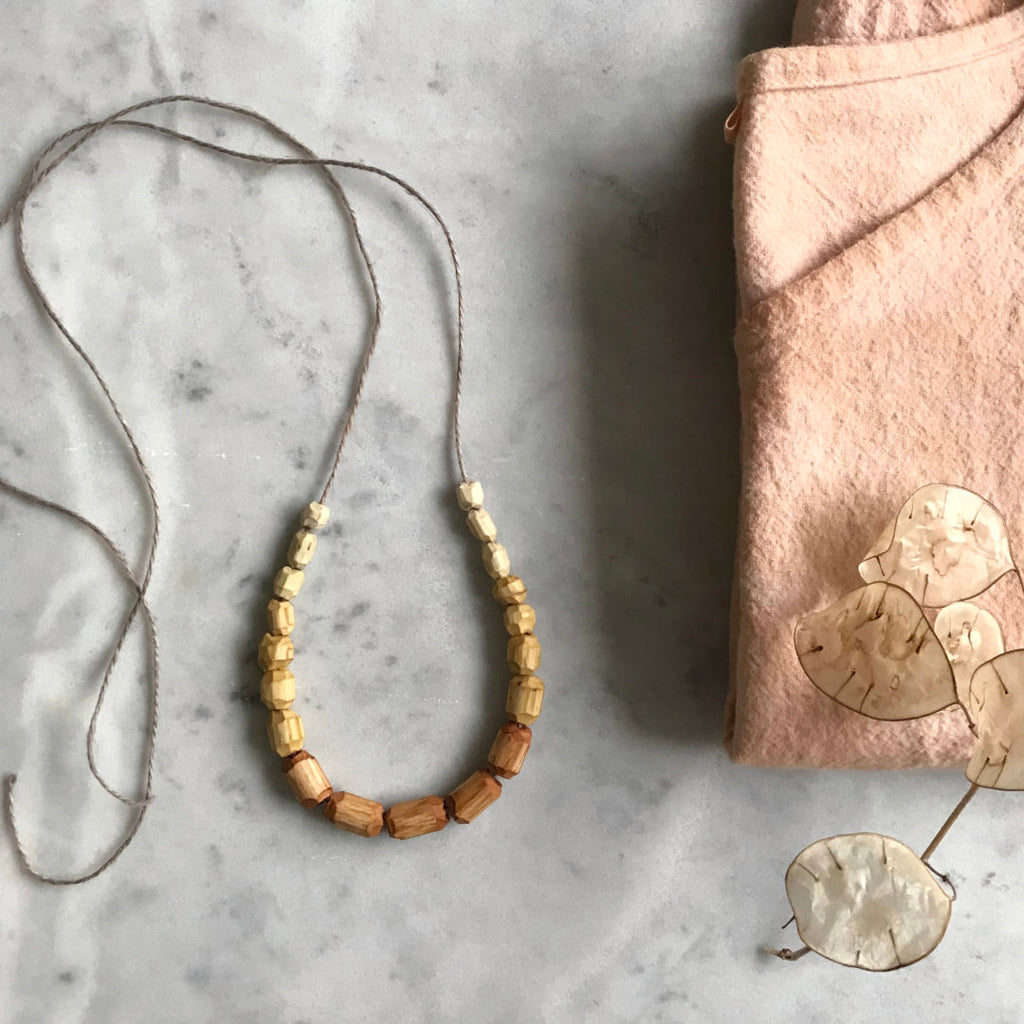
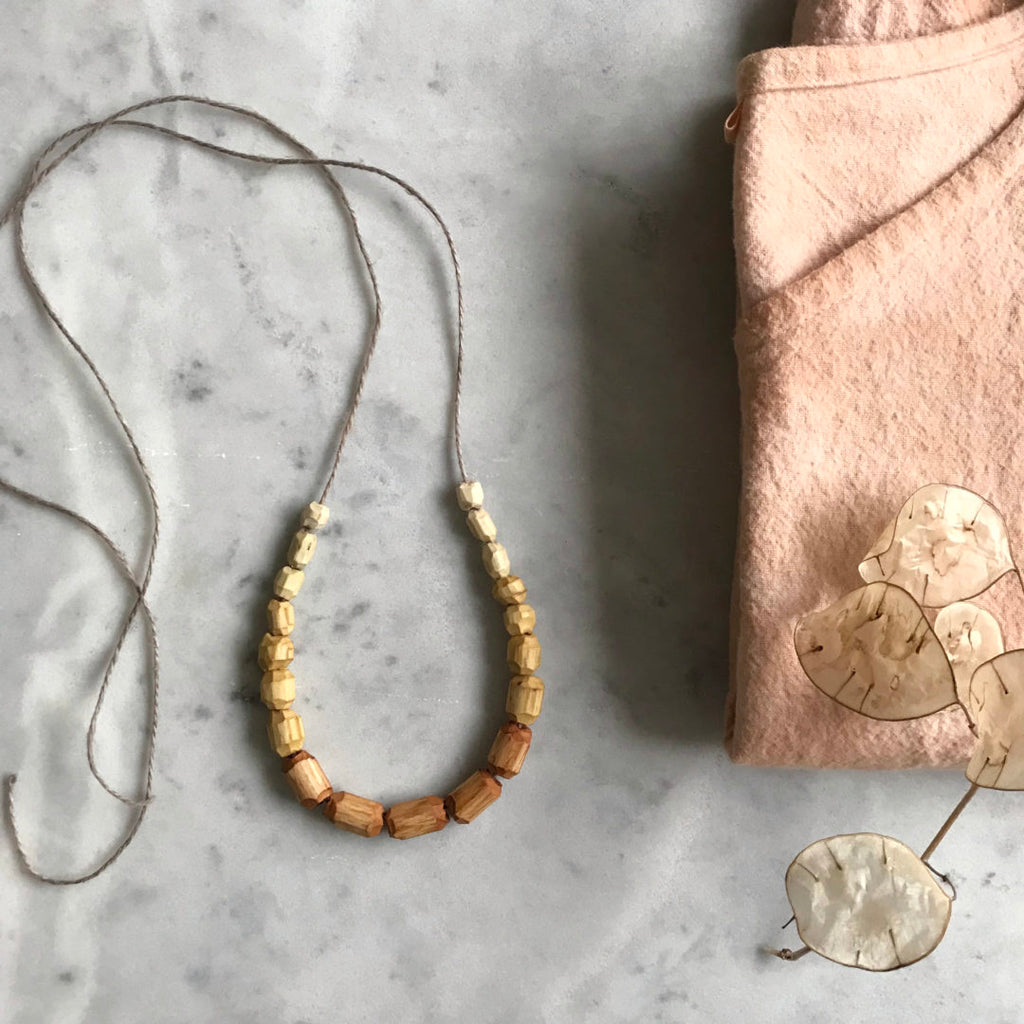
In the photo below you can see the beads after they’ve been dyed – the yellow is from pomegranate skins and the warm brown/red is from avocado skins. I show you how to dye wood in my new eBook, and in this blog, Merlin shows us how to carve our own beads!
Since releasing my eBook on wood dyeing, one of the questions I’m asked the most often is where to buy sustainably produced beads. All along I’ve felt that the answer was to make beads from the wood that we have all around us.
Imagine simply making your own beads whenever you’d like to make a necklace! In this blog post you can learn how to do this, but if you don’t fancy carving wood just yet, then you could ask a wood worker like Merlin to carve beads for your projects. Merlin is happy to take on commissions for beads, so get in touch with Merlin to request a custom order.
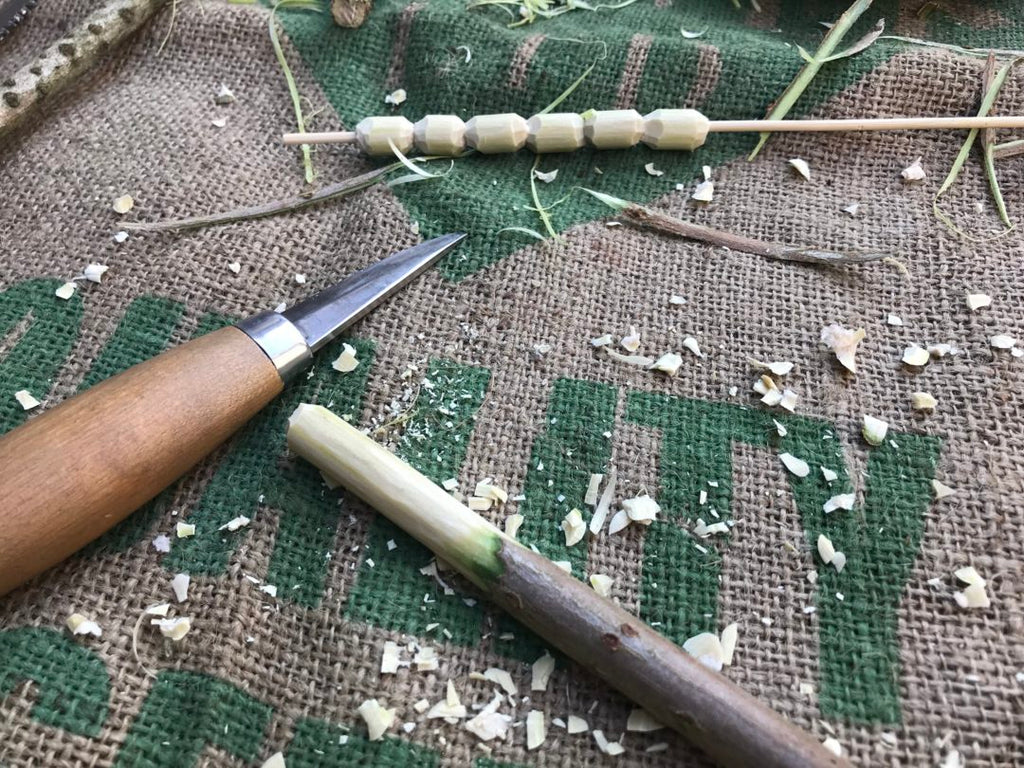
Tools and materials you need to carve your own beads
- elder twigs
- a tool for pruning
- a sharp small knife
- wooden kebab skewer
- optional: cocktail stick, sand paper or emery board
Safety
Please be careful when using knives and do not let children touch your tools. You are responsible for your own safety.
The elder tree
Elder is a small tree, often found in gardens, hedgerows, and woodland. In late spring it stands out with its large clusters of small white flowers (great for making tea or sparkling wine), followed by tiny berries in the summer (great for making syrup, jam or wine). In the winter you can identify it by its beige-grey bark; the twigs often have raised “warts” with pairs of buds opposing either side.
Note: all parts of the elder tree are poisonous to some extent, so do not give these beads to babies to chew on. (Elderberries can be eaten only after cooking using an appropriate method).
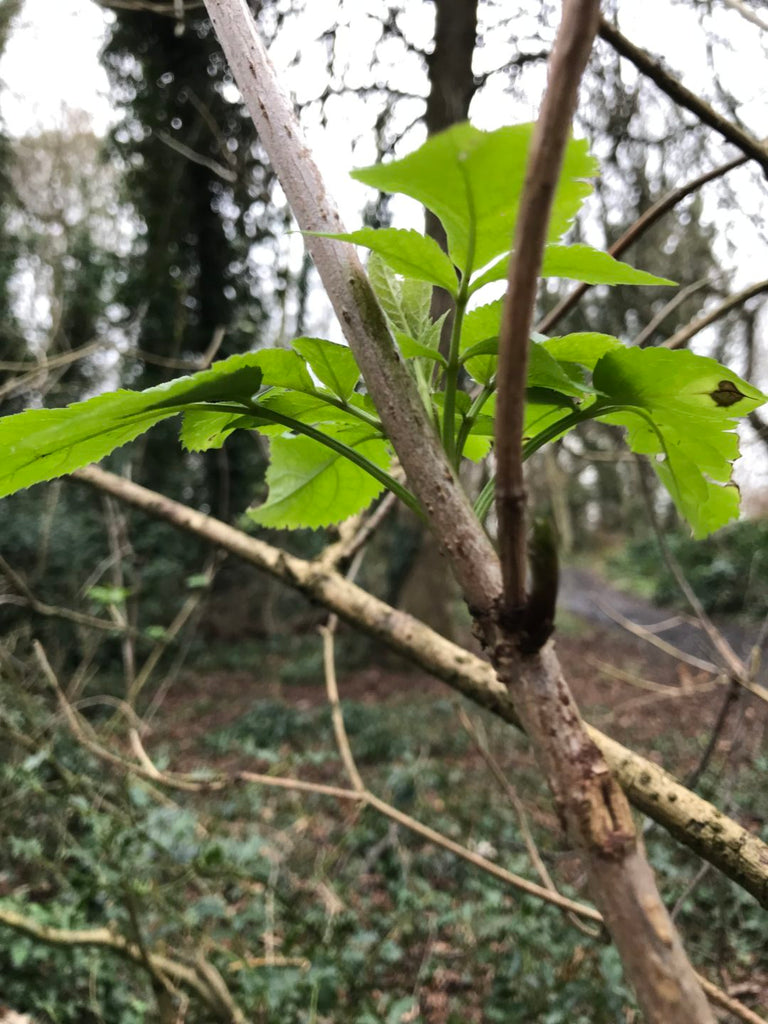
Above: Elder spotted on 26th January 2019 – already coming in to leaf!
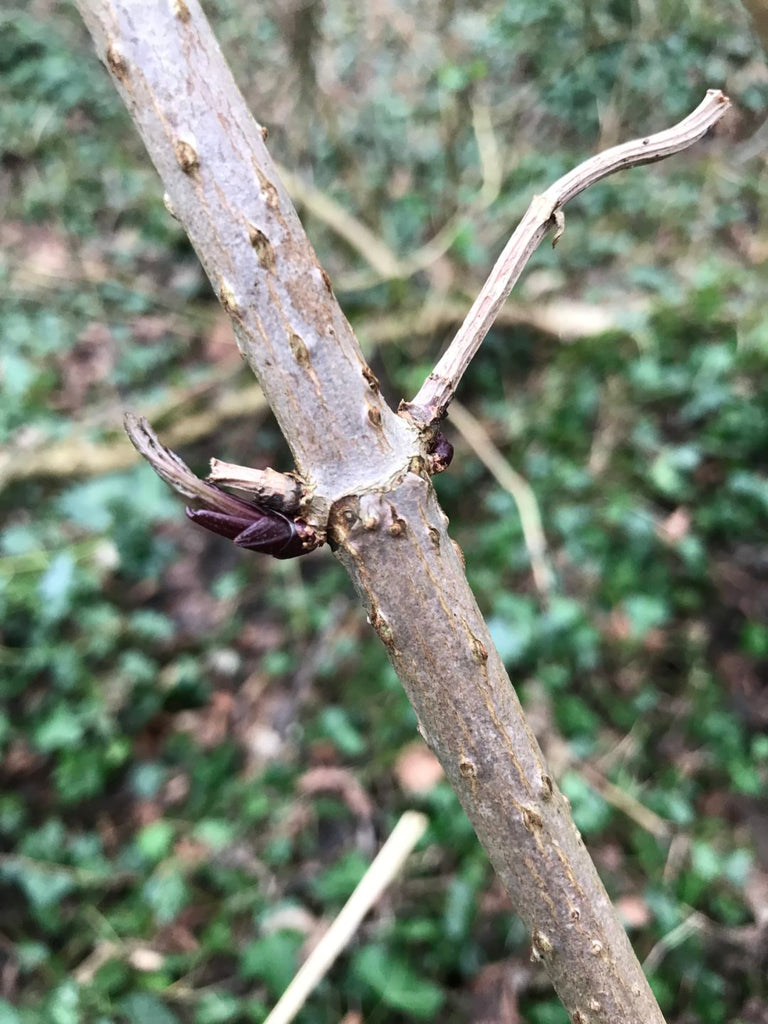
Above: Elder’s distinctive bark and opposing bud points.
Selecting Elder
Elder twigs have a soft pith centre, which makes them ideal for this project. Look for twigs around 1-1.5cm in diameter. Avoid twigs with a greenish hue – they will be too young. Prune using secateurs, loppers, or a saw and check to see how much wood surrounds the pith. You’ll want at least 3mm of wood around the pith. Check both ends to ensure you’re bringing home enough to make a decent batch of beads!
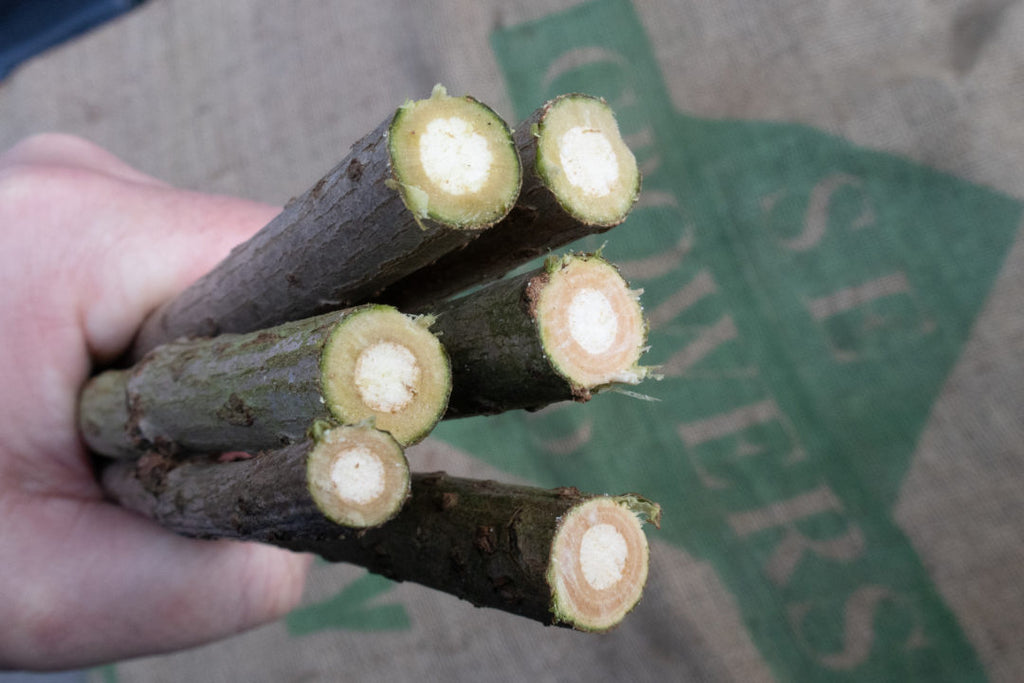
Above: Perfect twigs for bead making!
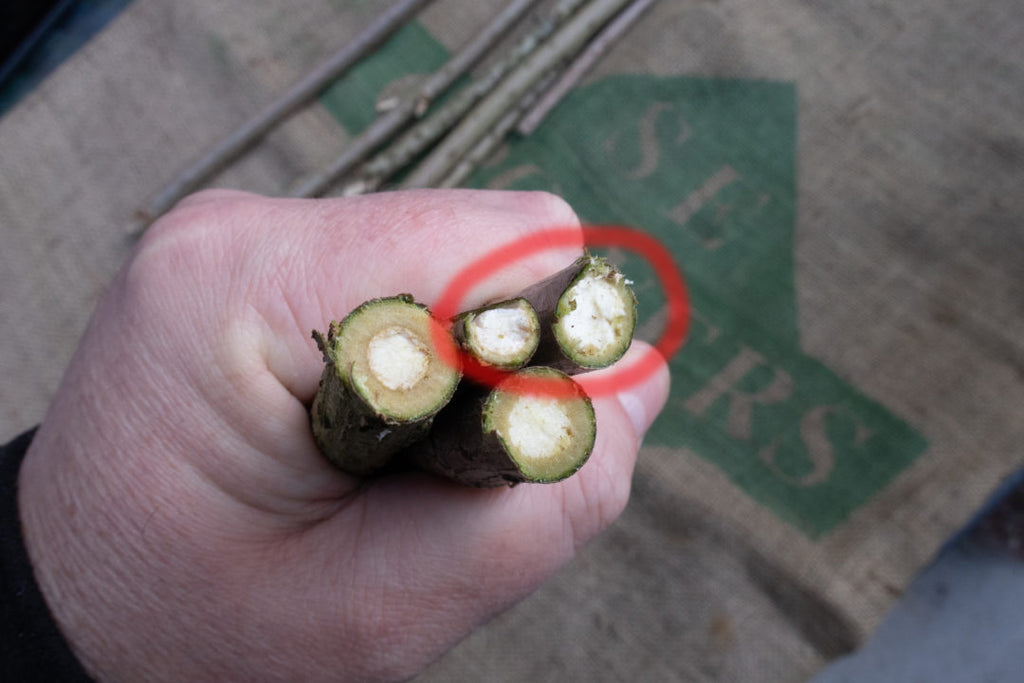
Above: The twigs circled in red do not have enough wood.
Using a knife
Always cut away from you. A sharp knife is safer than a blunt knife since you will be able to keep control of the cut. Imagine trying to peel an apple with a butter knife – it would slip everywhere!
A sharp penknife would be a suitable tool for this project. Avoid “bushcraft” style knives, as they are too large to do close work on small objects comfortably. A short knife, designed for wood carving (such as a Mora 120) is ideal. If the blade will sharpen a pencil easily, then it is sharp enough.
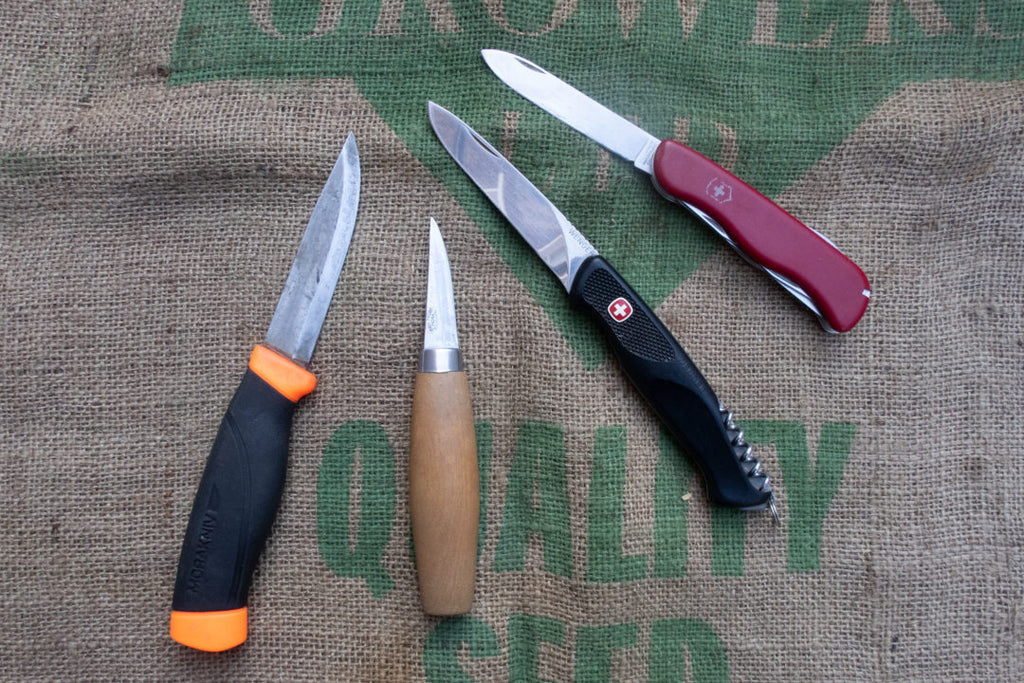
Above: I used the Mora 120 (second from left) in this project.
Carving the beads
1. Start with a twig about a 30cm (a foot) long. Remove the bark by shaving it away from you (pushing with your knife hand while holding the twig). Only remove about 10cm for now – the bark is more comfortable to hold, and it stops the wood drying too quickly.
2. Don’t go too deep into the twig. Ideally the wood should have a faint tinge of green, indicating you are at the bark/wood interface. Think about how smooth or angular you’d like your beads to be and shave accordingly – for a smoother finish you could use coarse sandpaper.
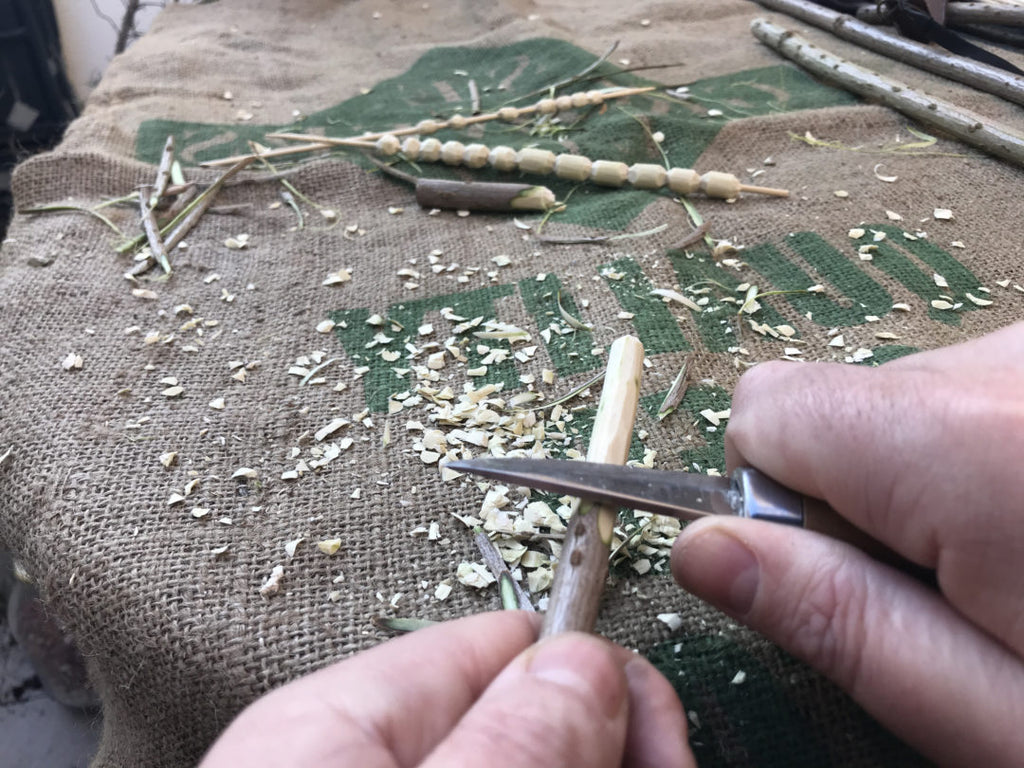
Above: Removing the bark by cutting away from your body.
3. Find the centre of the pith and push in the skewer, about 1 cm. Holding the knife in your dominant hand and the twig in the other. Work with your hands close together, pushing the back of the blade into the twig with your thumb (or both). Keep things slow with just enough pressure to stop the cut at the skewer. Aim for a 45º angle to begin with, creating a bevelled edge around the whole twig. Experiment with different angles once you are comfortable with the knife and the wood – you can also work then without the skewer to stop the cut.
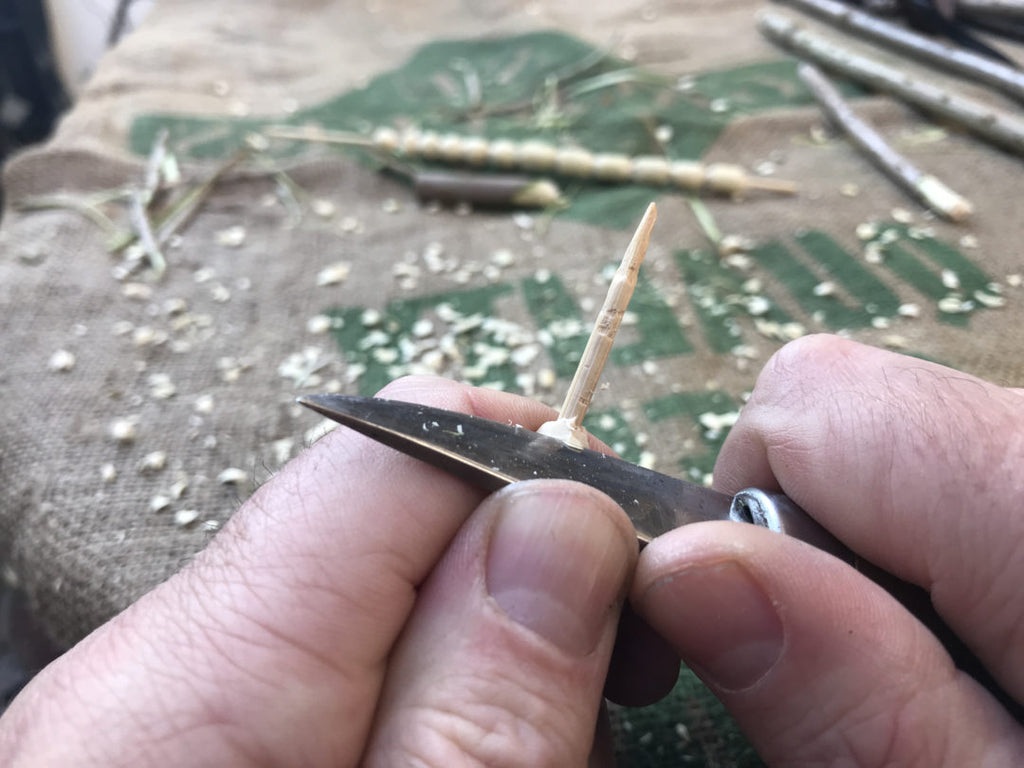
Above: Making a push-cut with both thumbs.
4. Decide on the length of the bead – I recommend beginning with 1 cm then making shorter, almost spherical beads once you are used to the technique! Pressing the knife into the twig with moderate pressure, roll the twig with your other hand to scour a stop-cut.
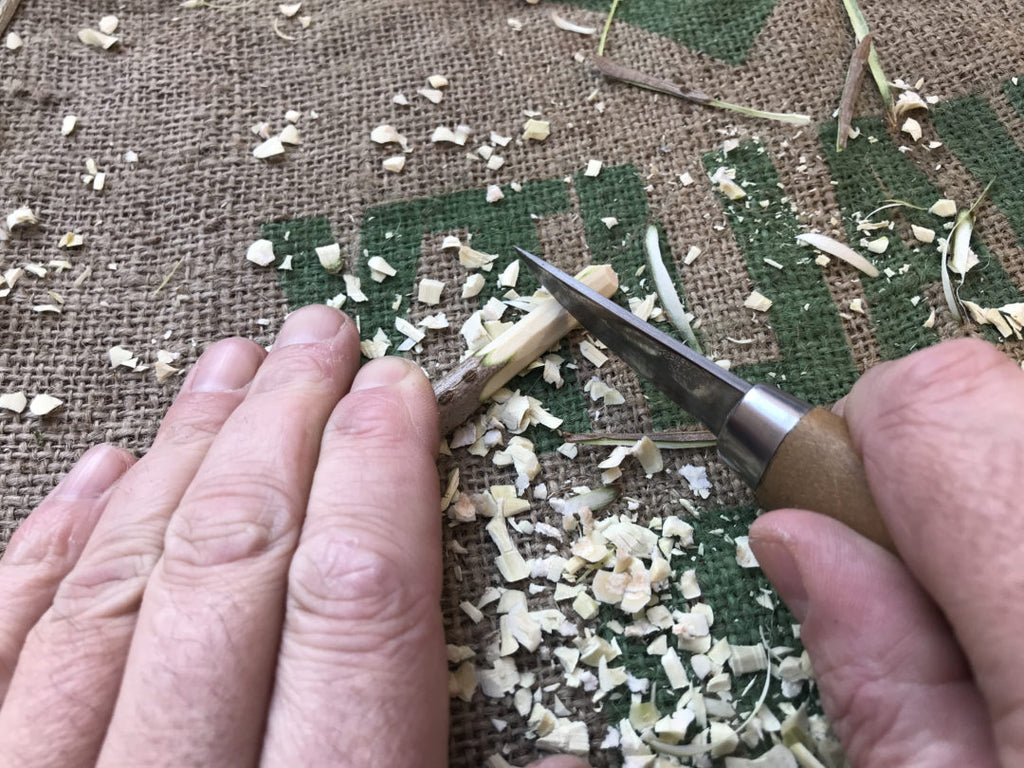
Above: Rolling the twig against the knife.
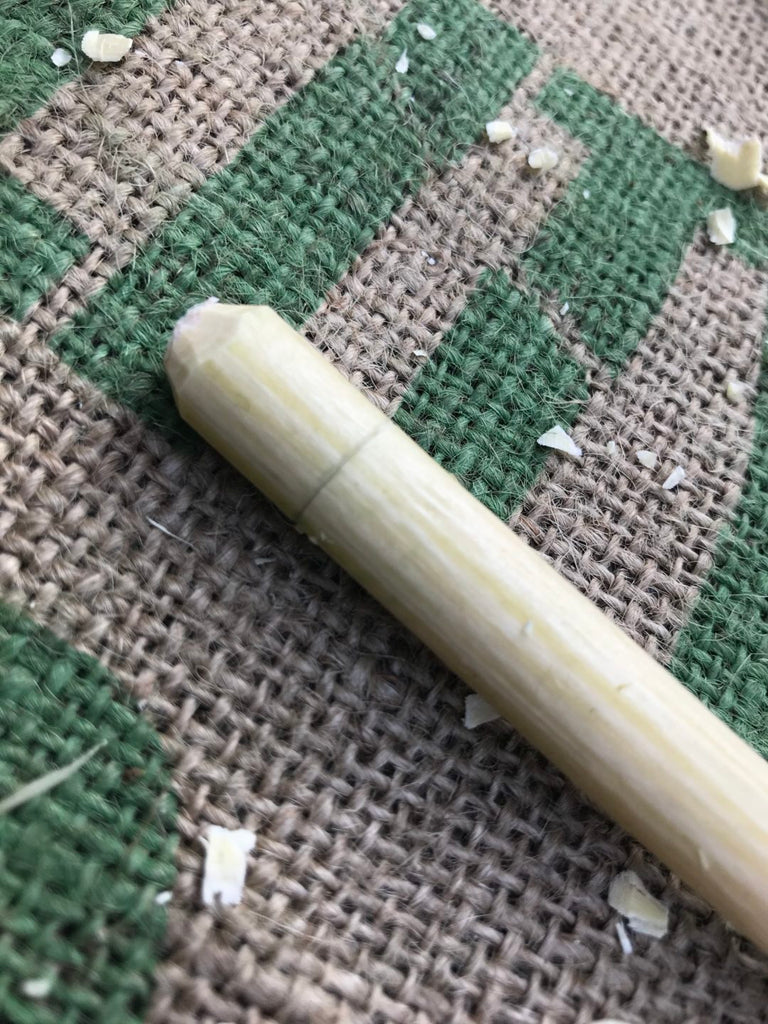
Above: Scoured stop-cut complete.
5. Cut into the twig using the push-cut as before, just enough to reach the pith. You’ve now cut the end of the next bead.
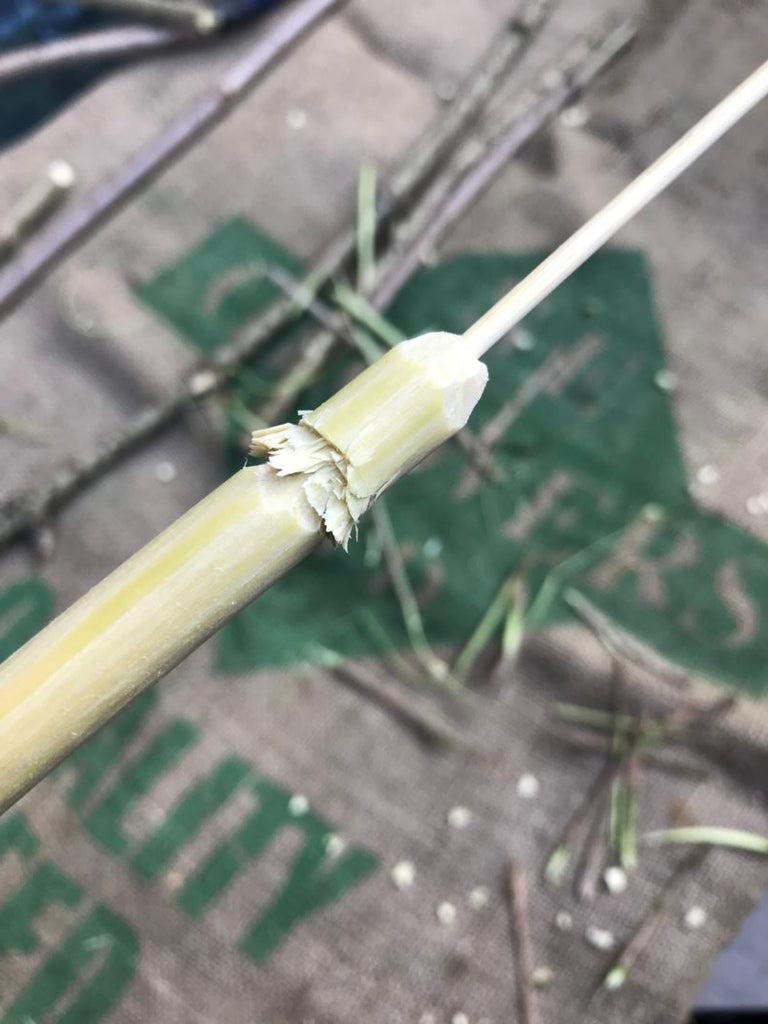
Above: Cutting against the stop cut.
6. Insert the skewer into the pith, pushing in about 1 cm. Holding the skewer, carefully cut back across the stop cut until the bead begins to release itself. Push the skewer further through and work around the end with the knife. Push the bead down the skewer, ready for the next bead – the first edge of the next bead may need a little tidying up with the knife first. You may find the bead snaps before being finished – just keep it on the skewer and tidy with the knife.
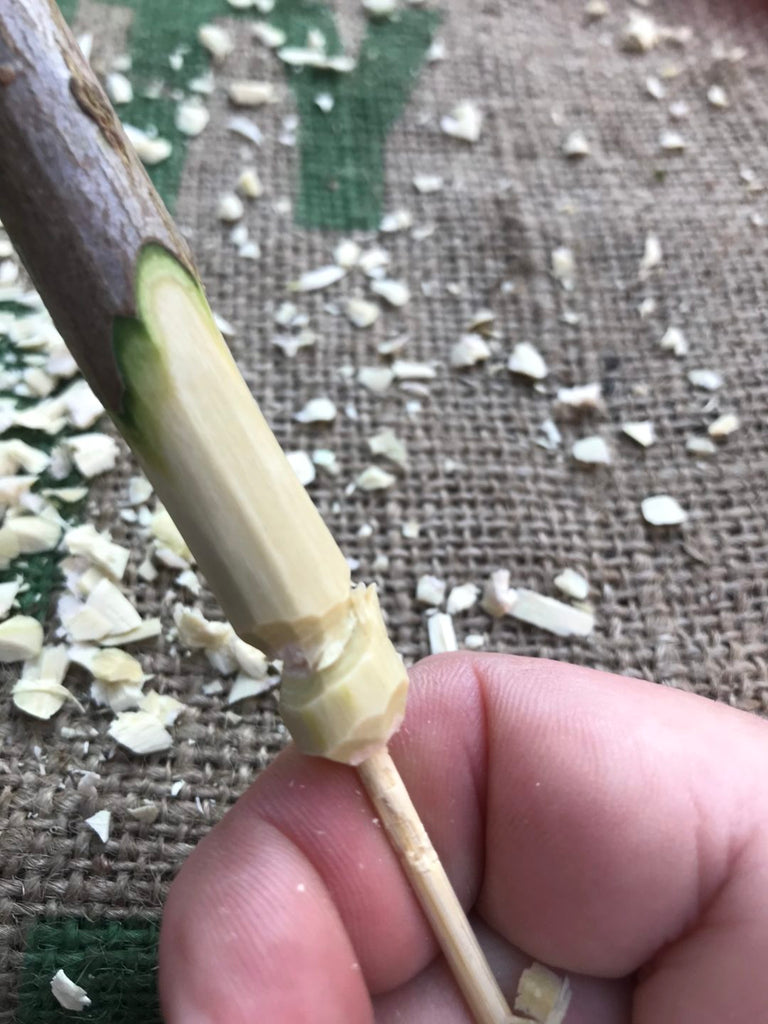
Above: Working across the stop-cut.
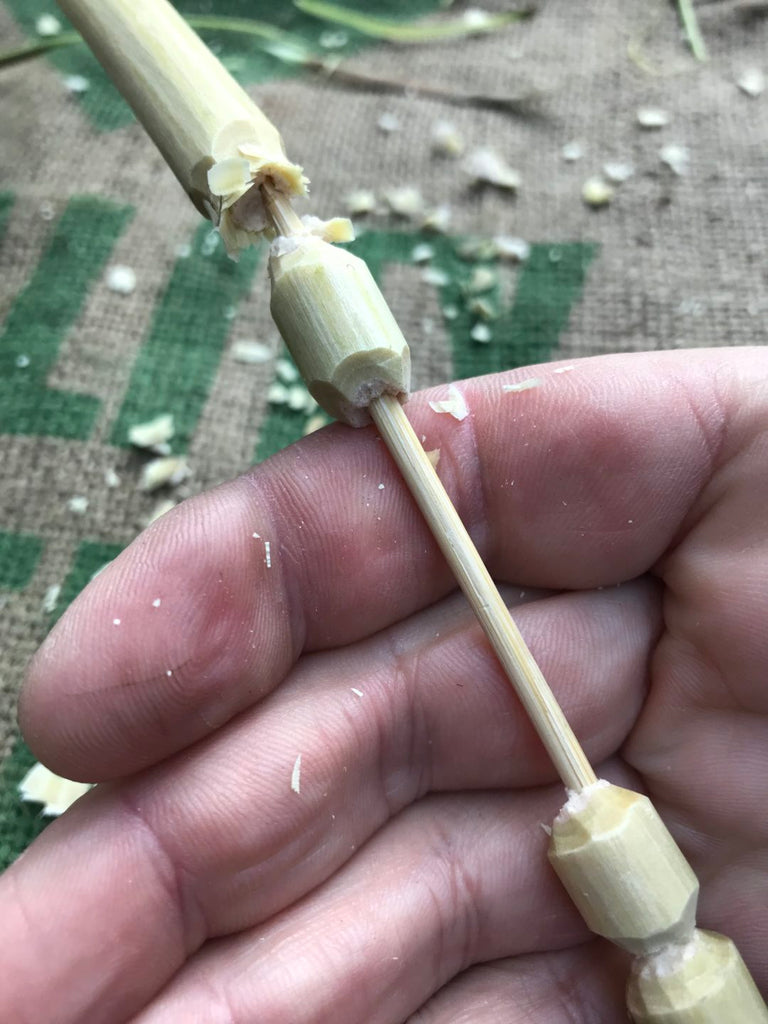
Above: The bead is free from the twig, next end needs a tidy.
7. Gradually, you will produce a string of beads along the skewer. As you near the end of the twig, stop once there is still enough to grip onto when cutting.
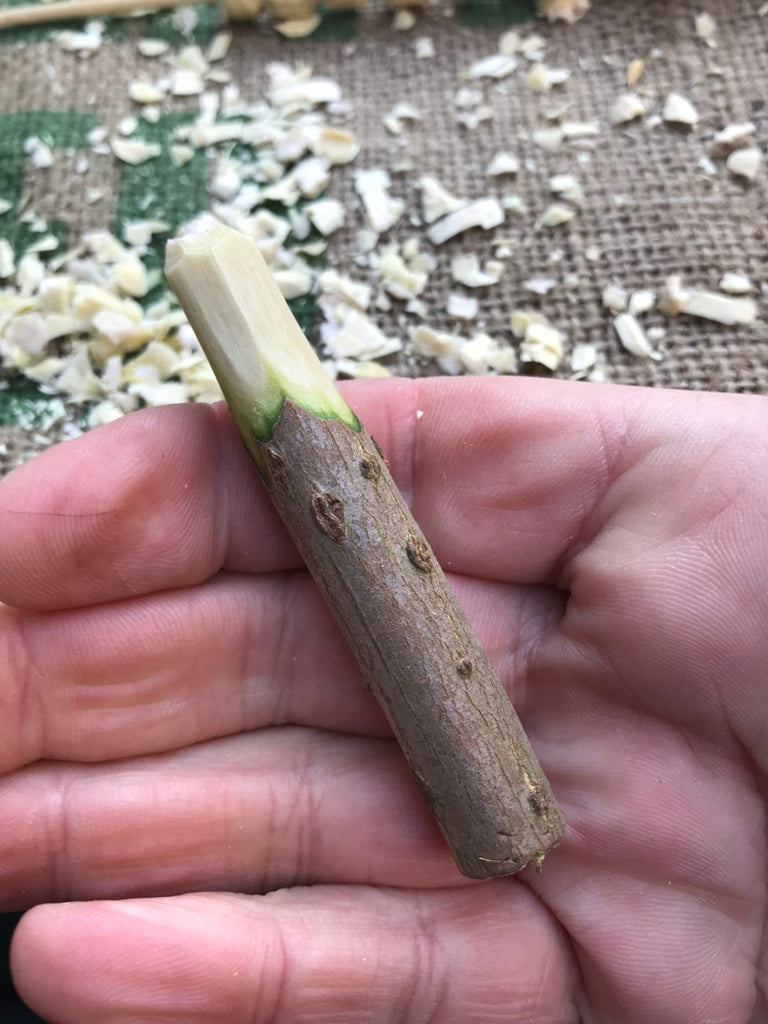
Above: One bead left to go on this short twig.
Drying and Finishing
Wood shrinks slightly as it dries. Remove the beads from the skewer to prevent them splitting and place the beads in a paper bag or small cardboard box. Leave for at least three days in a cold place to dry slowly – in a heated room they will dry too quickly and crack.
Dry beads may need a little tidying or smoothing out. An emery board or some sandpaper will do the job. Avoid using the knife now – accurate cuts will be hard to do, and beads are likely to split under the pressure put on the blade against the hard dry wood.
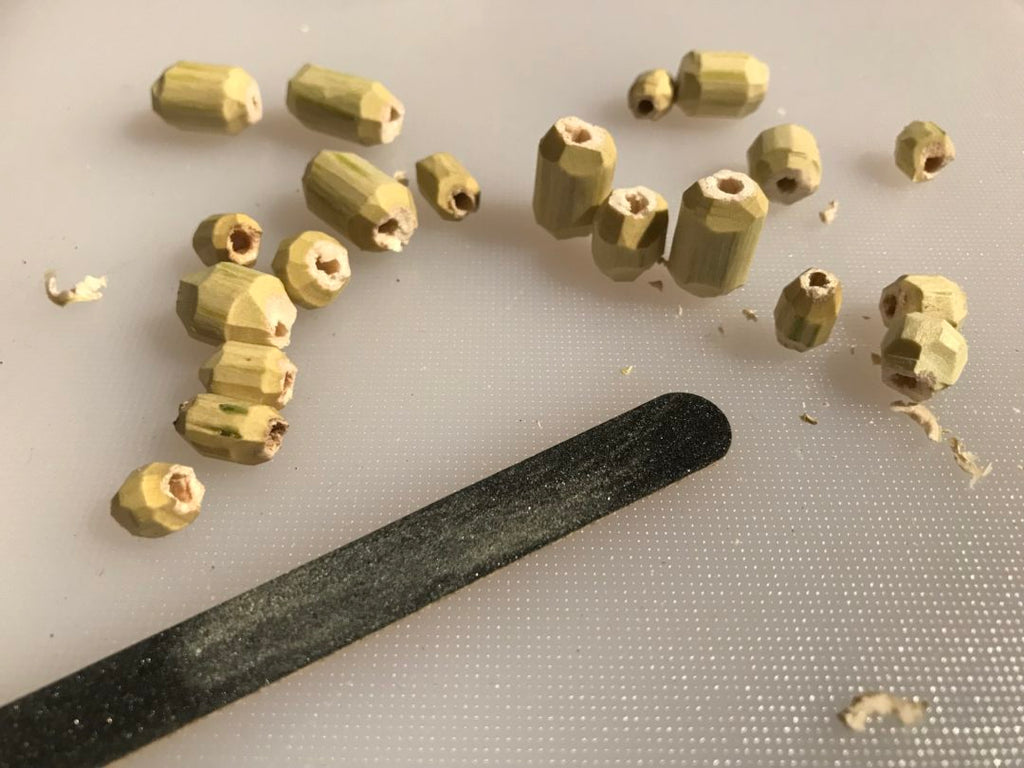
Above: Beads on the right have smoothed ends from emery board.
Use a cocktail stick to check the hole is clear for threading. The beads are now ready for your next project!
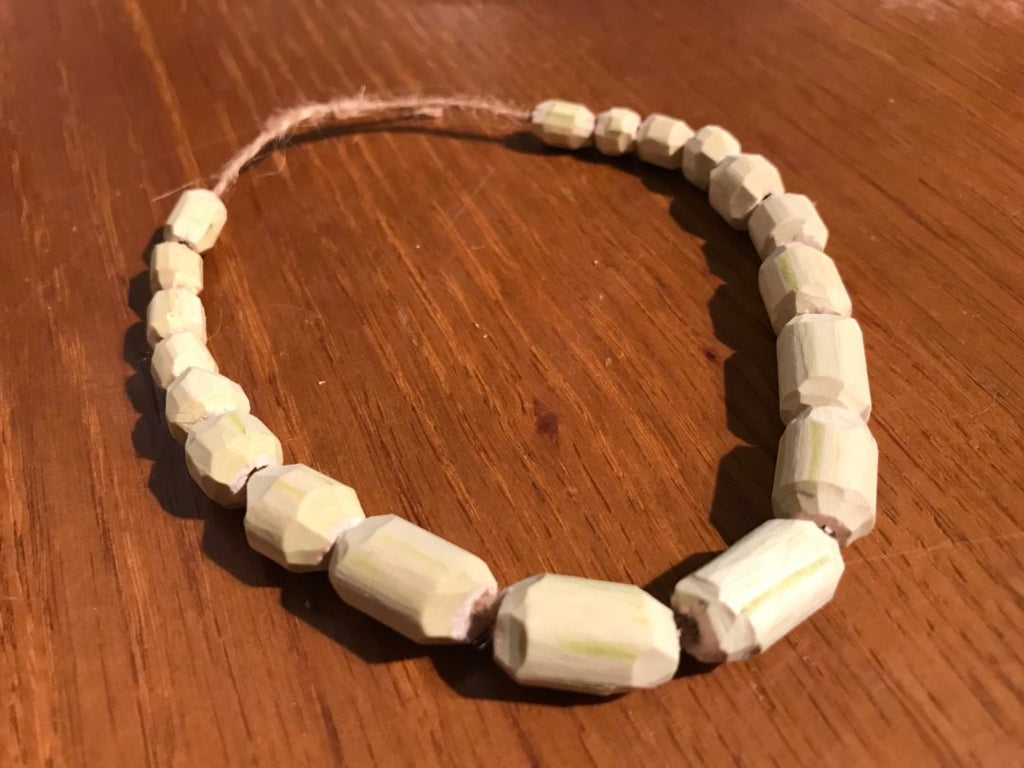
Thanks so much Merlin for writing this fantastic beginners project!
- Follow Merlin Fox on Instagram @knivesfoxspoons
- Visit Merlin’s Etsy shop (and request a custom order for beads).
Notes on dyeing elder beads
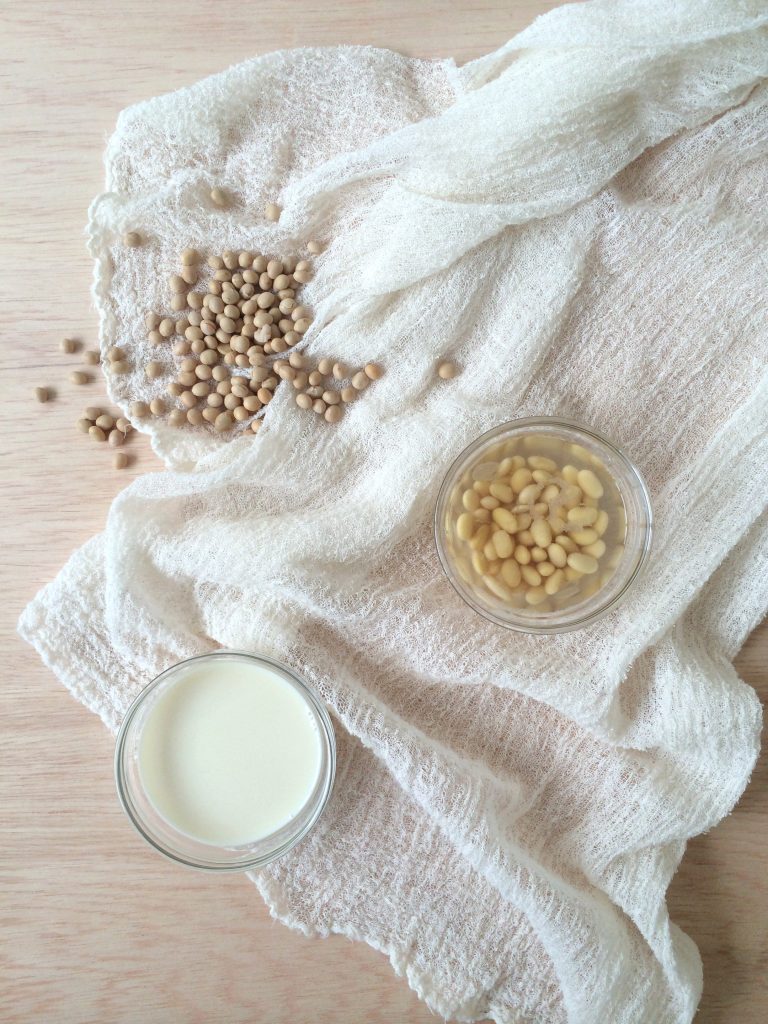
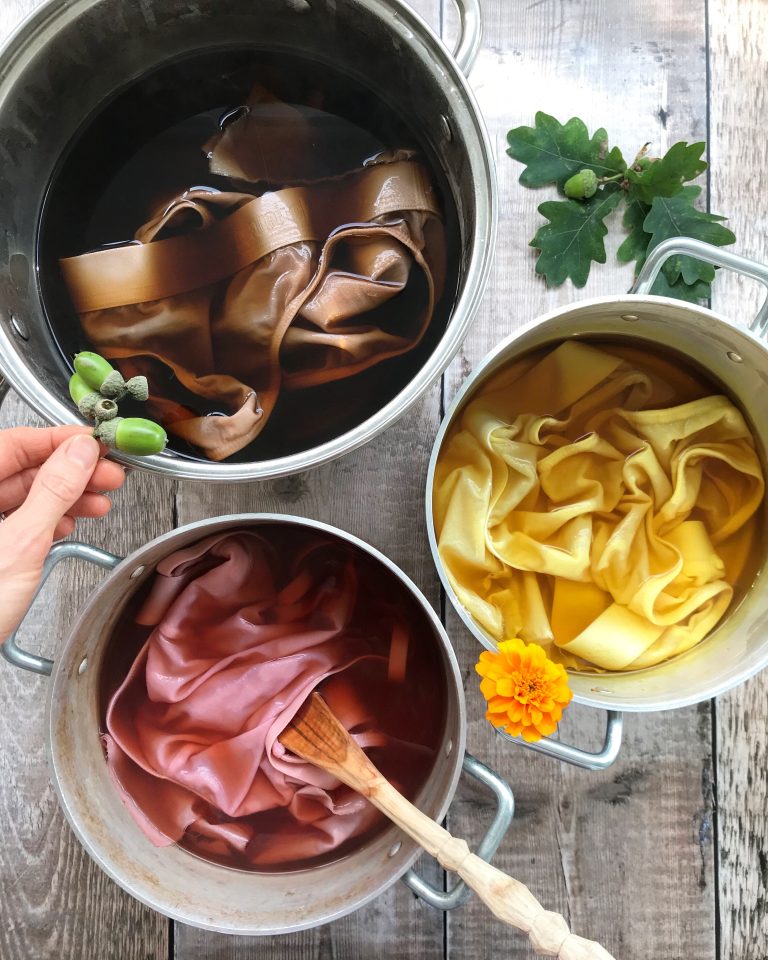
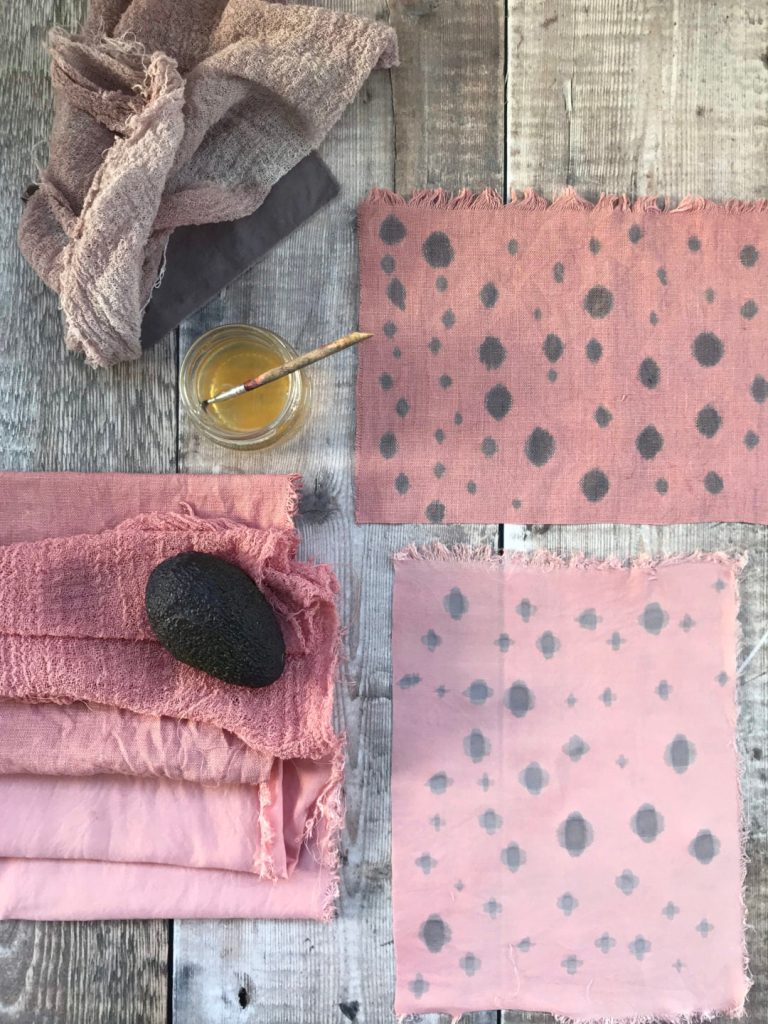
I pretreated the beads with soya milk as I show you step by step in my eBook. Then I dyed a few beads in avocado skins and some in pomegranate skins. The grain of the wood gives a lovely patina in the final colour of the beads. I found that some left over pith in the holes swelled up when the beads were in the dye pot, and the holes needed to be cleaned and opened up once the beads were dry. This was really quick to do with a kebab skewer. I oiled the beads when the wood was dry.
Now I can’t wait to carve some of my own beads using this tutorial! Hand carved beads feel incredibly special as each bead is unique.
