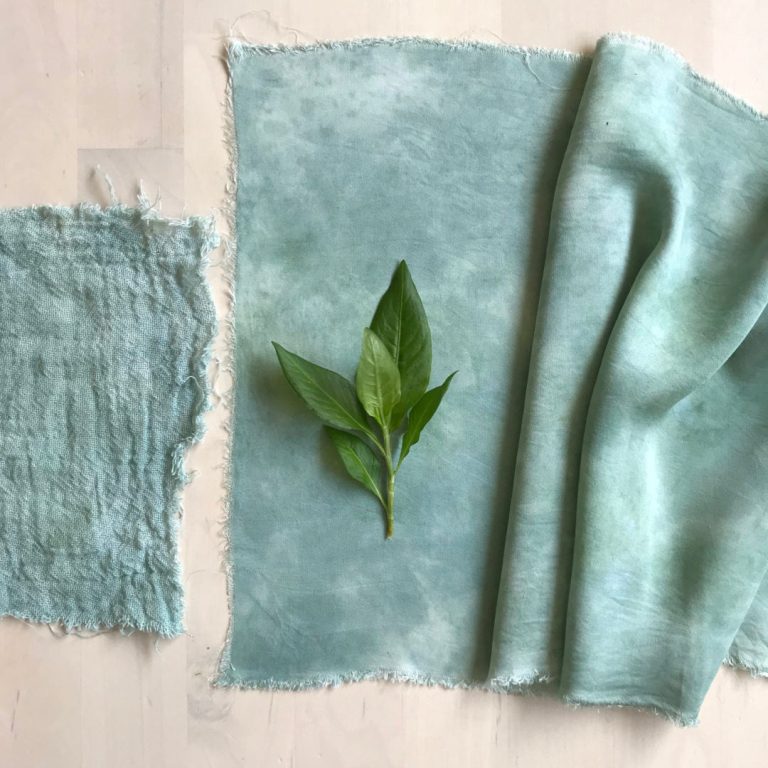
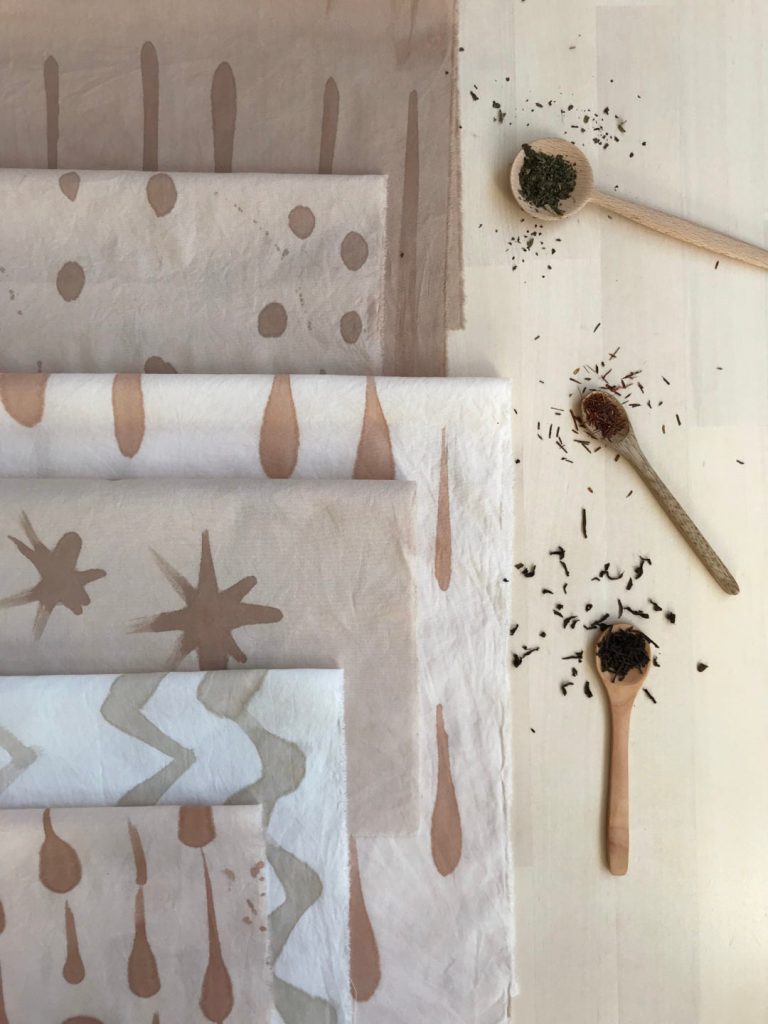
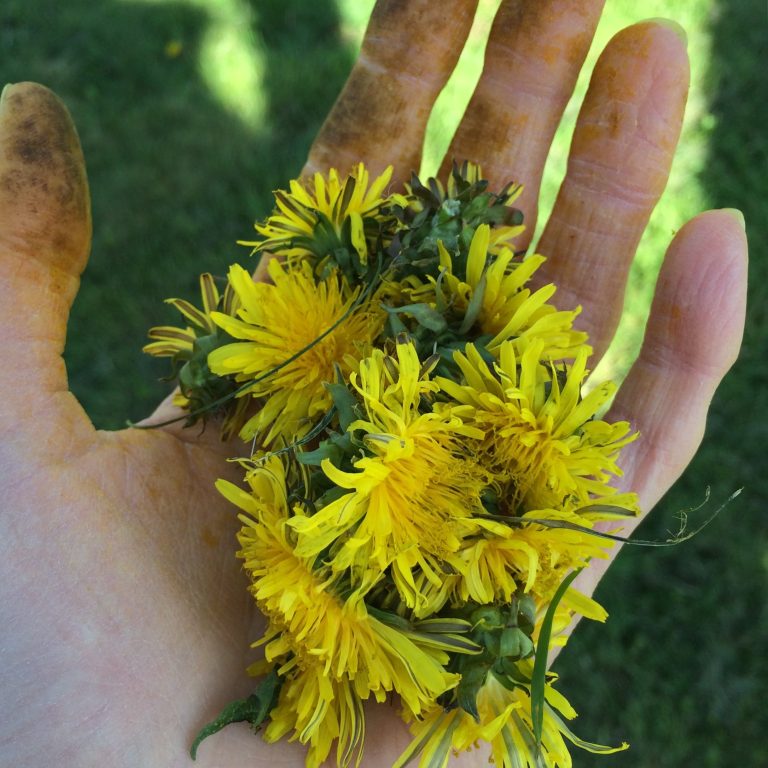
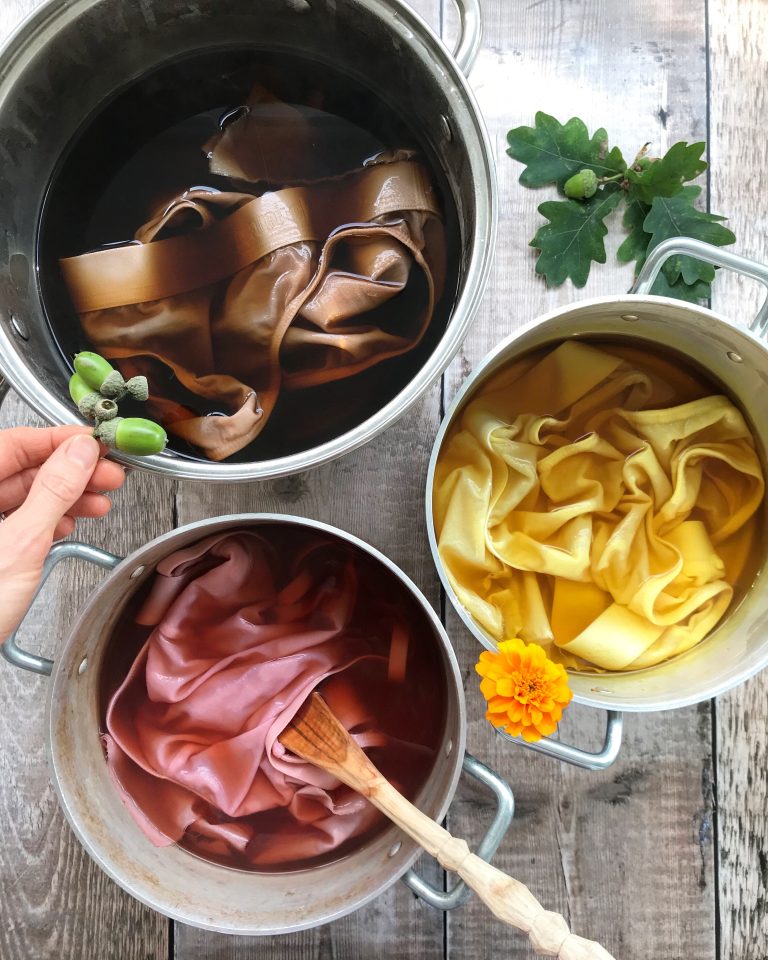
One of my favourite plants to dye with in the spring is the stinging nettle – it’s one of the plants I most look forward to. The leaves give me a soft grey-green hue at this time of year (maybe you get a slightly different colour?) – the colour just feels so fresh and “alive” at the beginning of spring.
In this blog post I’ll give your some of my nettle dyeing tips for the freshest colours, and also chat to two nettle-loving herbalists, Kim and Vicky, from Handmade Apothecary. They’ve answered some of my questions about nettles and helped me understand why lower heat works best when extracting dye from the leaves.
Gathering nettles for dyeing
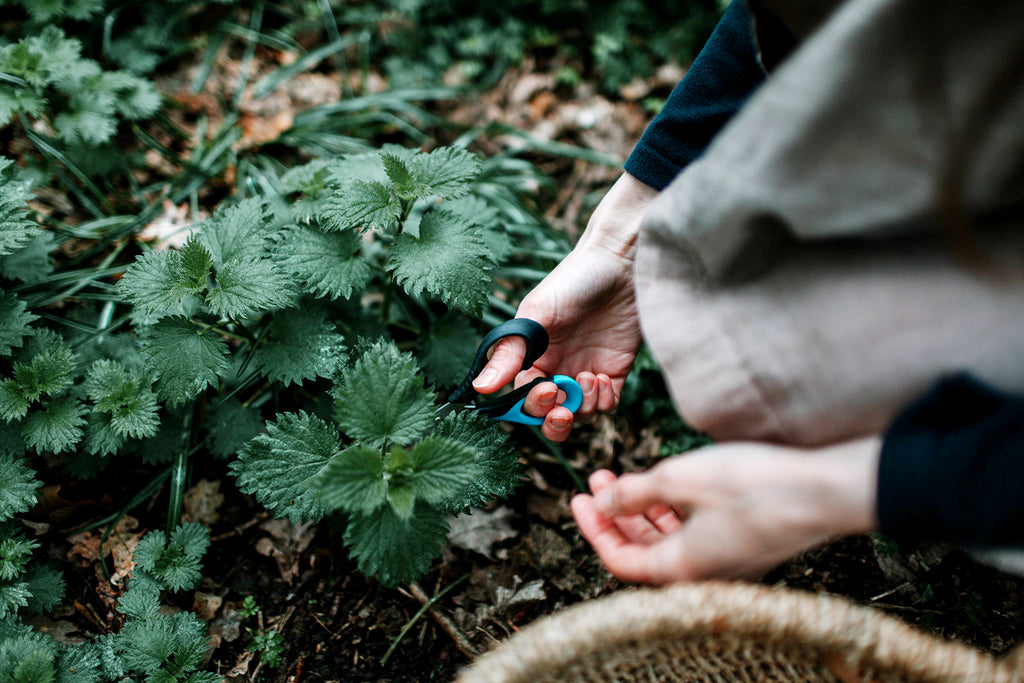
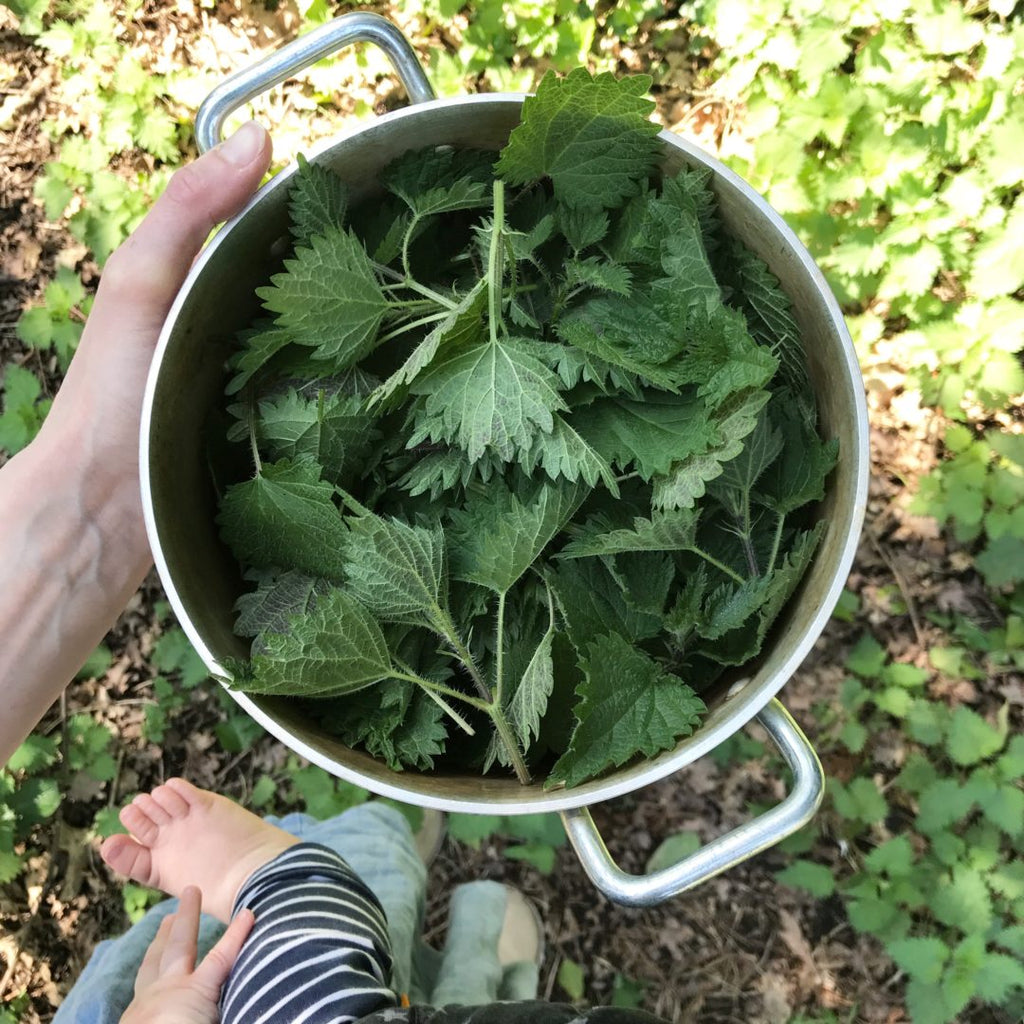
As soon as the first nettles pop up through the ground, I eagerly wait until the plants are tall enough for their first harvest. Then I trim the top few leaves.
Nettles grow wild in so many places that I’m never short of leaves. As I’m collecting them for dyeing and not eating, I don’t mind that they come from less than pristine areas, such as my local park where there are lots of dogs.
When harvesting nettles at this time of year we need to be on the lookout for nesting caterpillars. This is a tip that I heard from my friend Alice Bettany – the herbalist at Sacred Seeds. The Red Admiral butterfly lays its eggs on nettle leaves, so a curled up leaf is a sign that there is a hungry caterpillar inside. So it goes without saying, don’t cut off any leaves that may be housing caterpillars.
I cut the top part off the nettle plants with scissors and use the scissors as tongs to place the stems of leaves in my basket or bag. Some people wear gloves to protect them from stings, but I find that if I’m careful I don’t get stung. The only time I sometimes get stung is when I stand up and forget that there are nettles close to my bare ankles!
When I get home, I leave the basket of nettles on my balcony for a few hours to allow any insects to crawl away. I then have another thorough look when I put the leaves in my pot.
Dyeing with nettles
As with all my dyeing, my methods are loose and intuitive, and often slightly different every time. I don’t weigh my dye plants or record the temperature of the water. But here I’ve written out my general method.
A note on safety
Use separate equipment from your usual kitchen equipment – you need a separate set that is reserved for dyeing. Keep good air flow when dyeing indoors. Keep your dye pots well away from food, children and pets.
What you need
- Aluminium pot – I find this is the key for getting the brightest colours. I get muddier/browner shades when using stainless steel.
- Wooden spoon
- Sieve
- Bowl for straining dye into
- Prewashed and mordanted fabric
- Nettles
A note on fabric
I pretreat my fabric (cellulose/plant fibres) using the soya milk method, as outlined in my book Botanical Colour at your Fingertips. You might choose another method, or if you’re dyeing protein fibres then you might not use anything at all. But for clarity, my fabric is all cellulose and pretreated with soya milk.
Dyeing method
1. Place nettles in a large aluminium pot (I find I get the brightest colours with aluminium).
2. Fill the pot with just enough water to cover the nettles.
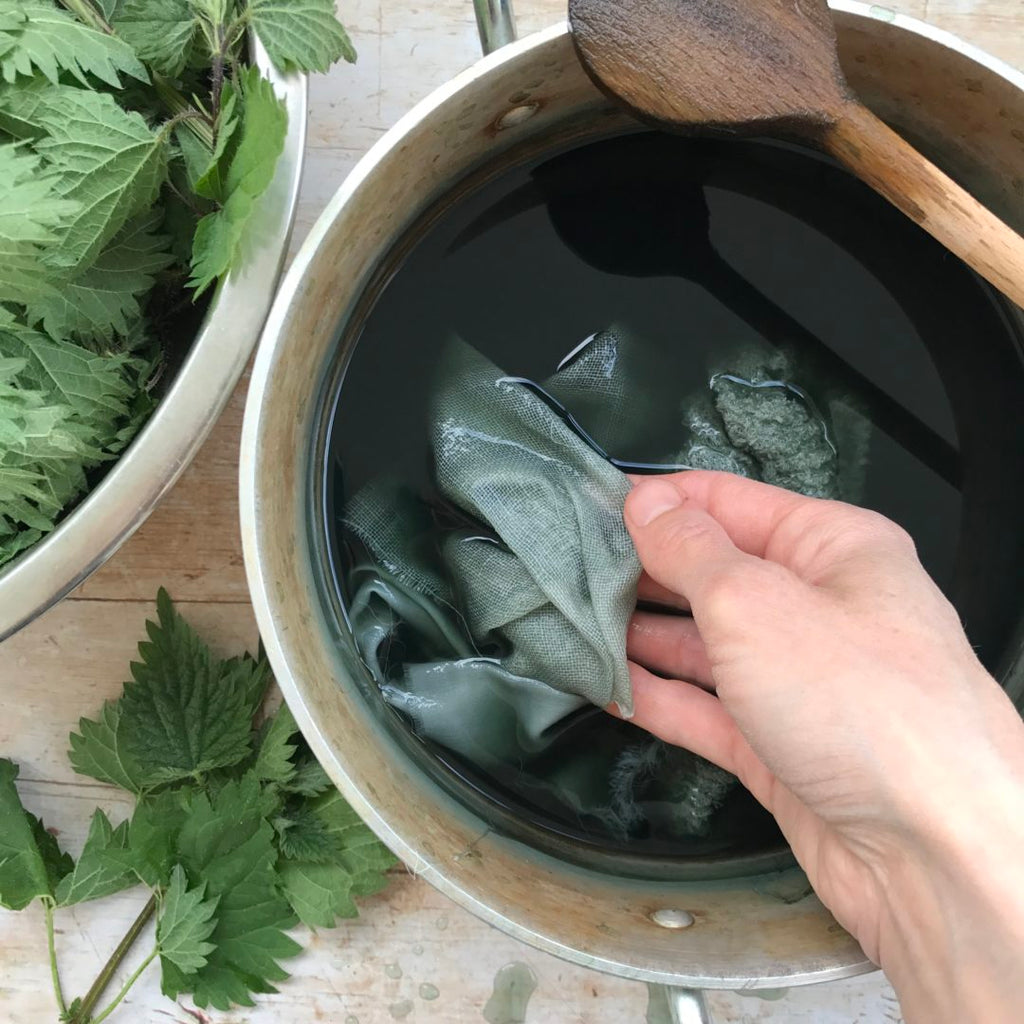
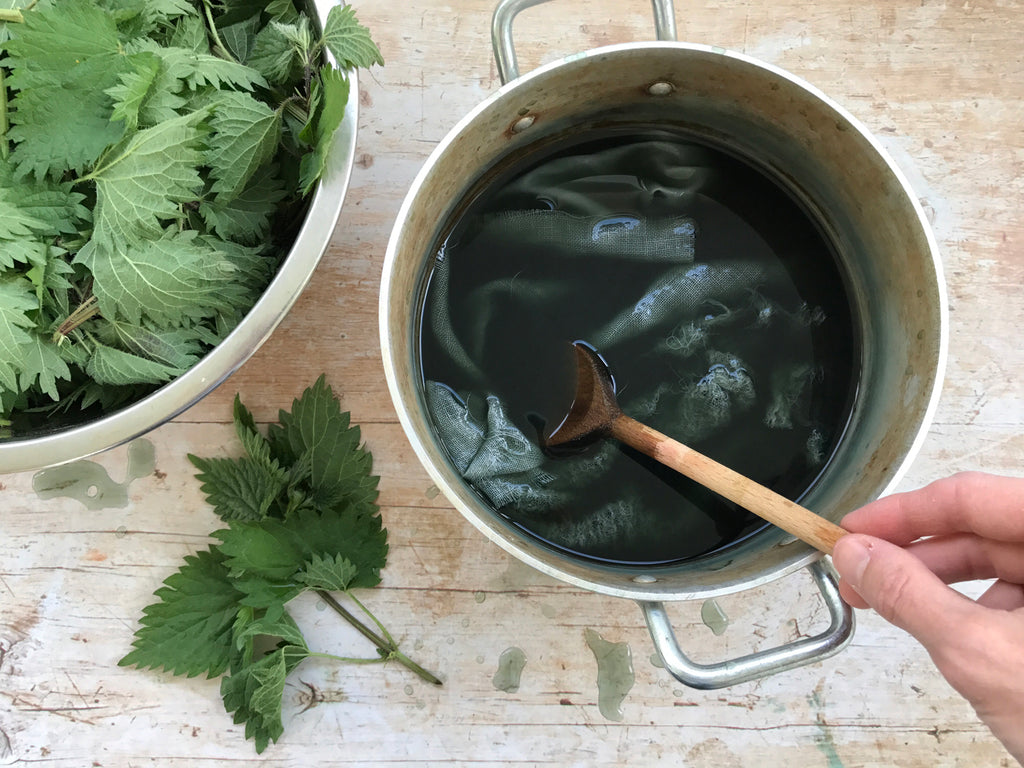
3. Place the dye pot on the stove and heat very gently. As the leaves soften, push them down below the water level. Stop heating once the water reaches simmering point. Then turn off the heat and allow the nettles to steep in the dye pot for a few hours. The aim is to gently coax colour out of the leaves – not cook the nettles.
4. Have a look inside your dye pot regularly and see if the water is changing colour. It will look yellow at first and darken over the next few hours. I like to put a swatch of fabric into the dye pot and use a wooden spoon to scoop it out every so often to monitor the dye colour.
5. You may decide to heat the dye again.
6. Monitor the colour over the next day or two and observe the colour change of the liquid. Mine goes from yellow to green to dark grey-green.
7. Strain out the leaves when you are happy with the colour of your dye. This might be after one, two or three days. If you let the leaves sit for too long in a warm place, the dye might begin to smell, so be mindful of this and use the dye before this happens. Strain through a fine mesh sieve and make sure there aren’t any bits of leaf in the dye as they can embed into your fabric or yarn and potentially leave darker patches on fabric. Strain again through fabric if necessary, to remove all the pieces of leaves.
8. Pour the dye back into your aluminium dye pot and heat gently for a few minutes. Now the leaves aren’t in the dye, you might choose to use a slightly higher heat. Over the next few hours observe the dye further darken in colour – my dye becomes almost black. Many dyes seem to darken in colour in this way – perhaps in part due to oxidation, also the reaction with aluminium, and as Kim and Vicky mention in the interview below – the leaves contain iron, so the darkening of the dye may be a natural “saddening” of the dye colour from iron. The sides of my aluminium dye pot end up with an almost blue tinge (see photo below) – this is where the dye has reacted with the metal.
9. Add in some extra water to raise the level so there’s more space for your fabric to move about.
10. When you’re happy with the dye colour, add in damp fabric then heat gently and stir with a spoon to help it dye evenly. (See my blog post here for tips on dyeing the most even colours). Simmer the fabric and ensure its submerged under the dye at all times.
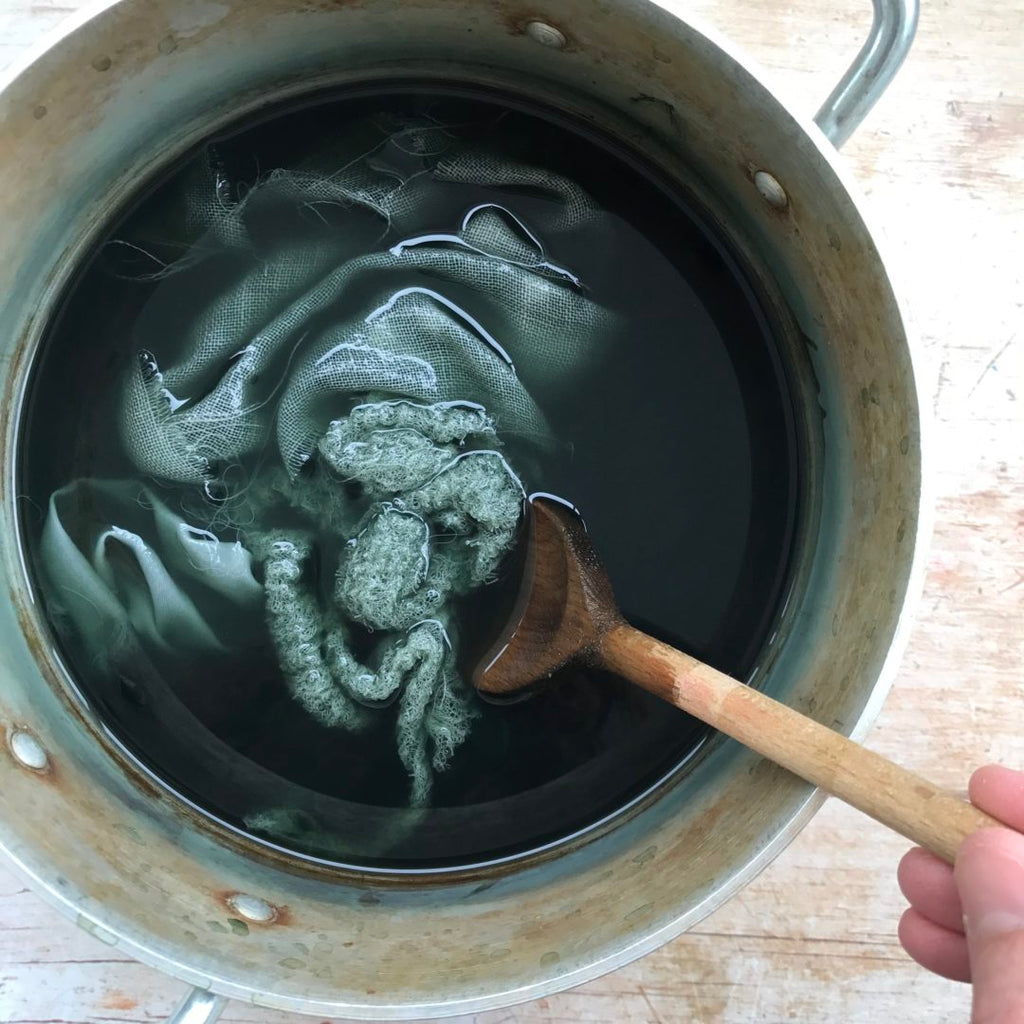
11. Allow to soak for as long as you like, and reheat a couple of times if you feel it needs it. Stir the fabric whenever you pass, just to move things about so it dyes evenly.
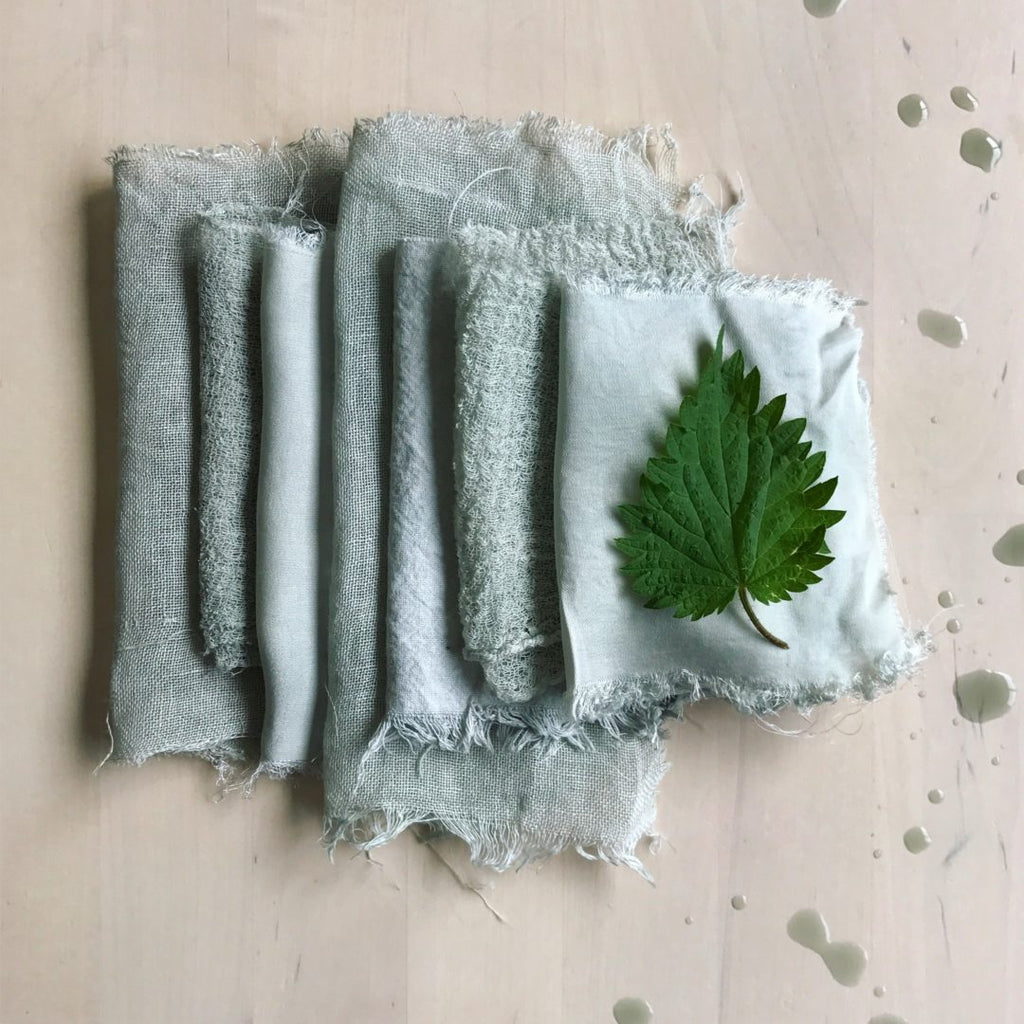
12. After a day or so, take the fabric out, squeeze out the excess dye and allow to hang to dry. Wait a few days before rinsing out the excess dye. If you’re dyeing cellulose fibres then the final colour will be considerably lighter than the original colour that came out of the dye bath, but I find that a lovely misty grey-green shade remains.
Further experiments
- Dye fabric swatches at various points of the process and see how the fabric dyes different colours. My dye goes through an emerald green stage – that would be an exciting point to dye some fabric!
- Compare different dye pots – aluminium vs stainless steel (non reactive) vs copper vs iron. Aluminium, copper and iron are all reactive metals and will affect the colours in different ways. I feel that aluminium brightens my dye as I get much duller results with stainless steel, iron will darken (“sadden”) the dye and copper will enhance the colour in some way (perhaps even bring out the green even more!) Try it and see!
- Gather nettles at different points in the spring, summer and autumn and observe how the dye colour changes. I get beige/brown colours later in the year. Maybe it will be the same for you, or perhaps not. If you dye with nettles regularly you’ll be able to track the way the seasons affect the colour.
Colourfastness
Before you dye your favourite clothes with nettles, be sure to check how well the the colour lasts after washing a few times and exposure to sunlight. The level of colourfastness will be determined by how well you’ve prewashed and pretreated/mordanted the fabric. I find the colour from nettles lasts well, but I can’t take any responsibility for your results. It can depend on the fabric you use and lots of other factors. Even if the colour doesn’t last as long as you’d hoped, you can easily redye. But personally I find nettles make a reliable dye. After all, people have been dyeing with nettles for hundreds, if not thousands of years.
A herbalist perspective on nettles
Now let’s talk to Kim and Vicky from Handmade Apothecary about nettles in more detail.
1. It’s spring now and we have new nettles popping up everywhere. The young leaves always give me the brightest colours in the dye pot. Are these young nettles the most potent in terms of nutrition and medicinal value?
It seems those lush, green spring nettles are at their best for harvesting for food and medicine as well as dyeing! The nettle tops (the stem and top 6-8 leaves) are best picked before flowering occurs when they are tender and full protein and rich in minerals such as iron, calcium, silica and magnesium – fantastic for everyone, but particularly for vegans and those with a tendency to anaemia.
After nettles have gone to flower, they are tougher, more bitter and contain insoluble crystals of calcium carbonate that can irritate the kidneys and theoretically cause kidney stones in really large doses. Don’t worry if you miss the season though, nettles that have been cut back have a second ‘flush’ in autumn and can be harvested once again.
2. When I dye with nettles, I’m very mindful of not cooking the leaves – this ensures I extract the best greens from the leaves. If I heat the water too much then the dye becomes much more brown. Why is this?
This is very interesting that you mention this, and will be from two main things. First, the short heating time ensures the chlorophyll (the photosynthetic cell in plants that provides the green colour) doesn’t break down, and stays fresh and green. Also, if you simmer nettles for a long time, you will find the liquid is not only dark, but if you sip it, is very metallic tasting. This is because the iron dissolves out of the herb into the water, and the darker colour will come from the iron oxidising.
3. When making nettle infusions, does a low heat/slow infusion offer different health benefits in comparison to making tea perhaps the more typical way with boiling water? Which method do you prefer and why?
Pouring boiling water over nettle leaves and brewing it like you would a tea is the traditional way of making it. For leafy herbs, herbalists tend not to boil them for long as other more delicate phytochemical compounds will break down: simmering and decocting are reserved for tougher materials like bark, seeds and roots.
However, to obtain the greatest nutritional/mineral benefit, then adding nettles to your food is the preferred method. Cook nettles like spinach, they don’t need much heating; chop them and add them at the end of cooking time for soups or stir fries. just a couple of minutes is all it need to destroy the stings and once blended in add an excellent umami taste!
4. When dyeing with dried nettles the colour cannot be compared to the beautiful colour from fresh leaves. In terms of the nutritional value of nettles, is there a difference between fresh and dried?
One of the main benefits of nettle is the mineral content (iron, silica calcium etc) which are very stable, and so drying does not affect their taste. Nettles dry and store very well, unlike some other delicate herbs. So, use fresh when you can get it, but don’t worry about drying it for use once the season passes. They are a kitchen staple for us and are so yummy and nutritious, they should be enjoyed all year round. An old saying goes, “If they would eat nettles in March and Muggins (Mugwort) in May, many a maid would not go to clay”.
5. What are your favourite ways to use nettles in your herbal practice?
Nettles have so many lovely uses! The infusion makes an excellent final hair tonic for strengthening and adding shine. Just make a strong infusion and once cool enough, use it as a final rinse in the shower after shampooing. The seeds are a fantastic super food, high in omega 3 and used by herbalists for people who are stressed and exhausted. Just a pinch (less is more in the case of nettle seed) are great blended into smoothies, stirred into hot porridge or as part of an energy ball recipe. There is even research about nettle helping stabilise blood sugar levels in people with Type 2 diabetes. Then there is a simple nettle anaemia tonic, which helps boost iron levels and is great for women (and men) of all ages.
Thanks for the fascinating chat, Kim and Vicky! I really appreciate your insights into the beloved stinging nettle.
Kim and Vicky have a brilliant book called The Handmade Apothecary: Healing Herbal Remedies which I bought last year and thoroughly recommend. There are quite a few nettle recipes in there!
Do you dye with nettles?
I would love to hear about your experiences in the comments below.
If you decide to do some nettle dyeing and share photos on Instagram, use the hashtag #mylocaldyeplants so we can see each other’s results and variations in colour.

