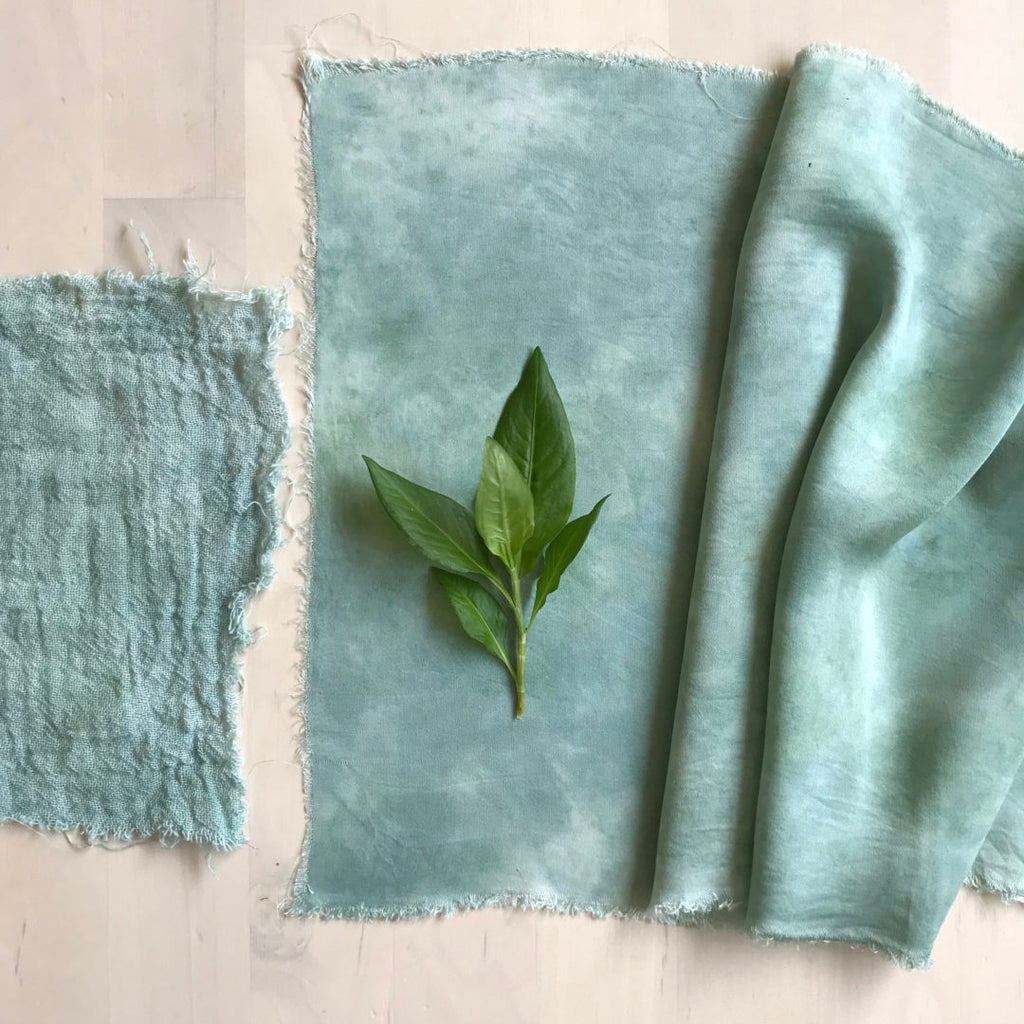
In this blog post I’ll share with you my first experiment with fresh leaf indigo dyeing on cellulose fibres. I’m in love with this pretty shade of teal! I didn’t know if it would work on cellulose as I’ve read that it’s best on protein fibres, but I’m thrilled with the results.
I’ve been growing a couple of pots of Dyer’s Knotweed / Japanese Indigo (Persicaria tinctoria) on my balcony this summer (about 6 plants in total). The plants didn’t seem to like the intense heat in the summer but have flourished in the autumn. The leaves were looking so lush that I knew that I had to try dyeing with them soon. It was now or never! Soon we will have a frost and it will be too late…
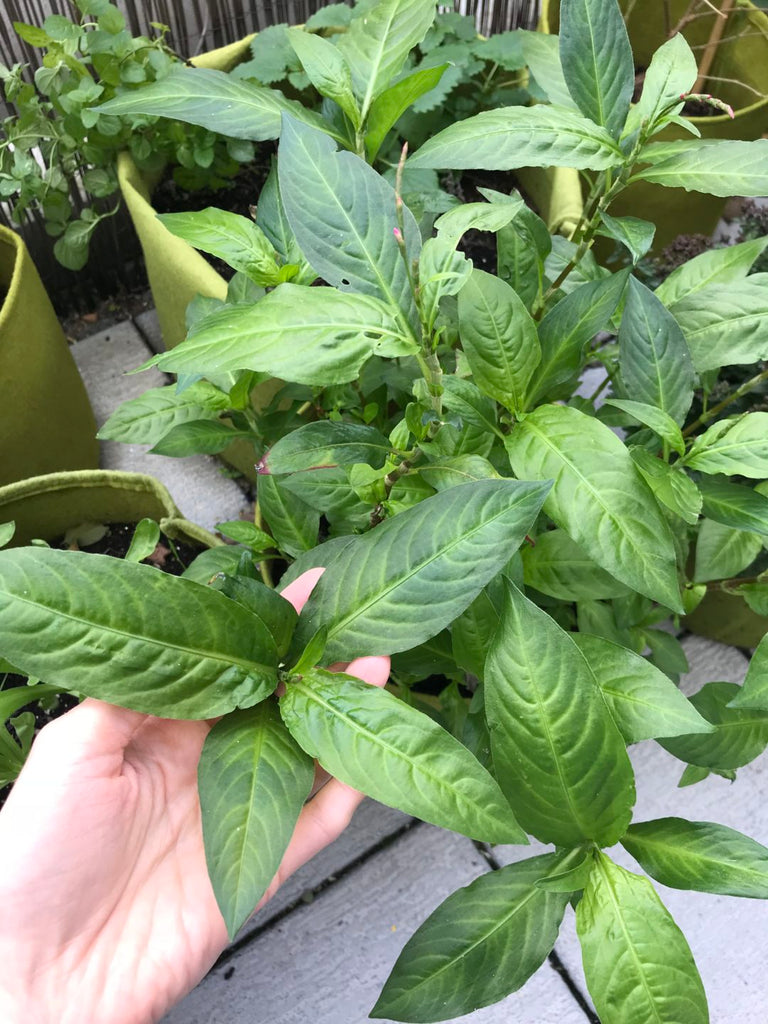
A couple of the plants are beginning to flower. The pink buds are so delicate and pretty. I’ll leave this plant (in the photo below) to flower and hopefully get some seeds for next year. I understand that once the plants flower, the amount of indigo in the leaves is past the peak. So it’s definitely time to dye with the leaves…
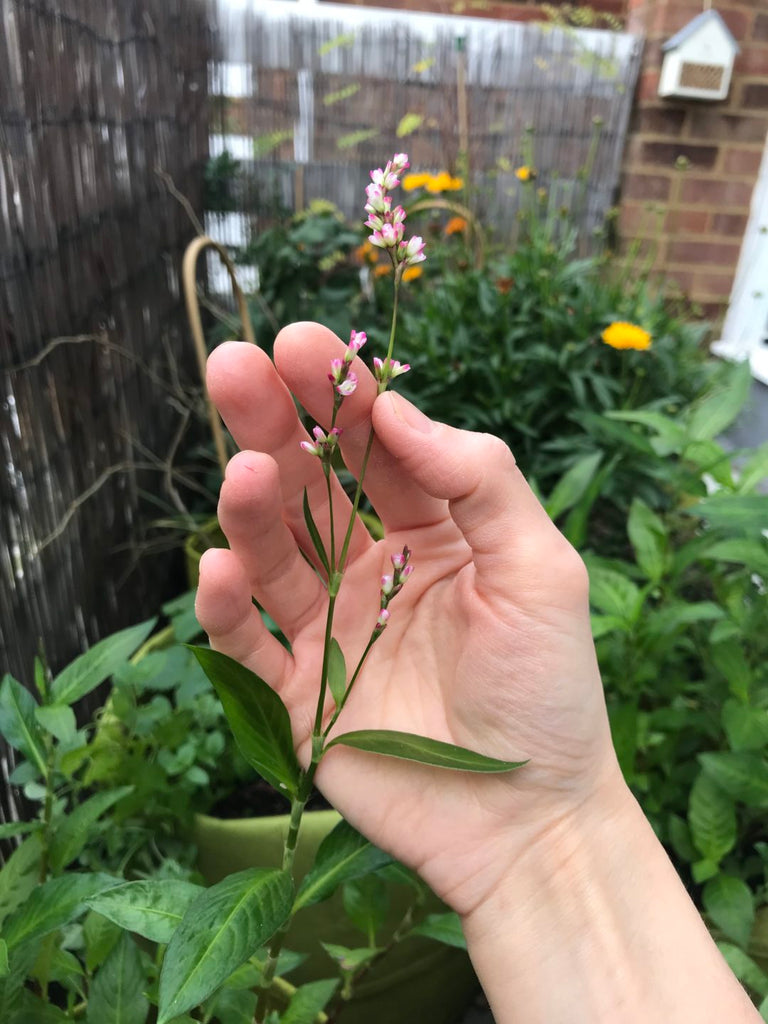
The traditional way of indigo dyeing is to ferment the leaves, but since I have only a few handfuls of leaves I thought I’d try out a quicker method using fresh leaves. I’ve heard the “salt rub” method mentioned a lot over these past few months and found this helpful blog post and video which I used as a guide.
There’s different fresh leaf method which involves blending the leaves in water, but I was more drawn to the salt rub method as it didn’t require a blender. I just needed some salt and my hands.
Would you like to join me on my indigo experiment?
I’ll share with you what I did to make the pretty teal colour…
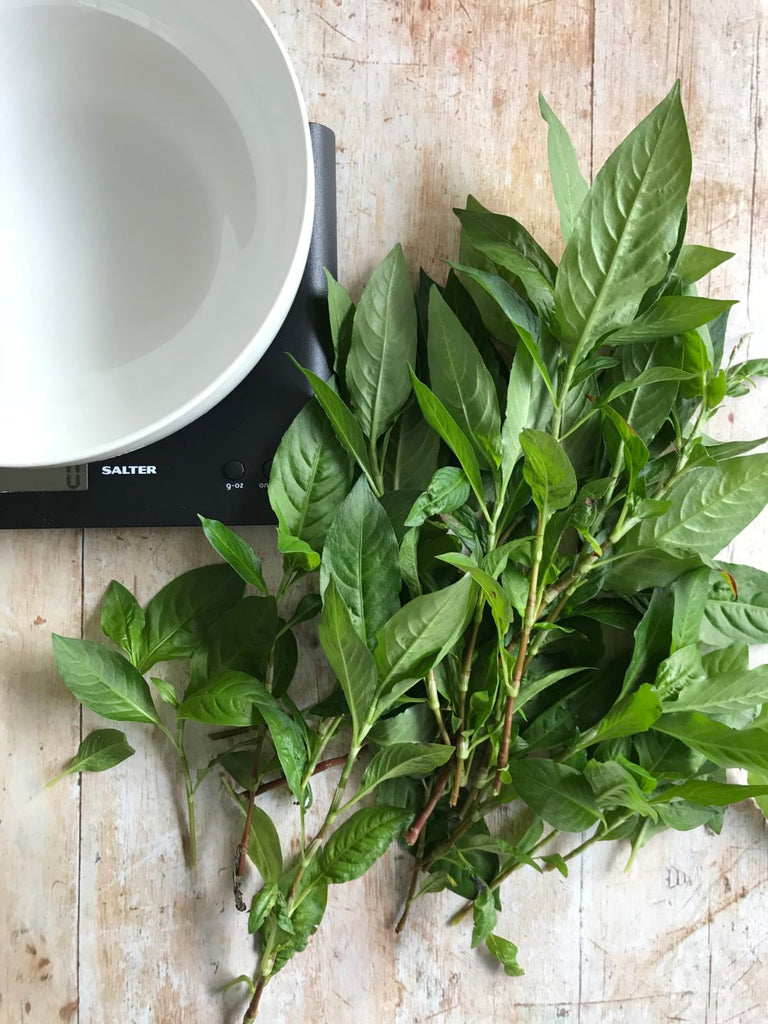
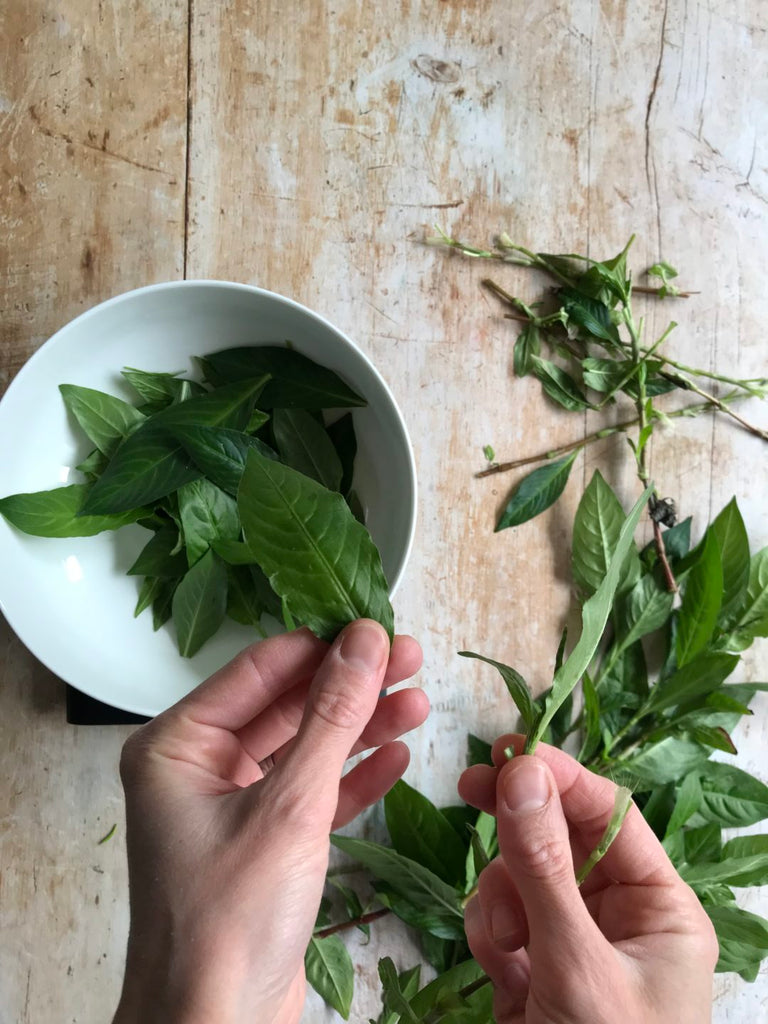
I picked a few handfuls of stems from the plants, except the flowering plant which I will leave and allow to bloom. Then I took the leaves off the stems and weighed them.
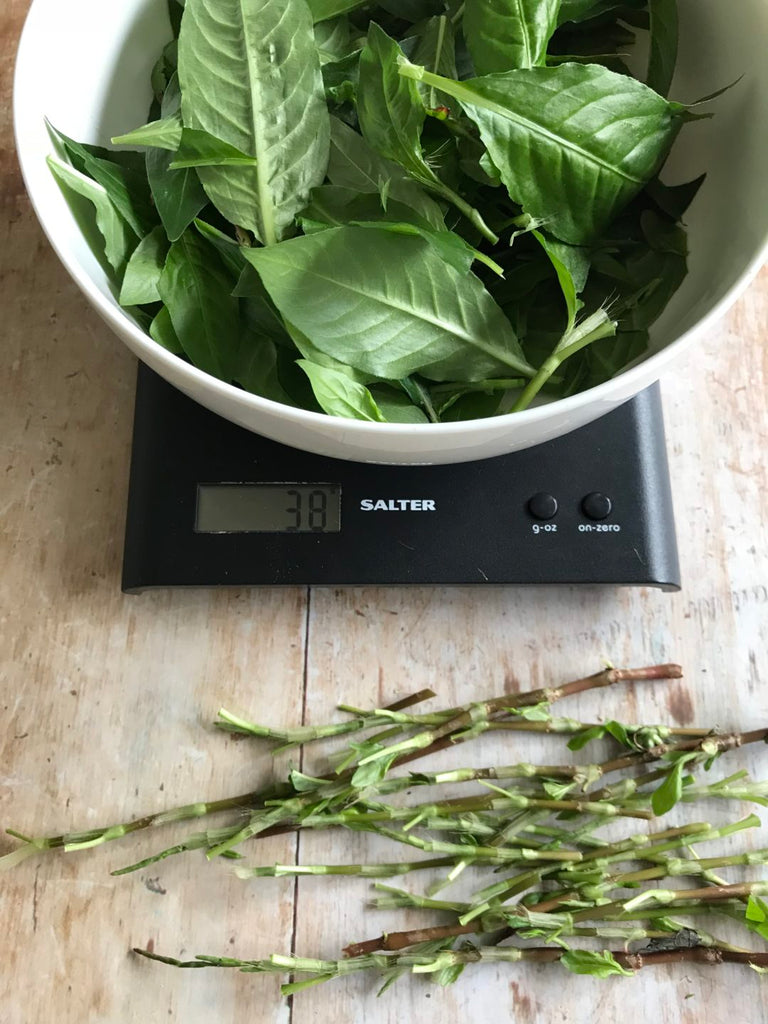
I had 38g of leaves.
I added 1 teaspoon of table salt to the leaves in the bowl. I wasn’t sure of the exact amount needed – and I don’t know that it matters precisely. In the video the lady used a handful of salt for their large bucket of leaves. 1 teaspoon worked just fine for my small amount of leaves.

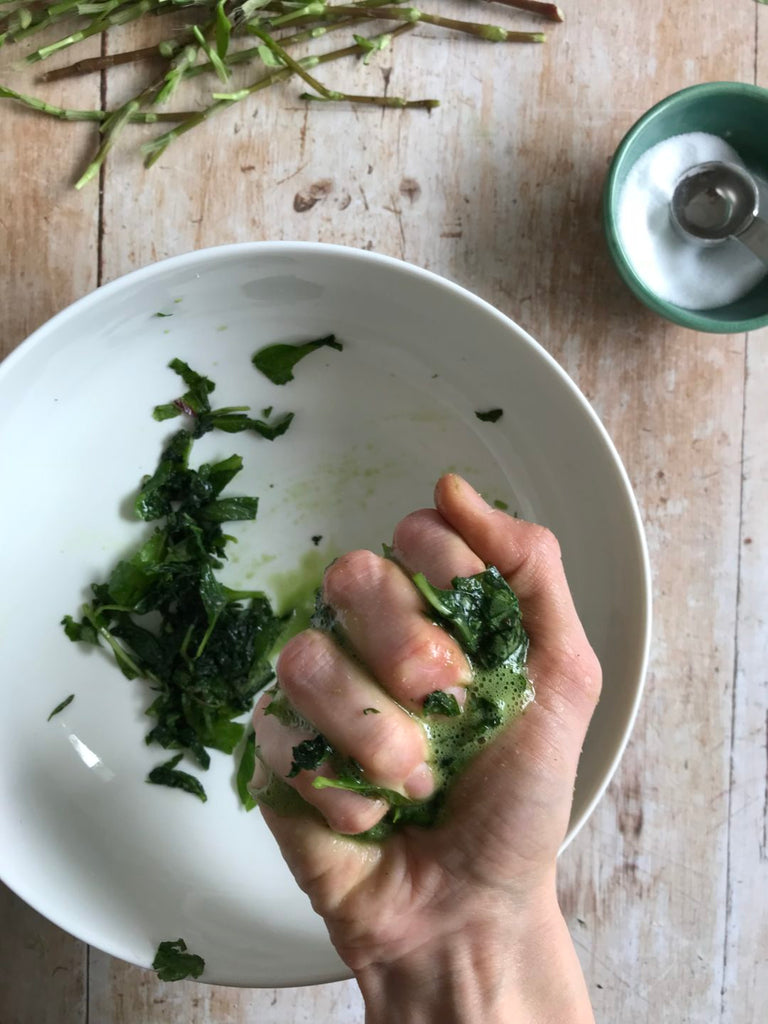
I then scrunched the leaves in my hands and the leaves began to shrink immediately and within a few seconds there was frothy green juice dripping out of my hand.
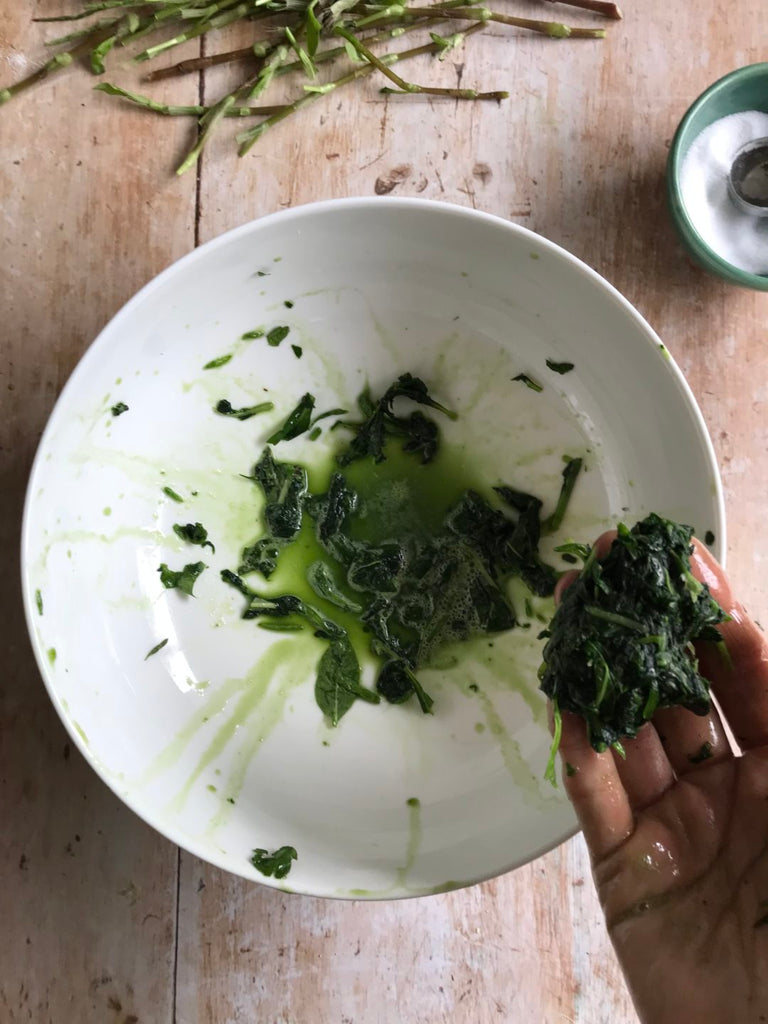
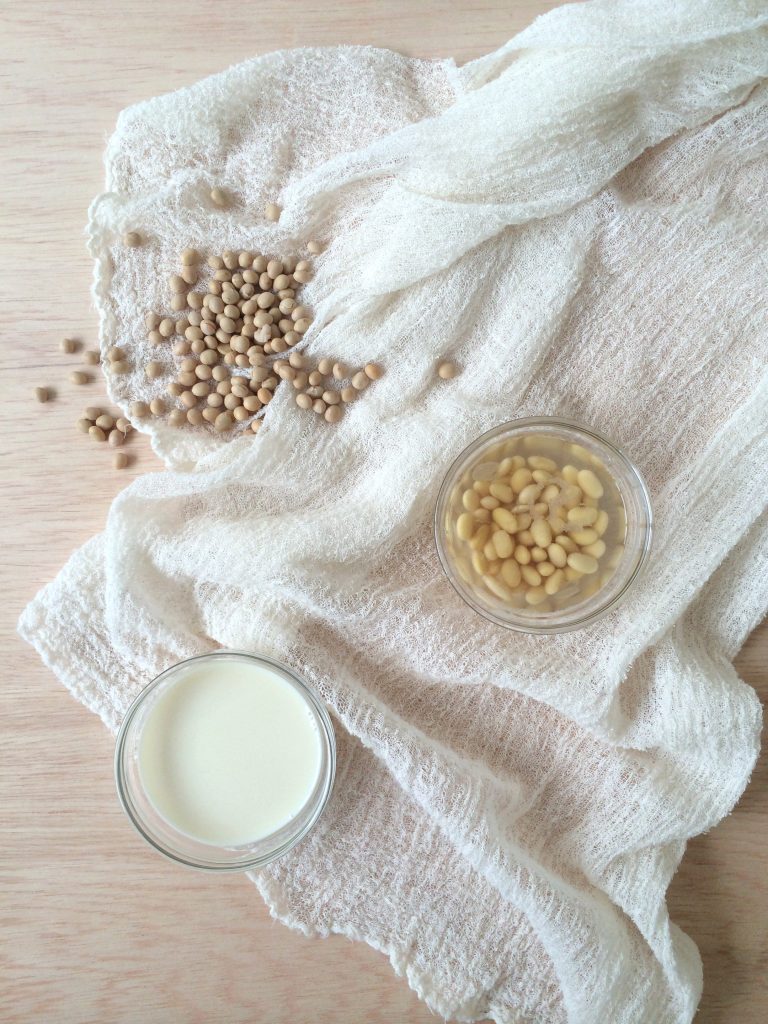
I then added my fabric. I wanted to dye a couple of pieces of fabric – some bamboo silk fabric (it’s satin fabric that looks like silk but is vegan) and a small swatch of organic cotton muslin. Both had been pretreated with soya milk using my usual method shown in my book. I’m not certain if the soybean protein makes a difference to the way the fabric takes up the indigo, but the pretreated fabric was ready and waiting to be dyed so that’s what I used. Next time I will compare the results of soya vs no soya milk on fabric to see if there is a difference.
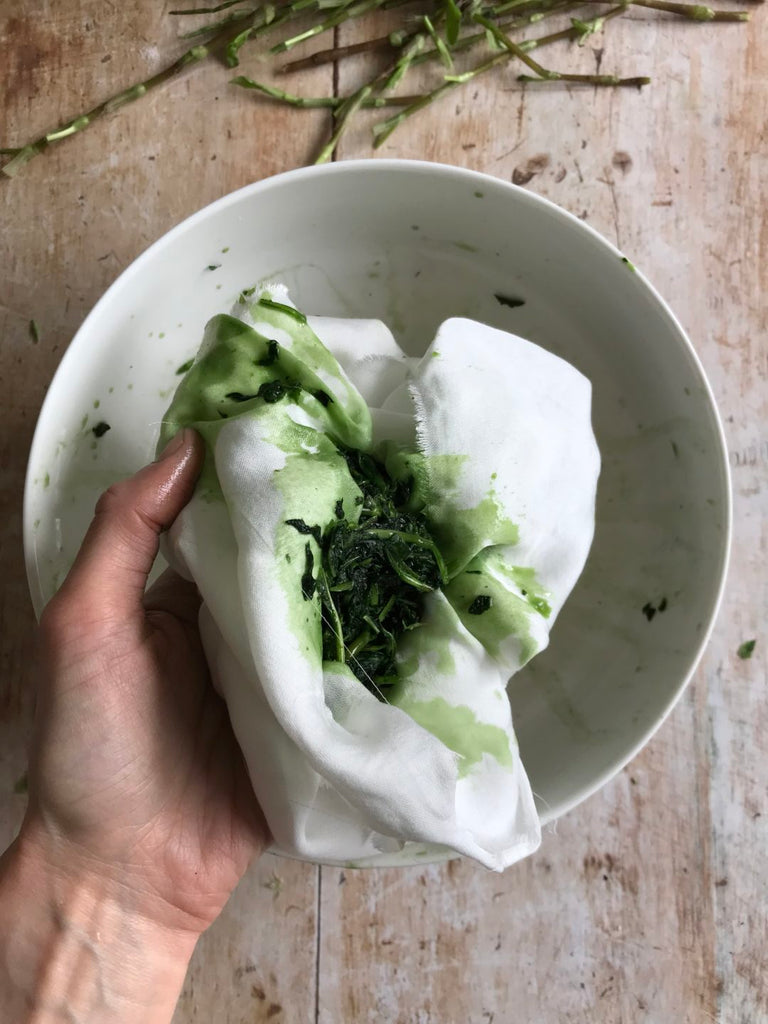
The juice immediately stained the fabric green and I continued to massage the leaves into the fabric and the colour began to turn more of a teal.
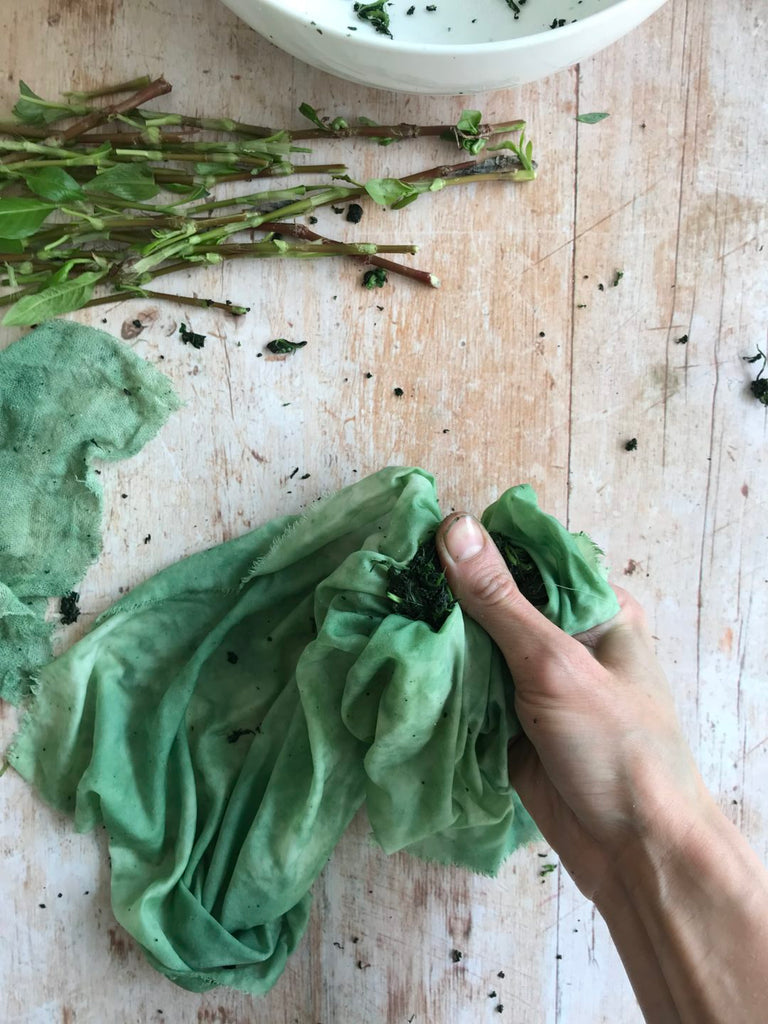
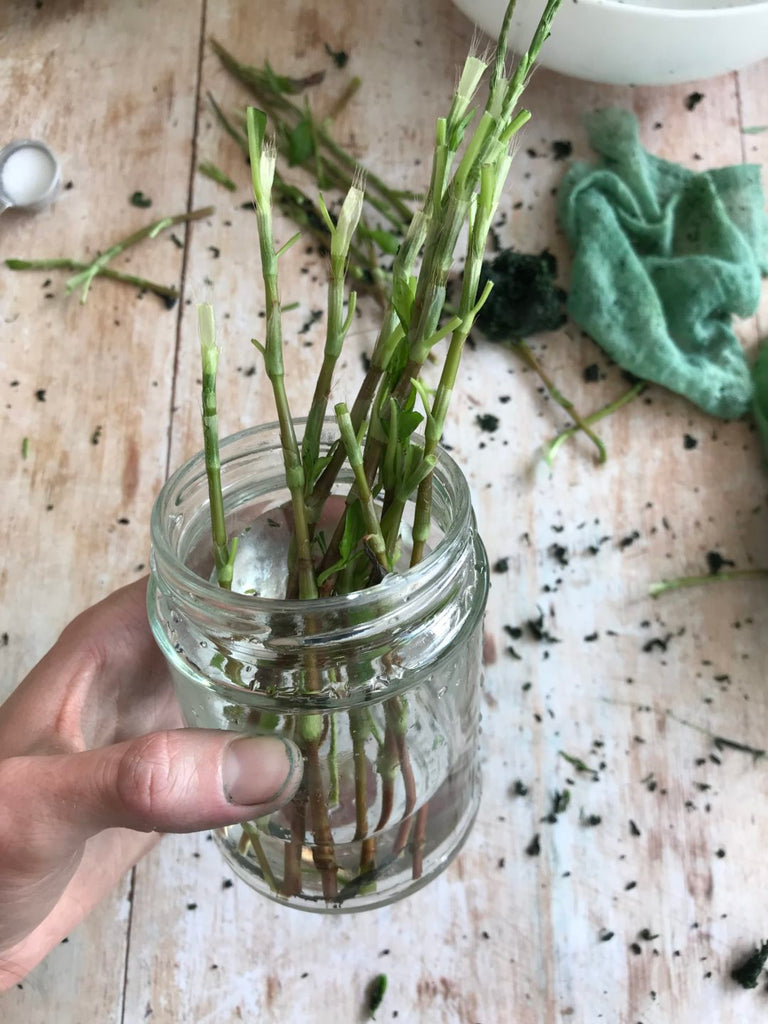
I decided to put the stalks into a jar of water. This is a tip that I heard from Liz Spencer – The Dogwood Dyer. The stems should send out roots and new leaves should grow. Exciting! I’m going to try to grow some plants indoors over the winter.
I carried on massaging and scrunching the leaves into the fabric for about half an hour until there was no more juice. The final result is mottled and a bit patchy so I know I could have done with using a lot more leaves, or using less fabric to begin with. But I’m actually really happy with the softly marbled pattern. It’s beautiful and beyond anything that I was expecting.
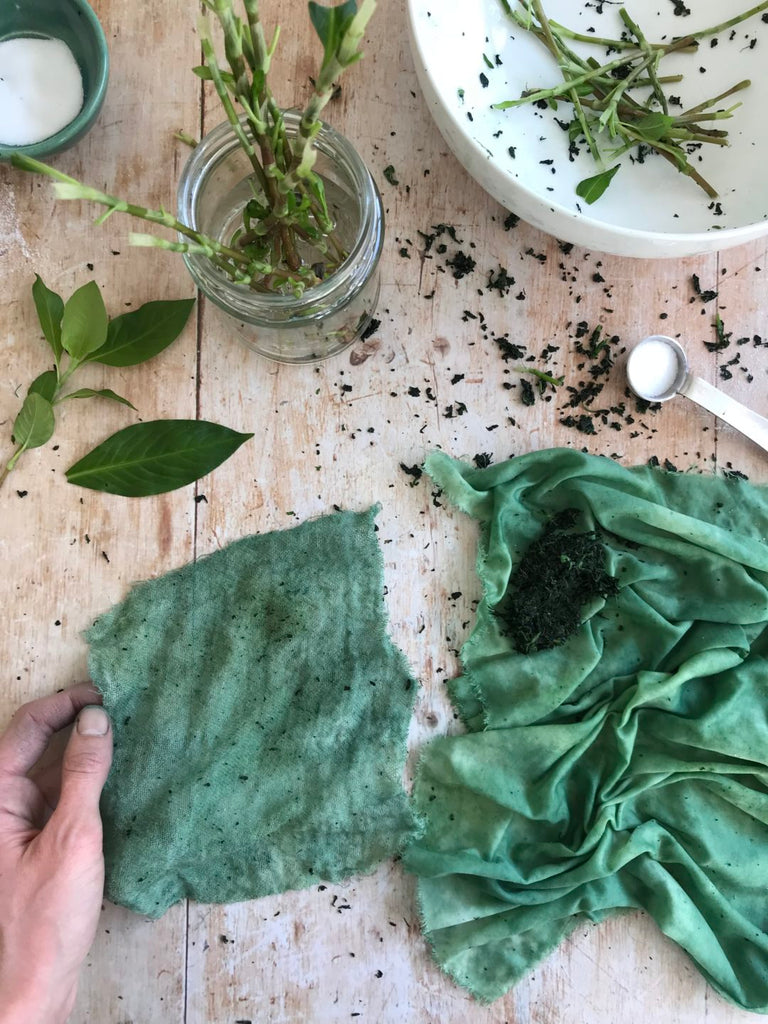
I let the fabric dry for the rest of the day and then rinsed it in the evening. The water in the sink was a bright green and the fabric seems even bluer now than before washing it.
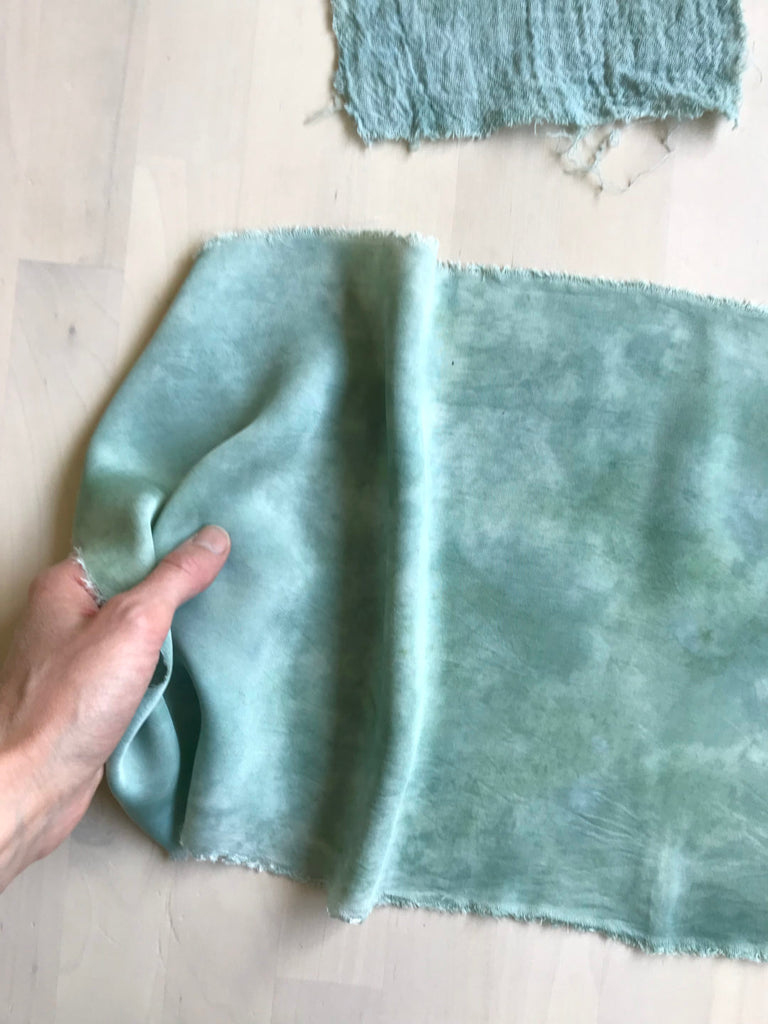
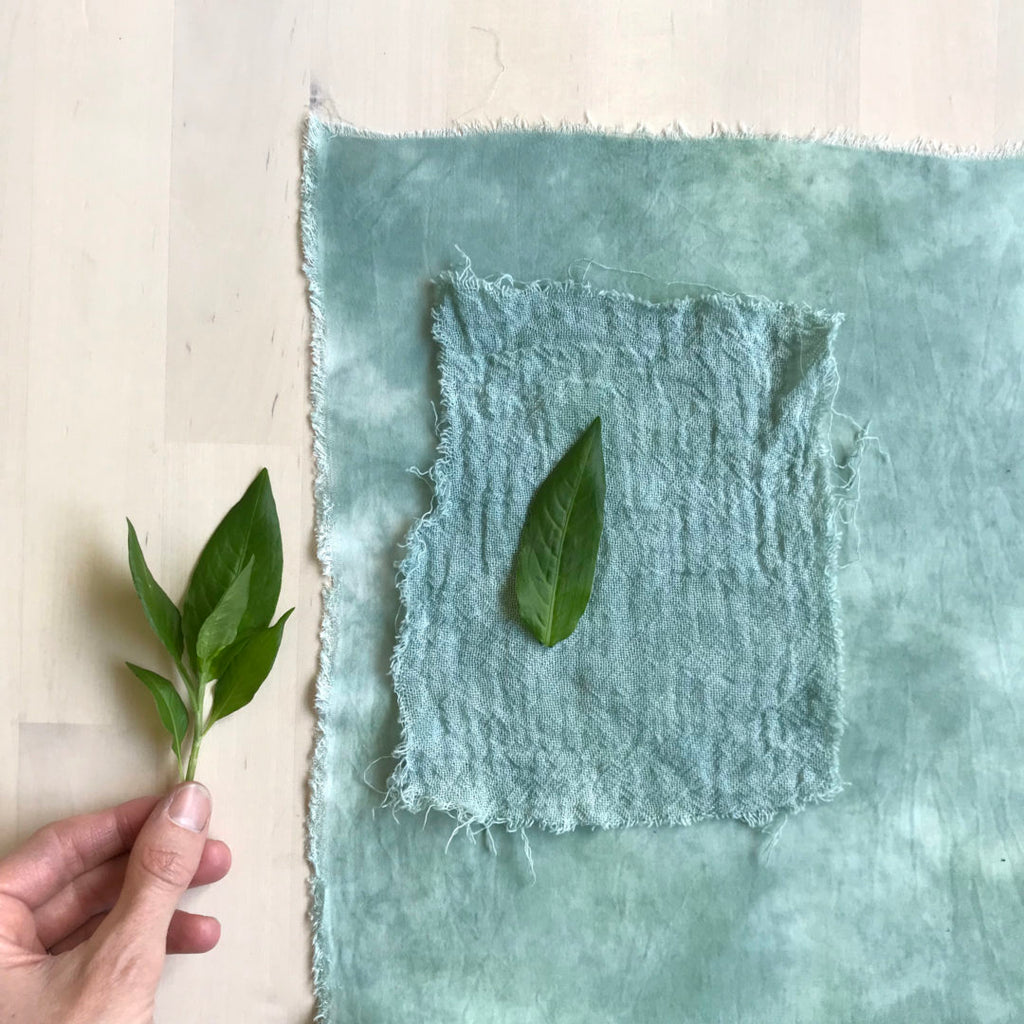
I’m thrilled with the pretty shade of teal blue! I plan to use the fabric in some tiny patchwork lavender sachets. I’ve been craving blue for a long time and it feels great to grow some of my own blue dye! Maybe next time I’ll make a small fermentation vat. If my plants grow more leaves then I’ll try it out. I know this is the beginning of lots of indigo dyeing fun over the next few years.
2019 Update
I’m updating this blog post with a top that I dyed using the salt rub method, the following year after writing the original post. I didn’t have many leaves to play with, as it was an early harvest in the season, so I aimed for a mottled pattern and dabbed the leaves onto the fabric. The fabric is a hemp and organic cotton blend, and I pretreated it in soya milk (the method is in my book Botanical Colour at your Fingertips).
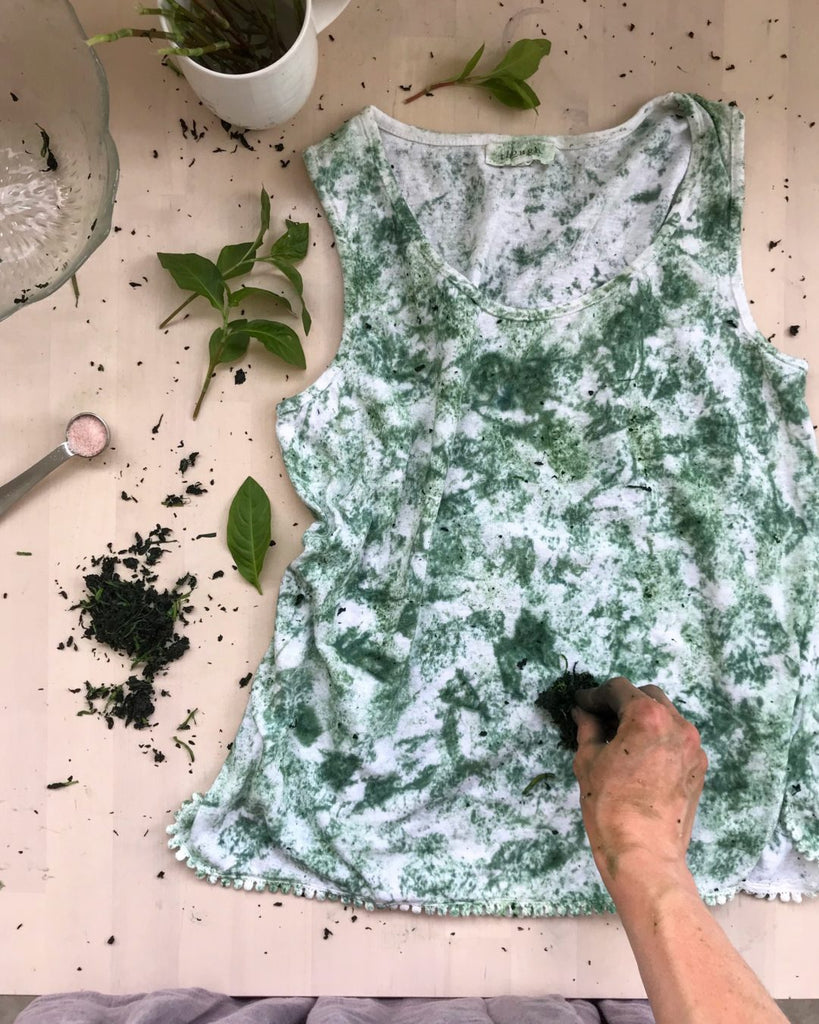
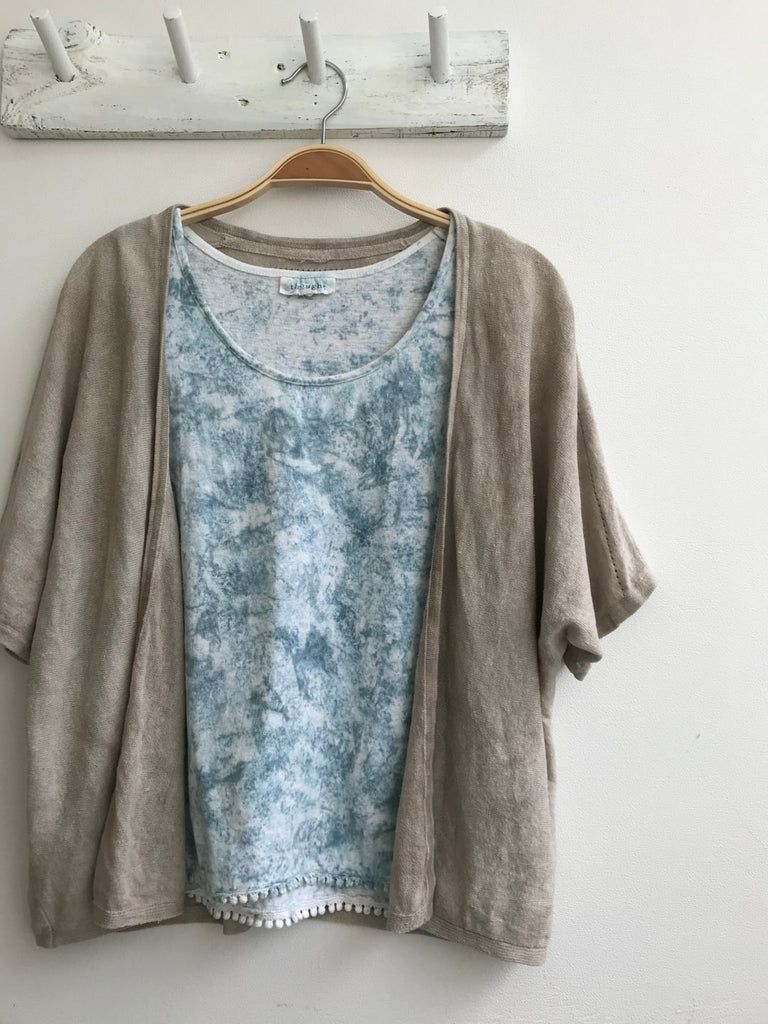
It’s a fun way to make a gentle and wearable pattern.
The grey cardigan above is dyed with acorns and them dipped in a weak bucket of iron water (ferrous sulphate).

