If you’re just dipping your toes into natural dyeing, tea is a great dye to try first. But years later, I still love dyeing with tea. This tutorial is a little bit special… wait until you see the patterns!
Why do I love dyeing with tea so much? Almost all of us have some tea in the back of a cupboard, it contains tannins and dyes fibres amazingly well. Plus you don’t need any special equipment – you can use your cooking pans as we are working with entirely edible dyes.
In this tutorial I’ll show you how to dye your own furoshiki-inspired fabric wrapping cloths. It’s a perfect project for an absolute beginner in natural dyeing. I’ve used black tea, rooibos and dried nettle leaves for the colours.
Plus, this is a great zero waste idea. I used an old cotton bed sheet and tea I had in my kitchen. You could certainly reuse old tea bags or loose tea leaves to make the dye!
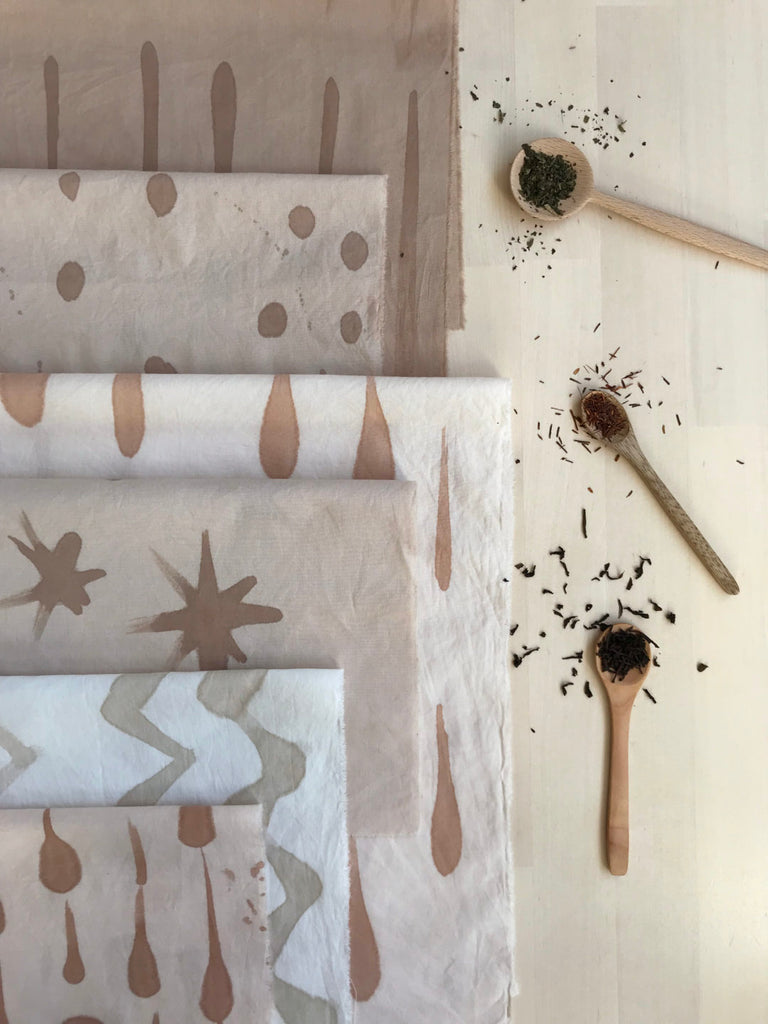
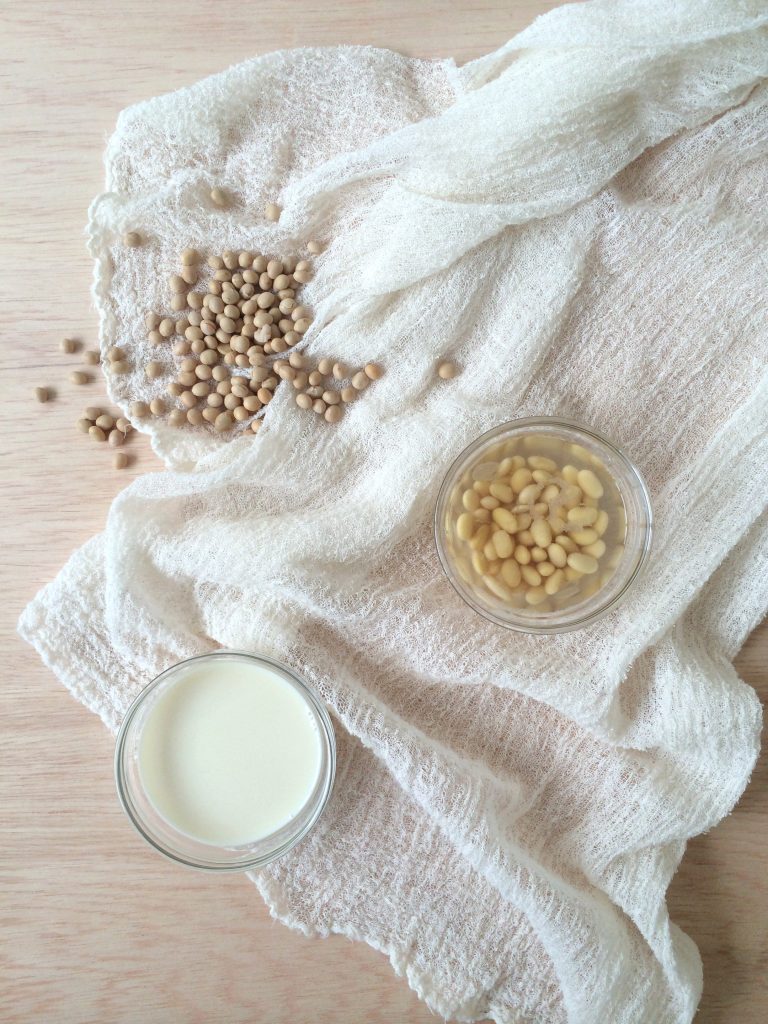
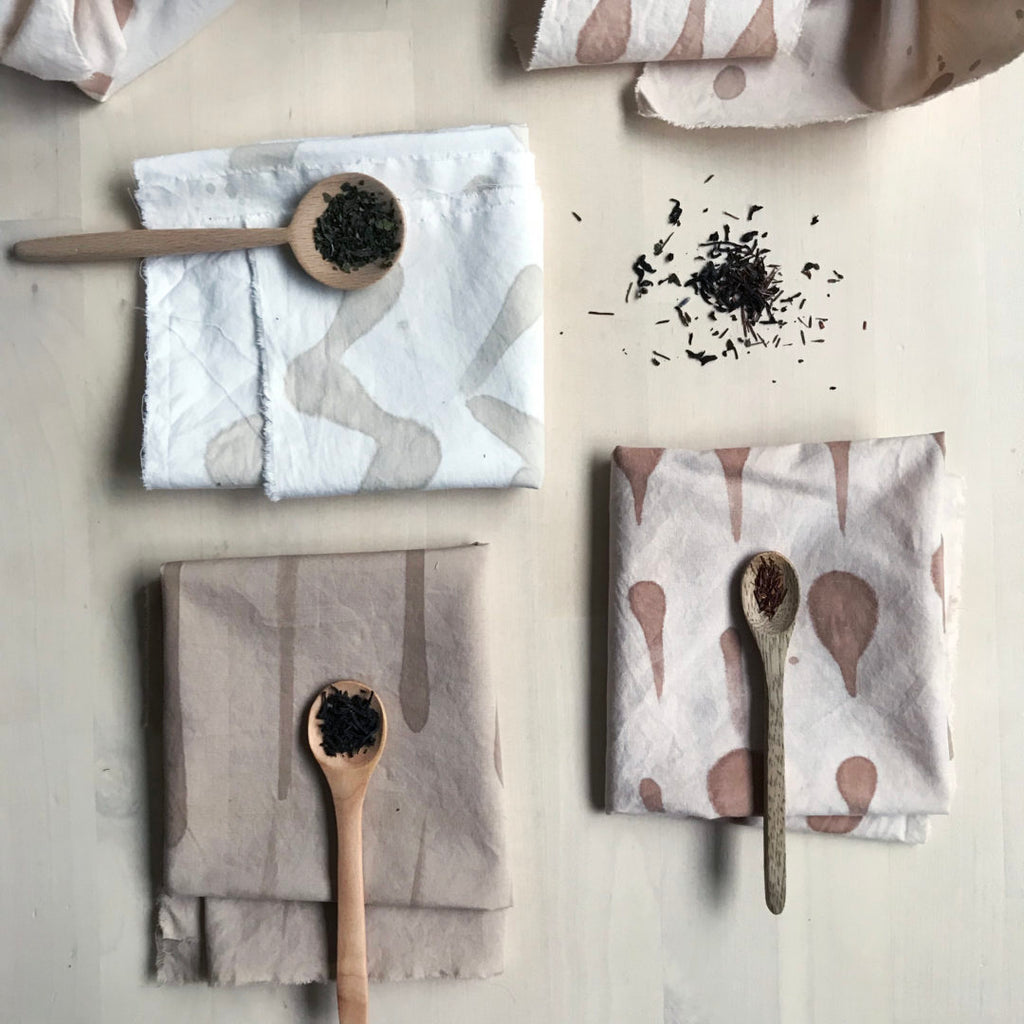
In this tutorial we will be painting with diluted milk onto cotton before dyeing. Yes, that’s right – we’ll make patterns with milk! The milk coats the fibres with a thin layer of protein onto the cellulose fibres. Then we wait a few days to allow the milk to settle into and bond with the fibres, then we will dye the cloth in different types of tea. The areas with the milk will dye darker and the patterns will emerge. Different dyes react in slightly different ways and some teas produce more pronounced patterns. Nettle is the most subtle and takes the longest to dye. Black tea contains the most tannins and dyes the quickest. The background fabric with no milk gets fairly dark from the tea alone.
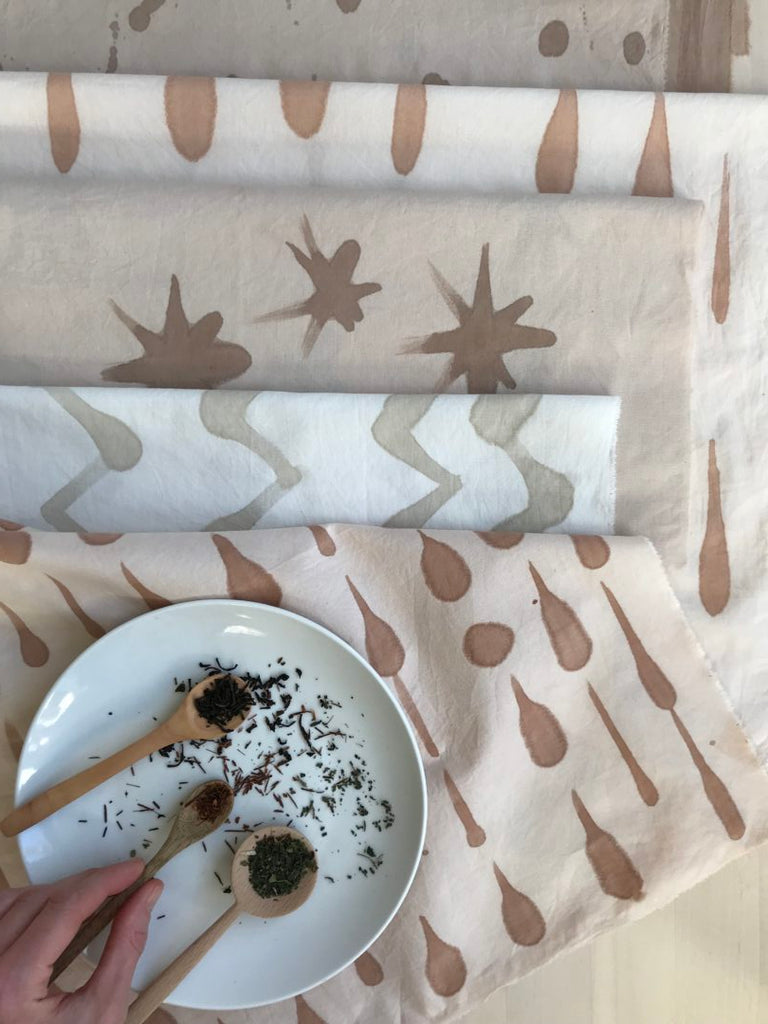
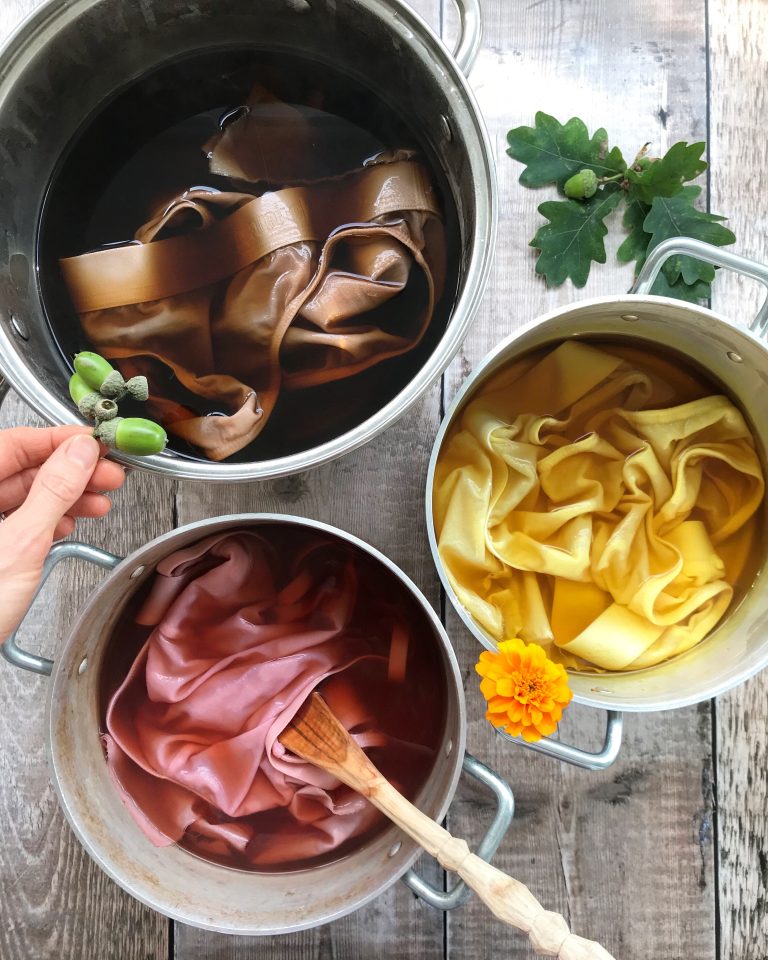
The photo below shows: nettle dye (top left), black tea (bottom left), rooibos tea (right).
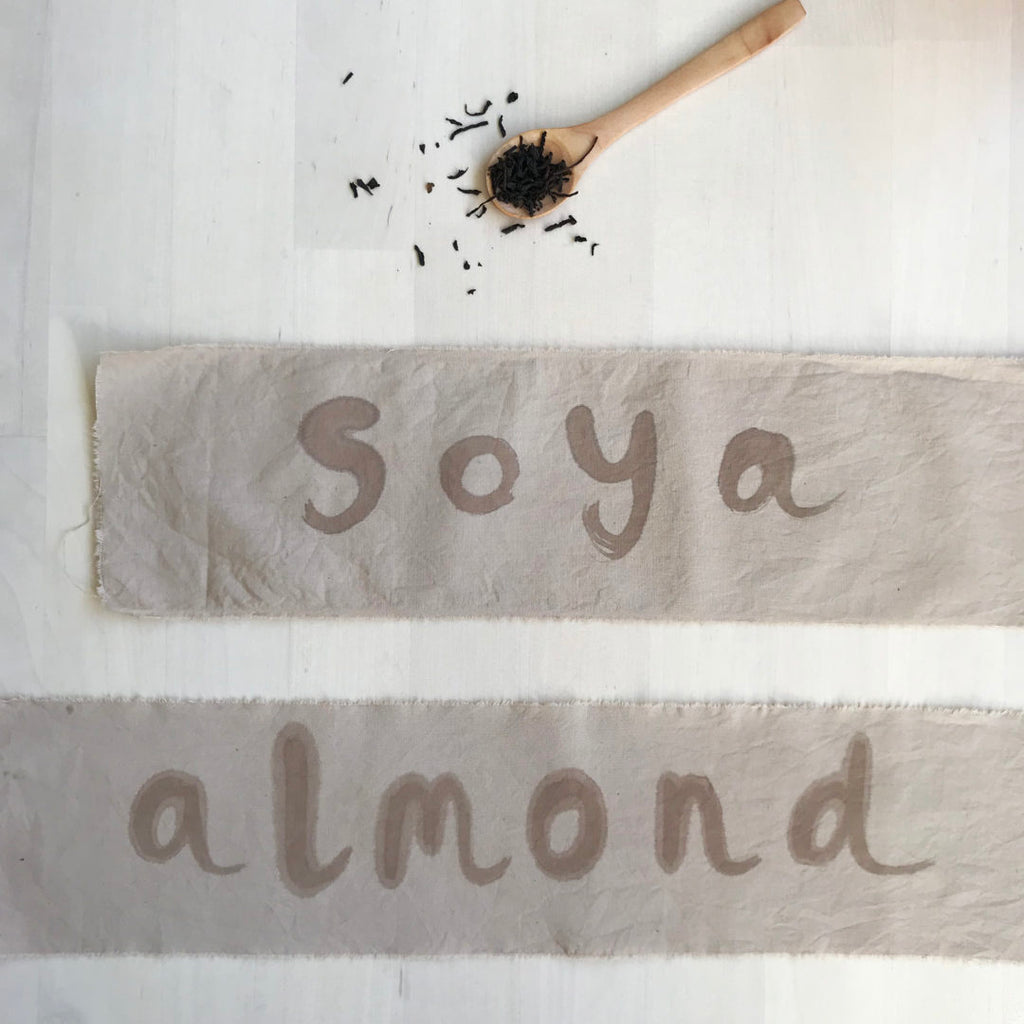
I played around with two types of milk which you can see below: shop bought soya milk (soya in the UK/soy in the US) and homemade almond milk. I painted the words with diluted milk and dyed with black tea. Can you see how the wording on the soya fabric is bolder and more defined than the almond milk fabric? Soy bean protein has special bonding properties and is something that I use in the rest of my botanical dyeing. However, I was really pleased to see that it worked really well with almond milk too. Try with other types of milk and see what happens!
It’s an incredibly simple and rewarding way to make patterns. You can paint any kind of cloth using this technique and on this occasion I decided to make some wrapping cloths. But why not try a t-shirt too? Or a scarf? It’s a great way to experiment with different patterns and since I recycled an old sheet, I felt really free and didn’t worry too much about exactly how the pattern would look. I literally enjoyed splashing milk around!
It’s a variation of the soya milk pretreatment method in my book Botanical Colour at your Fingertips. In my book I show you how you can soak an entire piece of fabric in soya milk before dyeing. We can coat the fibres in a thin layer of protein to make the fibres more like protein fibres so they bond to the dyes better. The milk acts as a binding agent and helps dye darker colours. This full method is written in my book Botanical Colour at your Fingertips for you to follow step by step.
So what happens when you paint fabric with milk?
In much the same way that when we soak an entire cloth in milk, the dye will be darker across the entire fabric. So when we paint just certain areas with milk, those areas dye darker. This opens up a whole world of options for making patterns! I hope you have fun with this twist on the soya milk method!
What you need
- An old 100% cotton sheet
- Scissors
- Milk*
- A paint brush
- Saucepan (the larger the better so the fabric has space to move about and dye evenly)
- Fine mesh sieve
- Another bowl to pour tea into when you strain
- Spoon
- Rubber gloves to protect your skin when handling the wet, dyed fabric
- A range of tea – I used black tea, rooibos and nettle
*What type of milk?
I’ve used shop bought (organic) soya milk for this tutorial but it also works with other kinds of milk. I tested it with homemade almond milk and it was a success. I’m intrigued to try oat milk next. You can use animal milks if that’s what you have at home. I haven’t tested every type of milk and you may find that some work better than others, both in terms of how dark the fabric dyes and how long the colours last afterwards.
Notes on safety
- The techniques described in this tutorial will work with a wide range of natural dyes, but since we will be using our kitchen saucepans, it is best to limit ourselves to 100% edible dyes. This is the only time that I use kitchen pans for dyeing.
- I love to dye with a range of food wastes too, such as avocado, pomegrante and onions skins, but since we don’t actually eat those peelings I would always recommend using a separate set of dyeing pots and other equipment. Even though those other plants are natural, they are not edible parts of the plant and may be potentially toxic in concentrated forms. It is best practice to do your avocado skin (and other food waste) dyeing in a pot you set aside specifically for dyeing.
- However, I think we can make the exception for tea since it is actually a drink. Also, I recommend using 100% cotton fabric and not use any kind of chemical mordants on it. Additionally, if you choose to scour your fabric with soda ash then I would certainly not use your kitchen saucepan for dyeing that fabric.
Only use kitchen saucepans when working with entirely edible dyes such as tea (or coffee etc). Food waste such as onion skins and avocado skins are not edible, so use dedicated dye pots for these other dyes. I feel like tea is one of the only exceptions to this usual rule.
OK, so let’s get started
1. Wash your sheet in the washing machine and allow to dry. If it’s a newer sheet or fabric then it may need a couple of hot washes to remove any coatings on the fabric. I used an old sheet that’s been washed countless times. The older the better as the fabric will be more absorbant.
2. Cut your fabric into pieces. These will be your furoshiki cloths so choose the sizes you’d like. The sizes I chose were 50x50cm and 70x70cm. You may decide to cut some even larger. To cut the fabric into pieces, I make a small snip with scissors then tear along the grain in the fabric. This ensures that your lines are straight and is my favourite way to cut medium weight fabric. If you work with particularly fine or thick fabric then it may not work – it may stretch finer fabrics and not work at all with thicker ones. So cut with scissors, using the grain of fabric as a guideline.
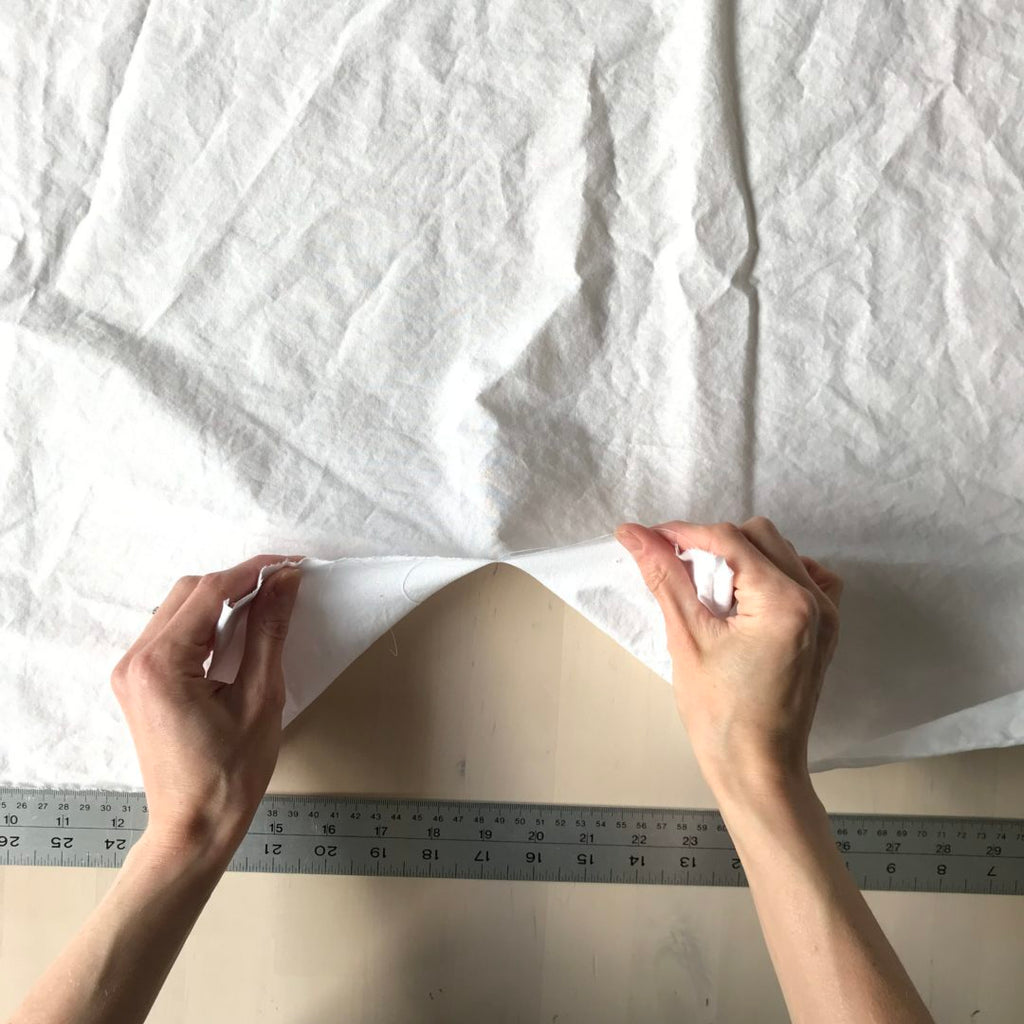
3. I decided to leave my edges raw but you may choose to do a simple hem around the edges.
4. Dilute your milk with water. For my soya milk I used 2 tablespoons of soya milk + 3 tablespoons of water. It’s important to dilute it so it doesn’t go onto the fabric too thick as this can result in the milk literally peeling off at a later point. We are aiming for a nice light coat of milk which will soak into the fibres.
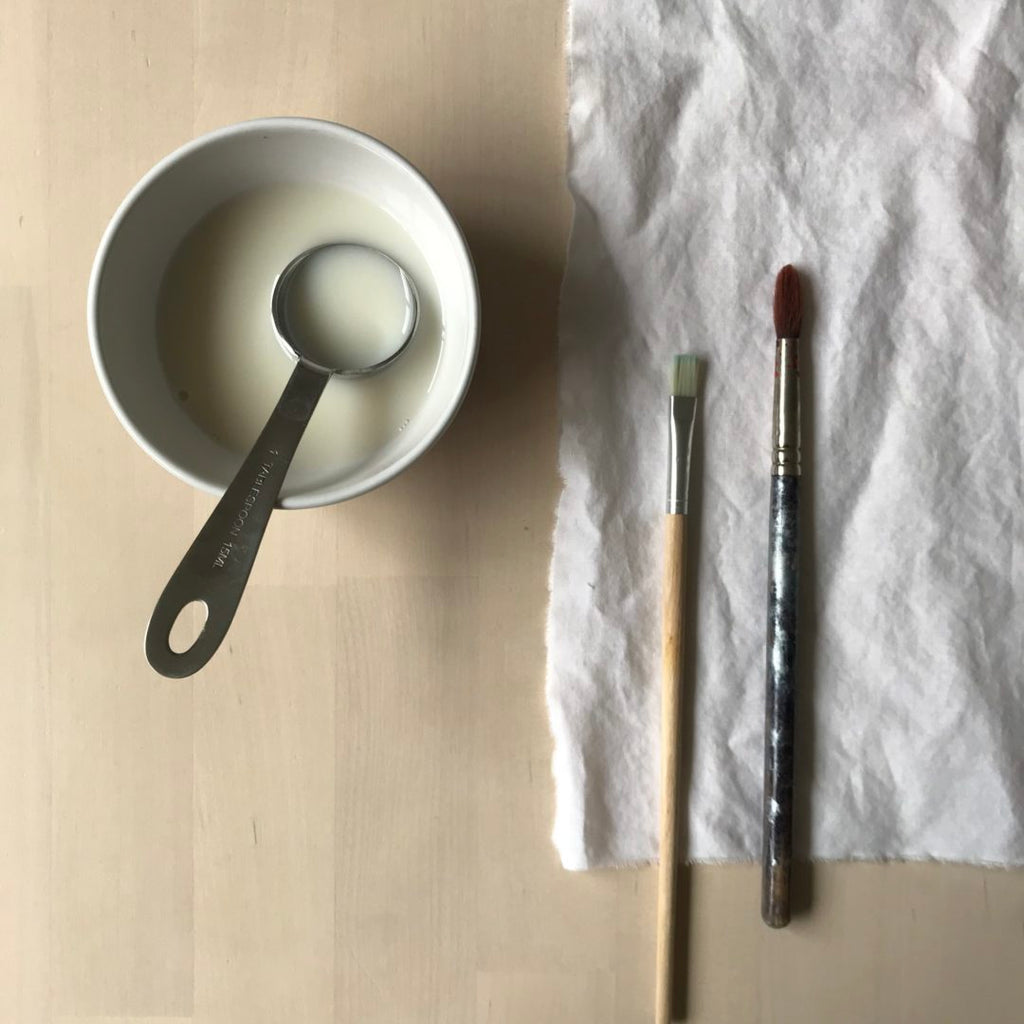
5. Paint your fabric however you like. I like to hold the fabric with my other hand to keep it steady and stop it slipping on the table as I paint.
If you use too much milk on your brush, you will create larger splodges. Experiment on a scrap piece of fabric to see how you can adjust the amount of milk on the brush until you’re happy with the effect. It is often a matter of trial and error, but if you paint a few of these cloths, you may be pleasantly surprised that your milk-painting skills improve after a few attempts. I had fun with almost dry brushing some patterns and other times I enjoyed just flicking the milk across the fabric.

It can be hard to see where you’re painting on the white fabric so you can always hold the fabric up to the light and see where you’ve already painted. These wet areas show where the dye will be the darkest. The milk will soon dry and become invisible.
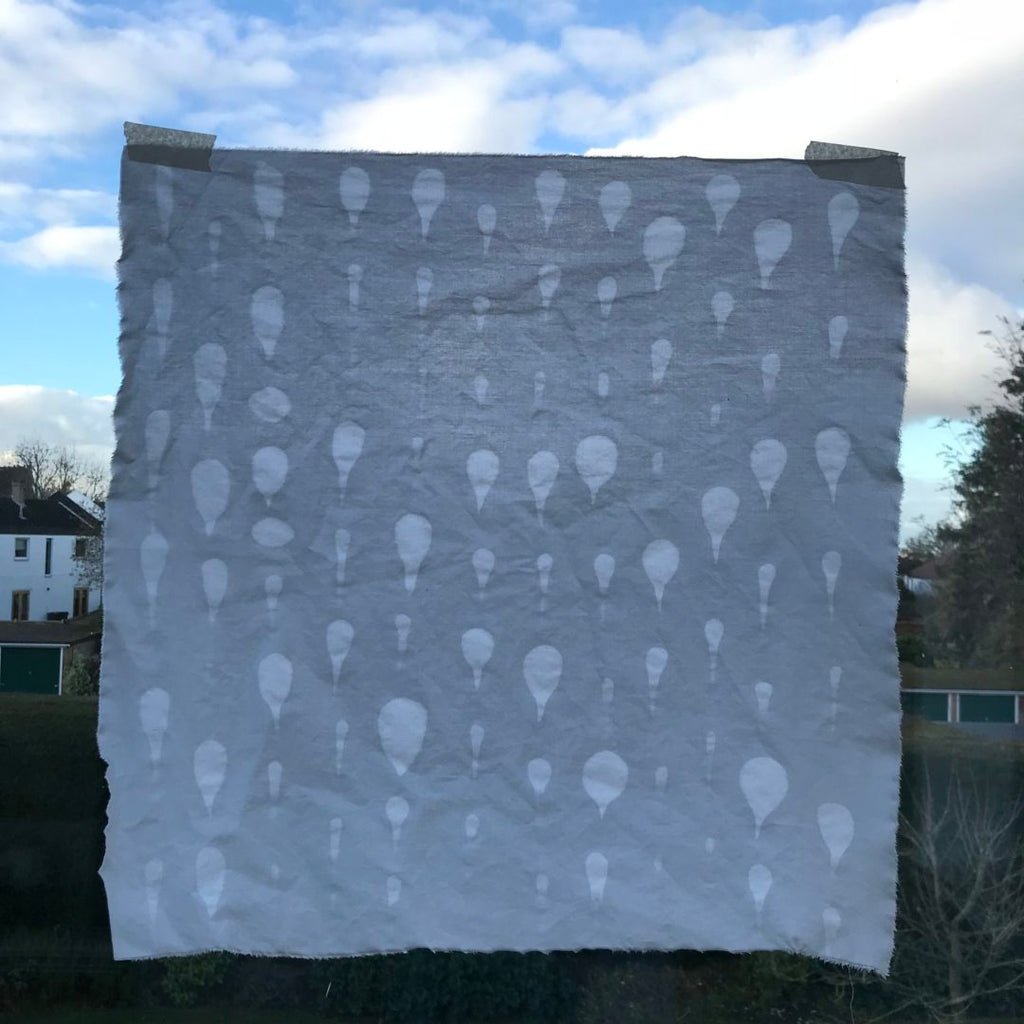
6. Paint all of your fabric and allow to dry. Then wait a few days (ideally one week) before dyeing your cloths. This gives the milk time to bond to the fibres.
7. After a week, decide which dye you will use first. I decided to use black tea, rooibos tea and dried nettle leaf tea.
8. Make a strong saucepan of tea by heating the tea bags or loose leaves in water and simmering. To give an idea of quantities, I used 3 tablespoons of loose tea leaves to give a rich colour. I used my largest soup pot and half filled with water.
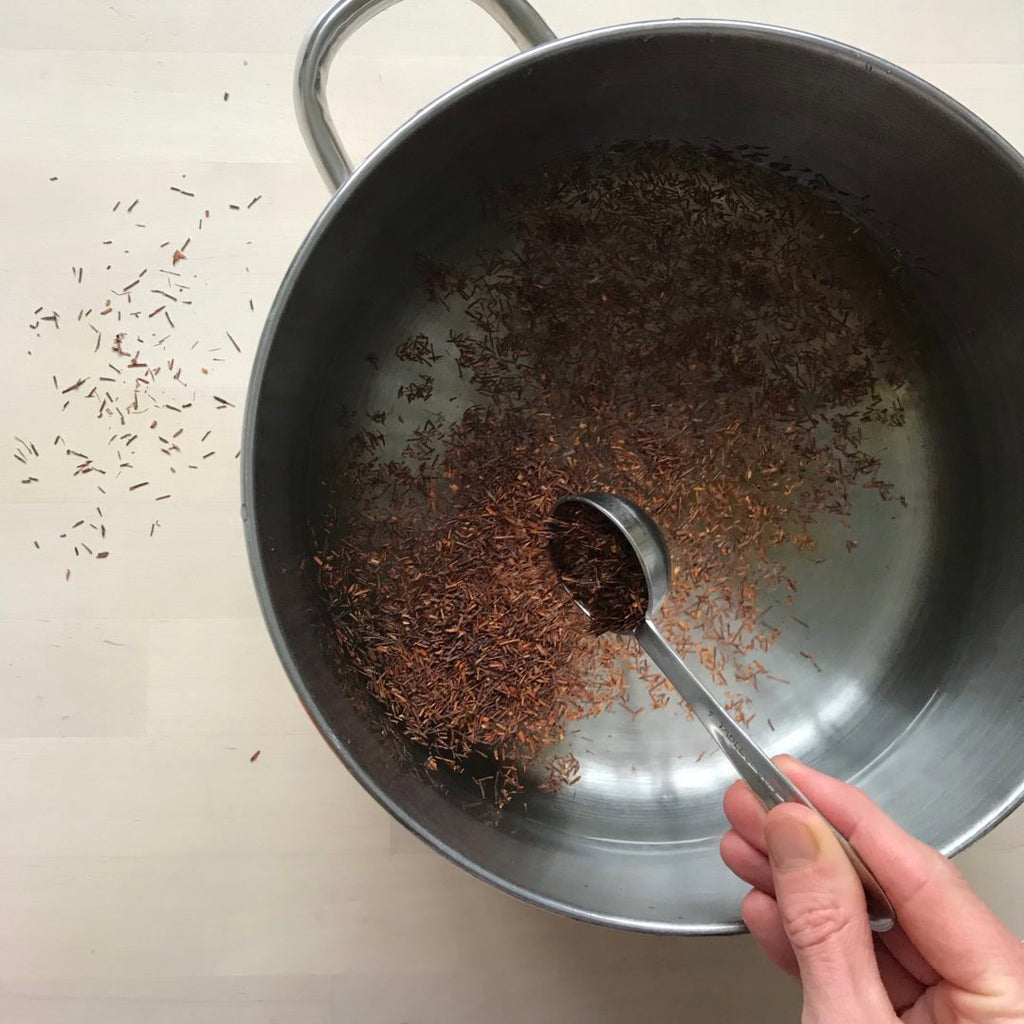
9. Allow the tea to steep in the hot water for a while to darken the colour. You can leave it standing for a few hours or over night if you like and come back to a really strong tea later.
10. When you’re happy with the intensity of your tea, strain the tea through a strainer or fine mesh sieve to leave a clear liquid.
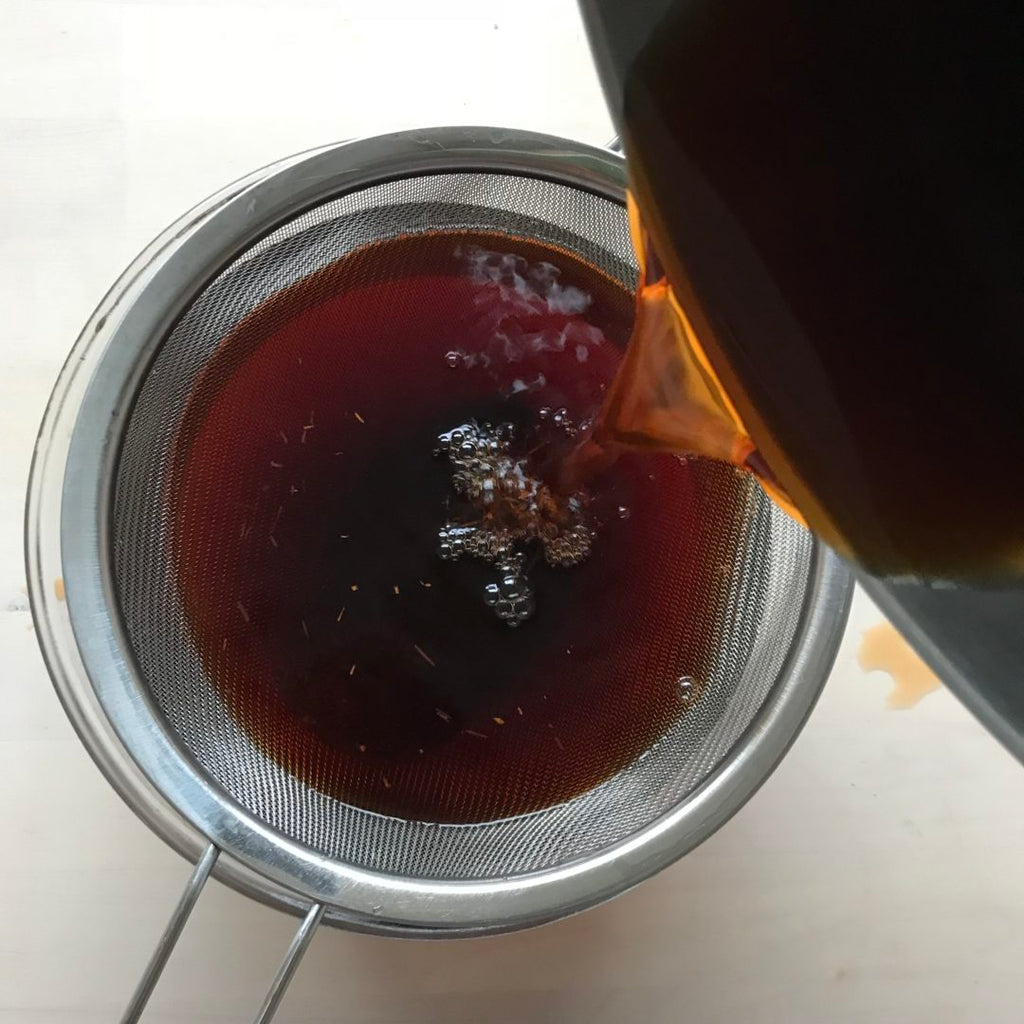
11. Take your fabric and dampen it slightly under the tap, then place into your saucepan of tea. When we dampen fabric first it helps it take on the dye more evenly. I like to put my fabric into dye scrunched up so it reduces the chances of trapped air pockets and the fabric is more likey to stay below the water level and dye evenly.
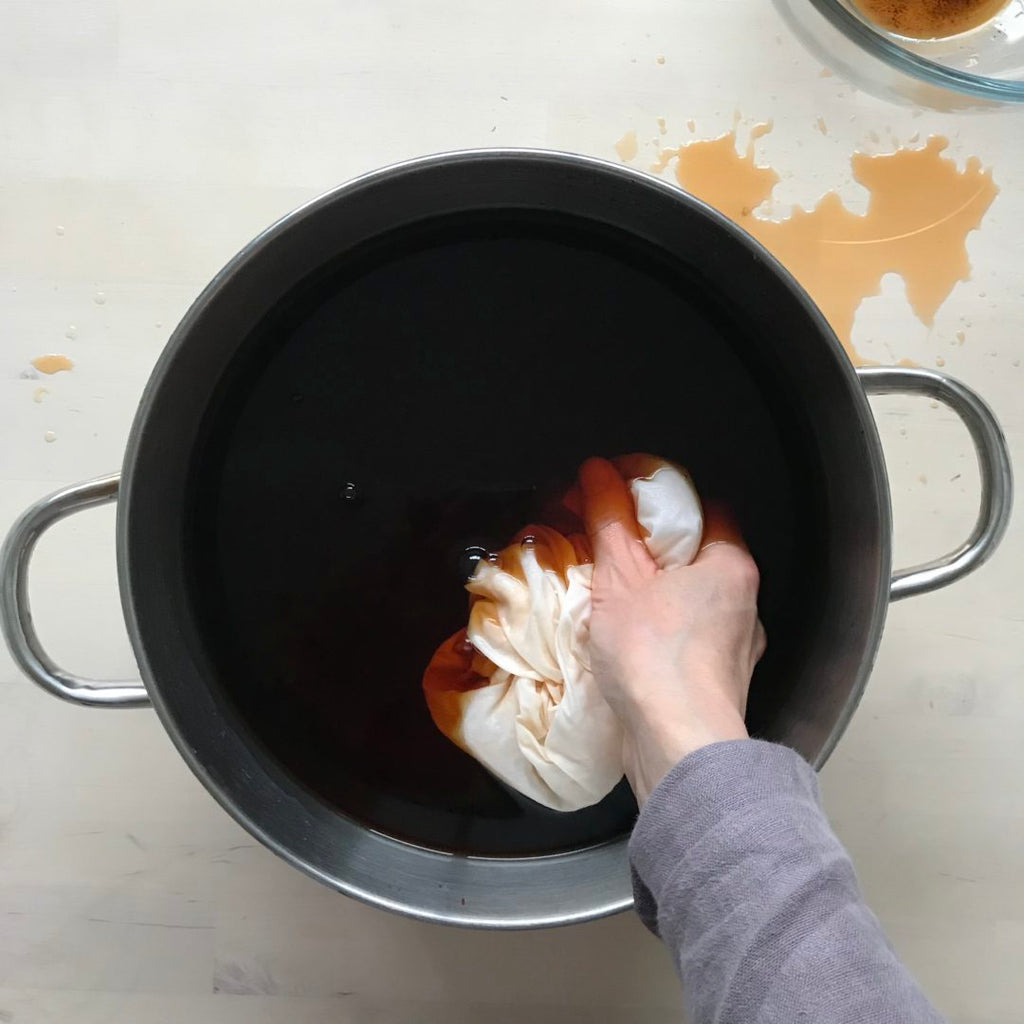
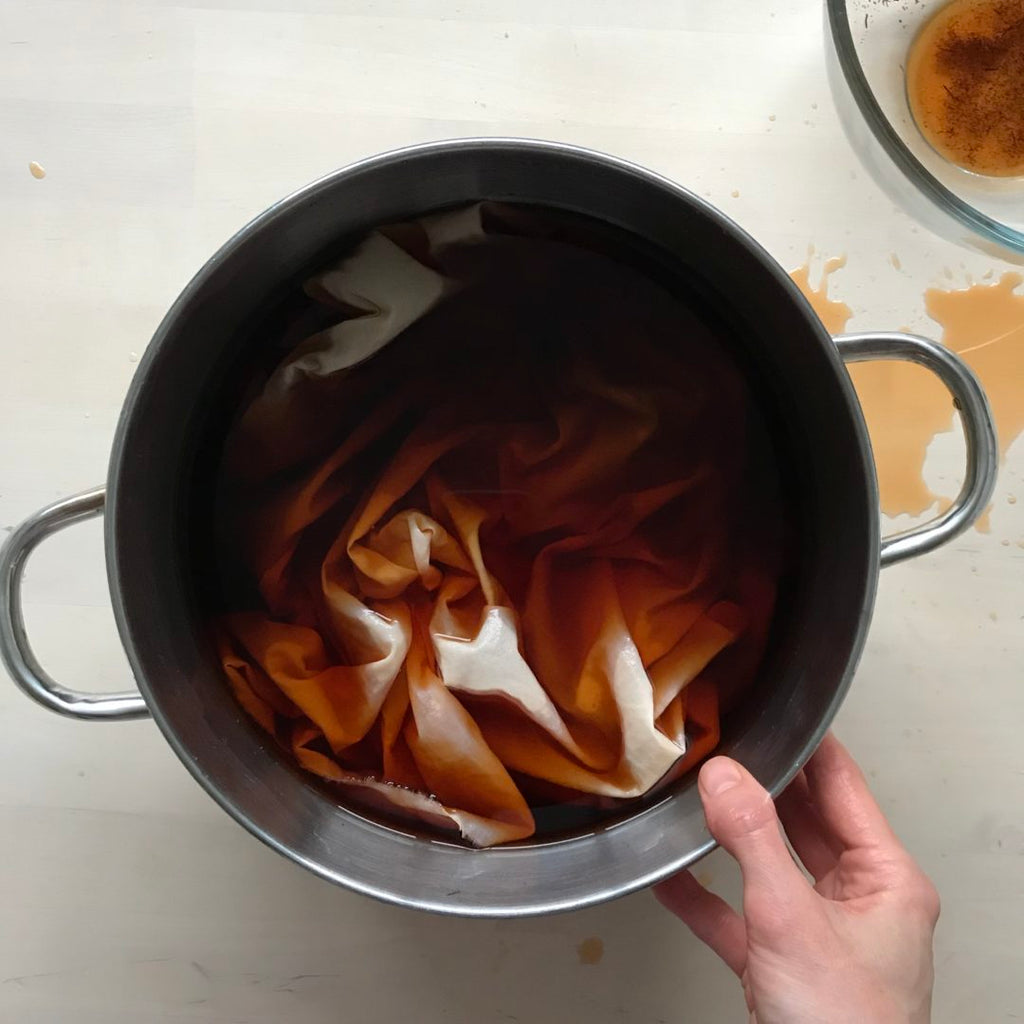
12. Return your pot to the stove and simmer your saucepan of tea for about 15 minutes (you may need to heat for longer with nettle tea), stiring every so often to help it dye evenly. Turn off the heat, then leave it to sit in there for a while. The longer you leave it the darker the colour, but there is a risk it may dye with uneven patches, so if a uniform colour is important to you then keep visiting your dye pot and stir it regularly.
Can you see the pattern begin to emerge in the photo below?
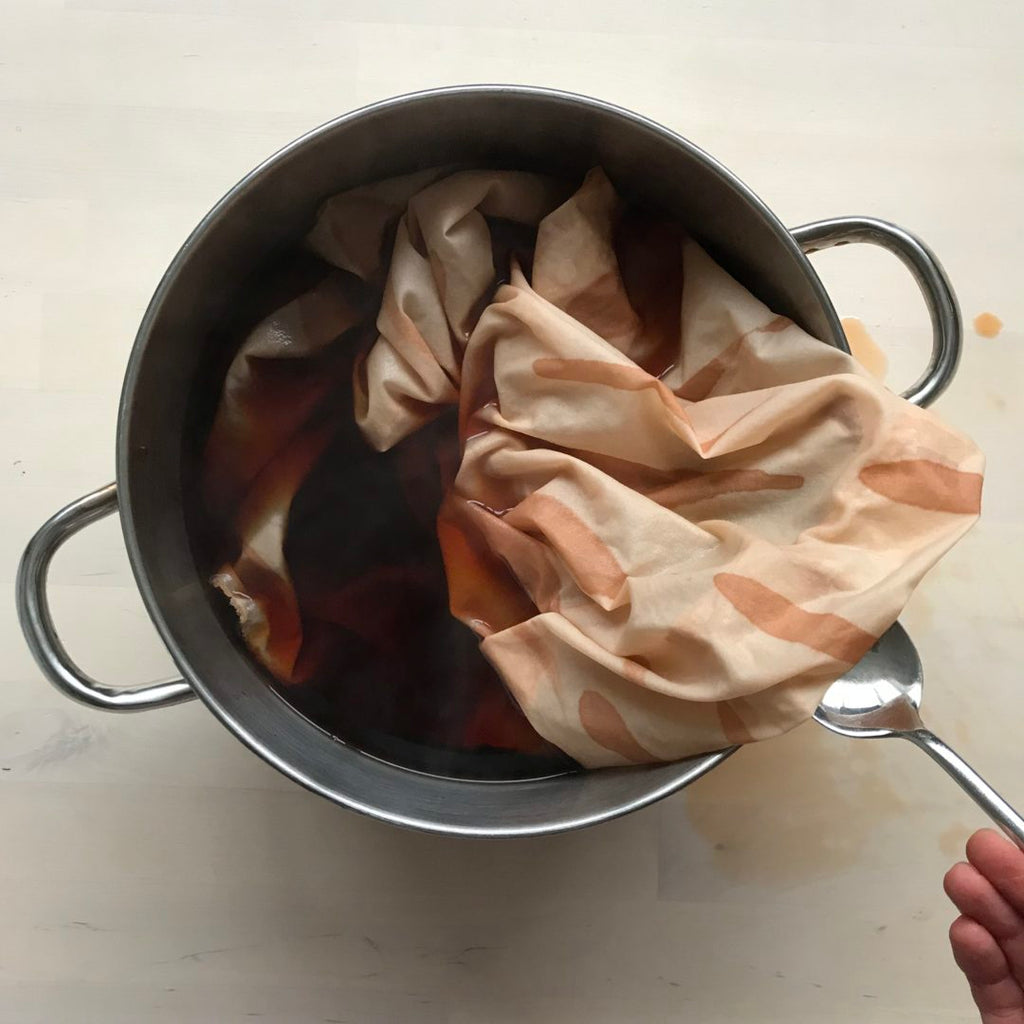
13. When you’re happy with the intensity of colour take out the fabric and squeeze out the excess liquid and allow to dry.
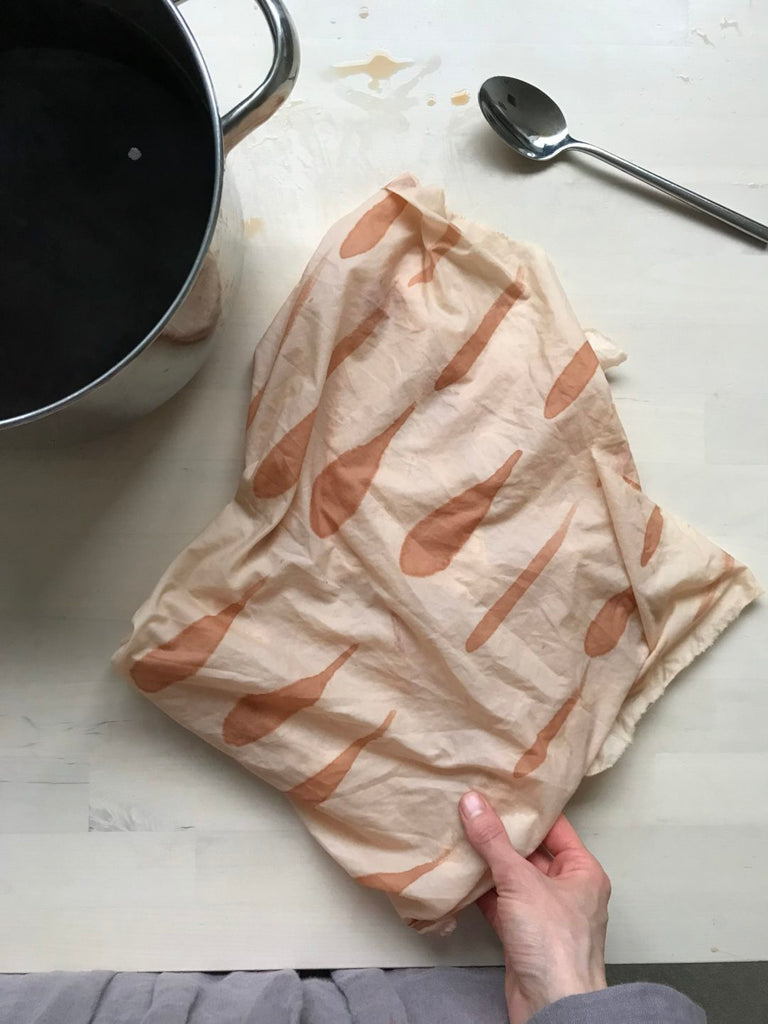
14. You can rinse it right away if you choose to, but generally if we wait a few days then more colour will remain. But if you’re desperate for your fabric then rinse earlier.
15. Allow your fabric to dry, press with a hot iron to smooth out creases and use it for wrapping gifts.
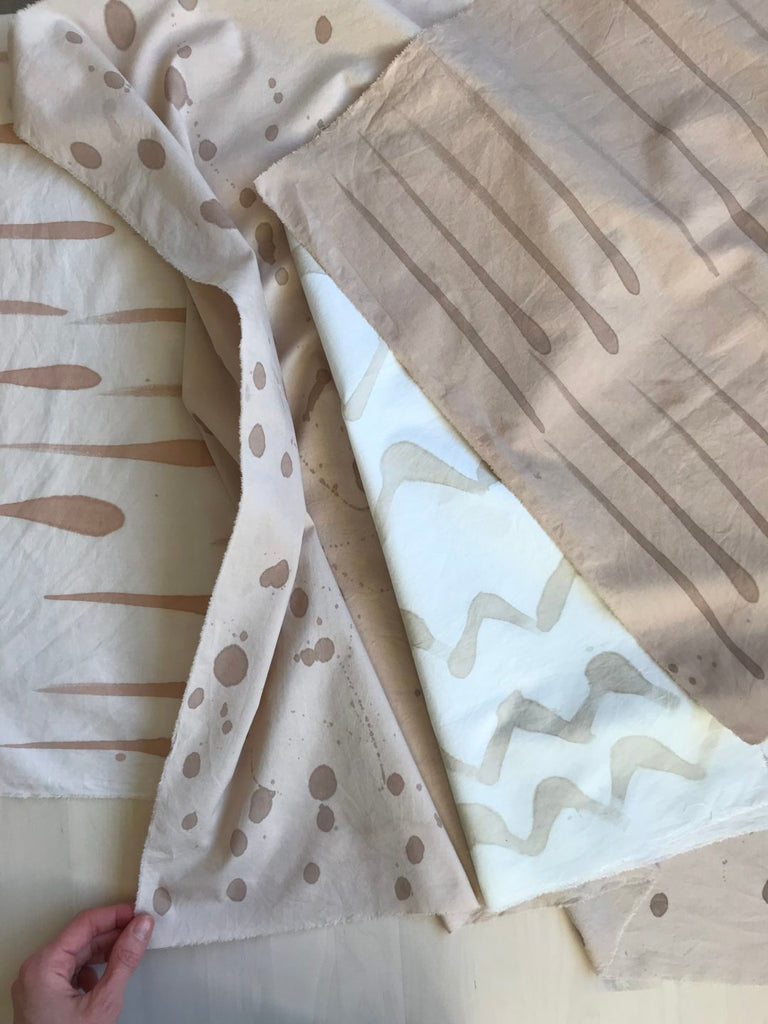
Notes about the teas I used
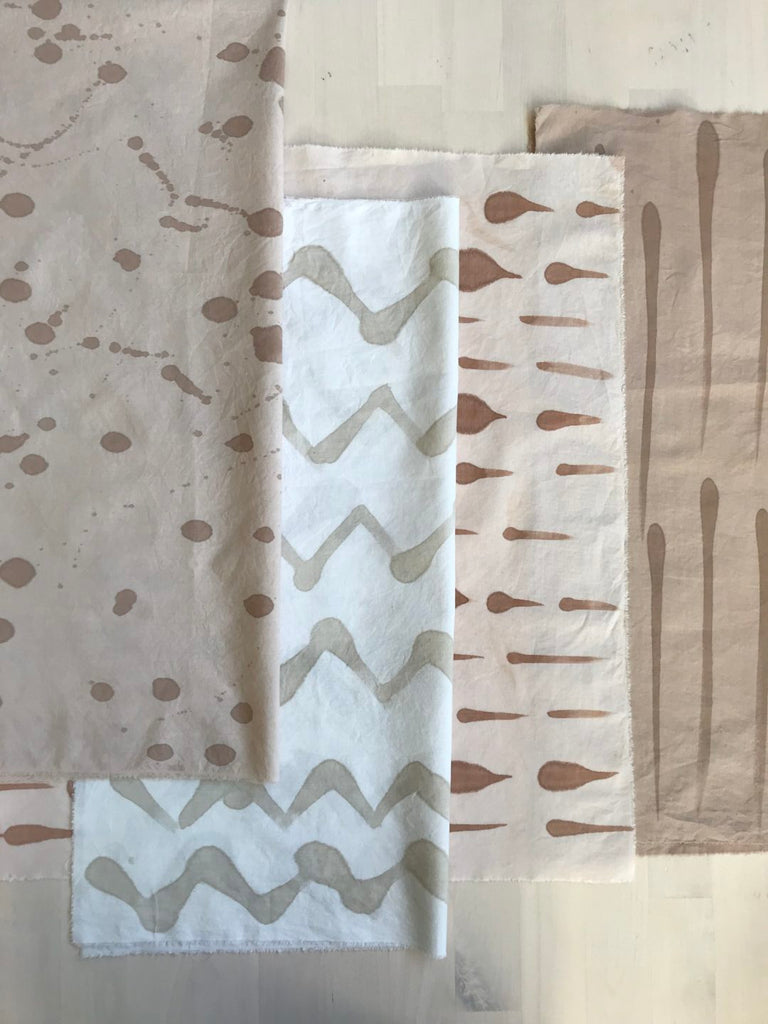
- In the photo above, from left – right, the patterns are from the following: rooibos, black, nettle (white and grey zig zag pattern), black tea.
- Rooibos gives a warmer and paler brown than black tea, and nettles give a grey/tan tone.
- One thing to note about nettles is that the dye takes a lot longer to tint the fabric than the other teas. At first it can appear that nothing is happening but if you allow the fabric to sit in the dye over night, with the lid on to keep in the warmth, the pattern will likely be more pronounced by the morning. The background fabric with no milk has hardly taken on any colour at all, so there little no risk of fabric dyeing unevenly if the fabric sits in the pot for several hours without being stirred.
- Black and rooibos tea dye the fabric within minutes and the background fabric and pattern darken when the fabric soaks in the hot dye for a few hours. With these two teas, there is a chance of the background fabric dyeing unevenly if the fabric is scrunched up in the dye pot and not stirred regularly.
How to use these cloths
There are lots of way to use these cloths, and this is just one of the simple wrapping methods:
- If your object has straight sides, turn 45 degrees so it is orientated in a diagonal.
- Tie two of the corners that are opposite each other. Do a double knot.
- Tie the other pair of corners that are opposite each other.
- As an optional extra, put some leaves or dried flowers in the middle of the knot.

Will the edges fray?
Yes, they may fray slightly with repeated use and washing. To help them last longer, you could hem them. Or maybe you like the unfinished edge and you will fray them some more to turn it into a feature. I like unfinished edges and I know that my cloths won’t be used heavily.
Enjoy your dyeing experiments! Tag me with #rebeccadesnos on Instagram so I can see what you’ve made! I’d love to see!
