Today I’m sharing a very simple tutorial on how to scrunch dye an item of clothing with avocado skin dye.
Before we jump into that, I thought you’d be interested in this: I have a course dedicated entirely to avocado dyeing where you can learn all my secrets, make beautiful patterns on cloth and dye the wardrobe of your dreams.
introducing
Dye With Avocados
Self-paced video course with life-time access.
Access to a private Facebook group for extra support.
Plus, get the BONUS video class: Printing herbs onto fabric.
OK, so let’s get onto this project!
Scrunch dyeing
I love making patterns by scrunch dyeing, as it’s very forgiving in the dye pot and doesn’t require lots of stirring. You can place your bundle of fabric into the dye and let it soak for several hours (or even days) and beautiful marbled markings will develop.
In contrast, when you try to dye something an even colour, it is very labour and time intensive as it requires continual stirring to avoid the dye settling into folds and dyeing those areas darker. Also you need a fairly big pot to allow the fabric to move freely through the dye. Read more about dyeing even colours in this blog post. With scrunch dyeing, we are making a feature of the natural folds in fabric and encourage organic patterns to form.
What you need
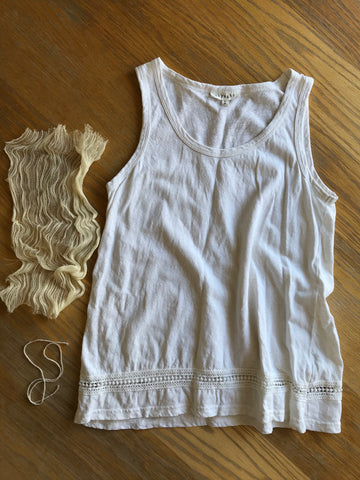
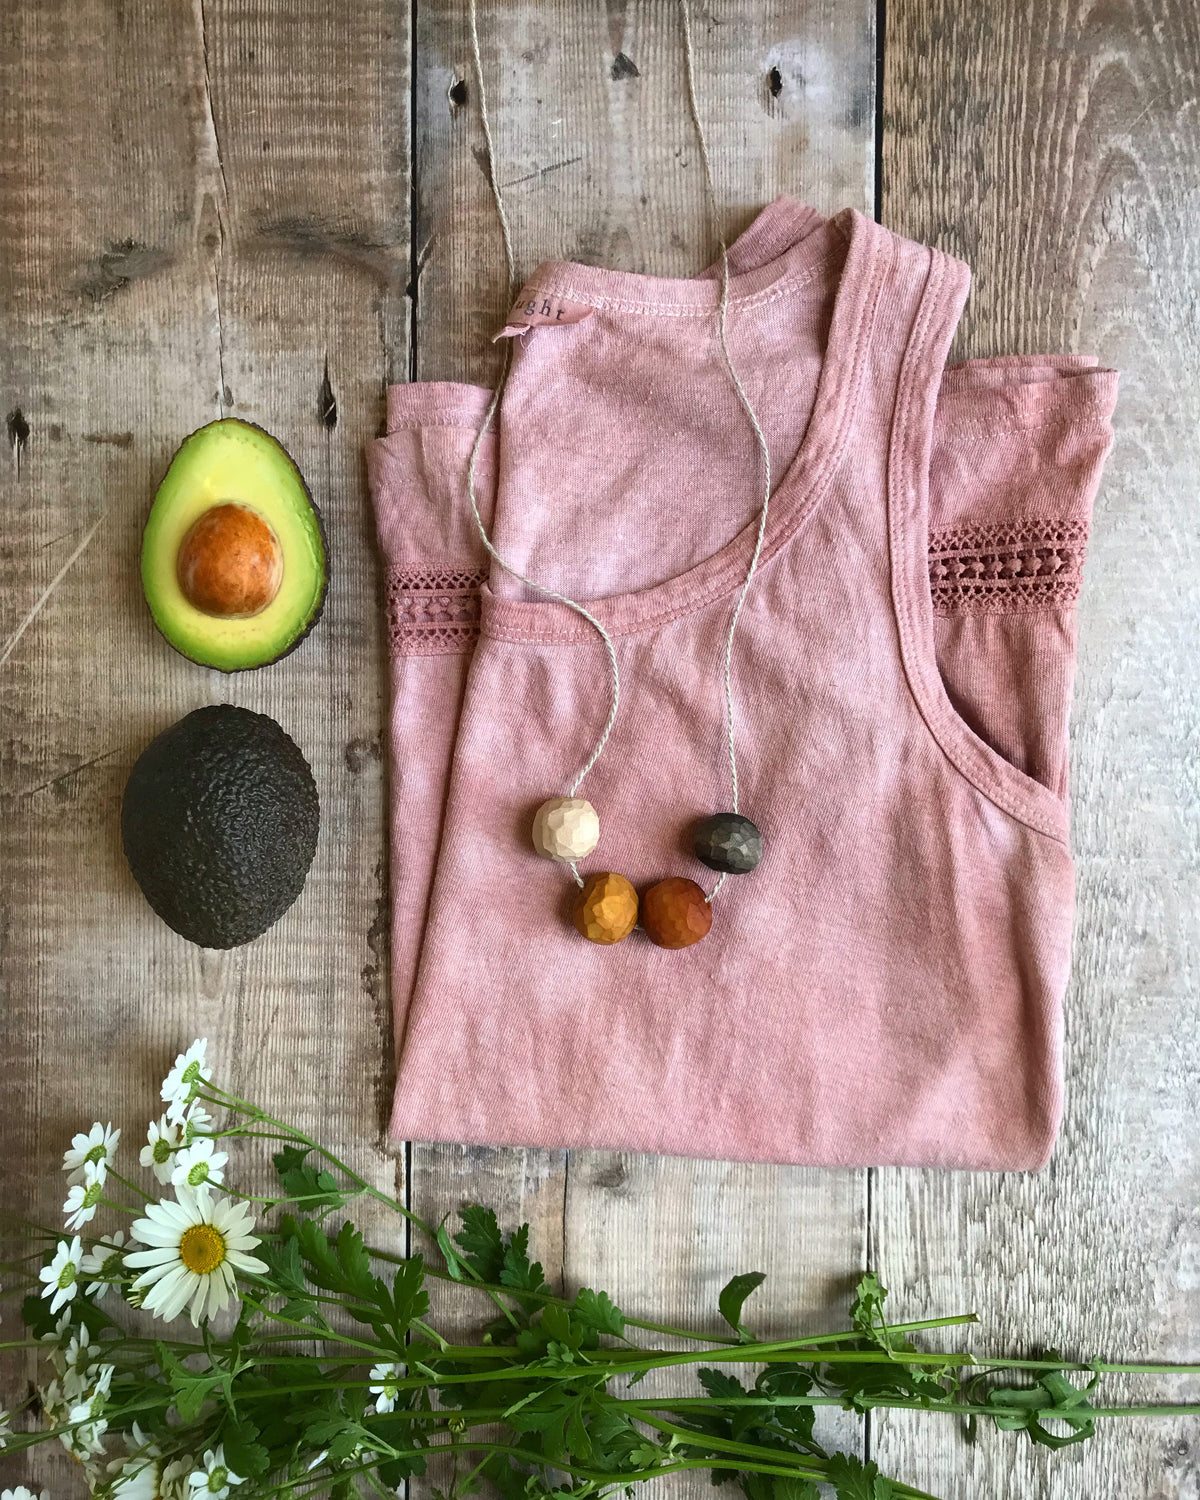
- An item of clothing made from natural fibres e.g. cotton, linen, hemp, silk. The top in this blog post is from Thought Clothing and is a hemp & organic cotton blend.
- Soya milk to pretreat plant-based fibres (not needed for silk).
- Bucket or bowl to soak clothing in milk.
- Dye pot (I use aluminium).
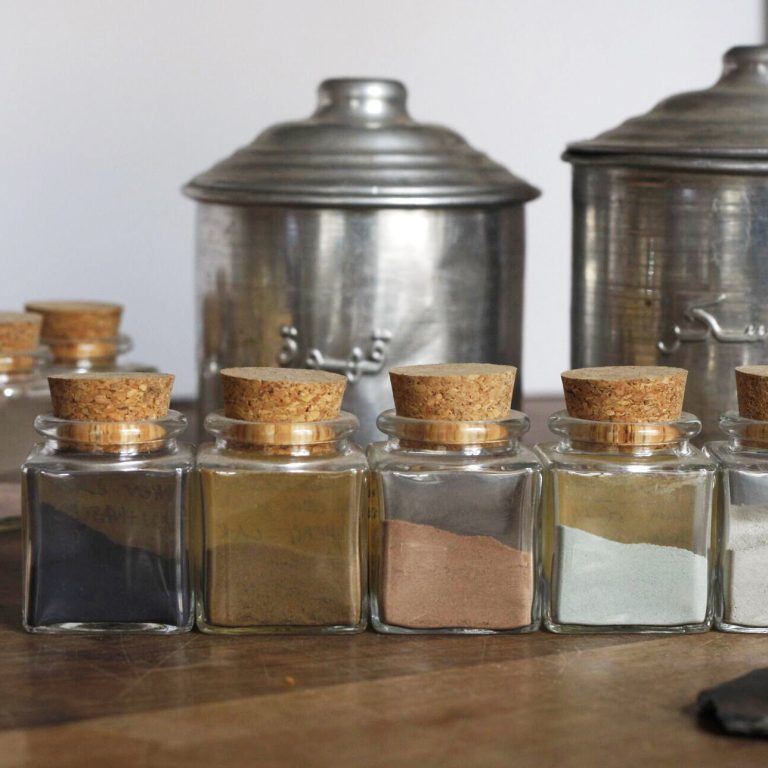
- Avocado skins – I used 10, but you can use fewer than this, and also add in avocado stones if you choose.
- Sieve, muslin cloth and bowl for straining dye.
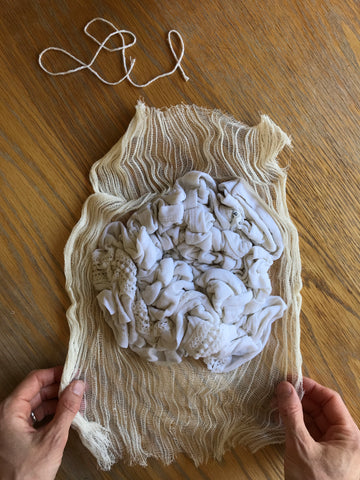
- Lightweight fabric and string for securing your scrunched bundle of clothing.
Preparing the clothing for dyeing
First, let’s prepare our clothing. I wash everything at 40°C in the washing machine with natural laundry liquid — my favourite brand for the past couple of years has been Greenscents: Greenscents 500ml and Greenscents 5 litre bulk size.


*Amazon affiliate links – I earn a small fee for qualifying purchases.
Then you can choose how you will mordant or pretreat your clothing. I always choose to use the soya (soy) milk pretreatment method, as outlined in my book, Botanical Colour at your Fingertips. You can read more about it in this Soya Milk FAQ blog post.
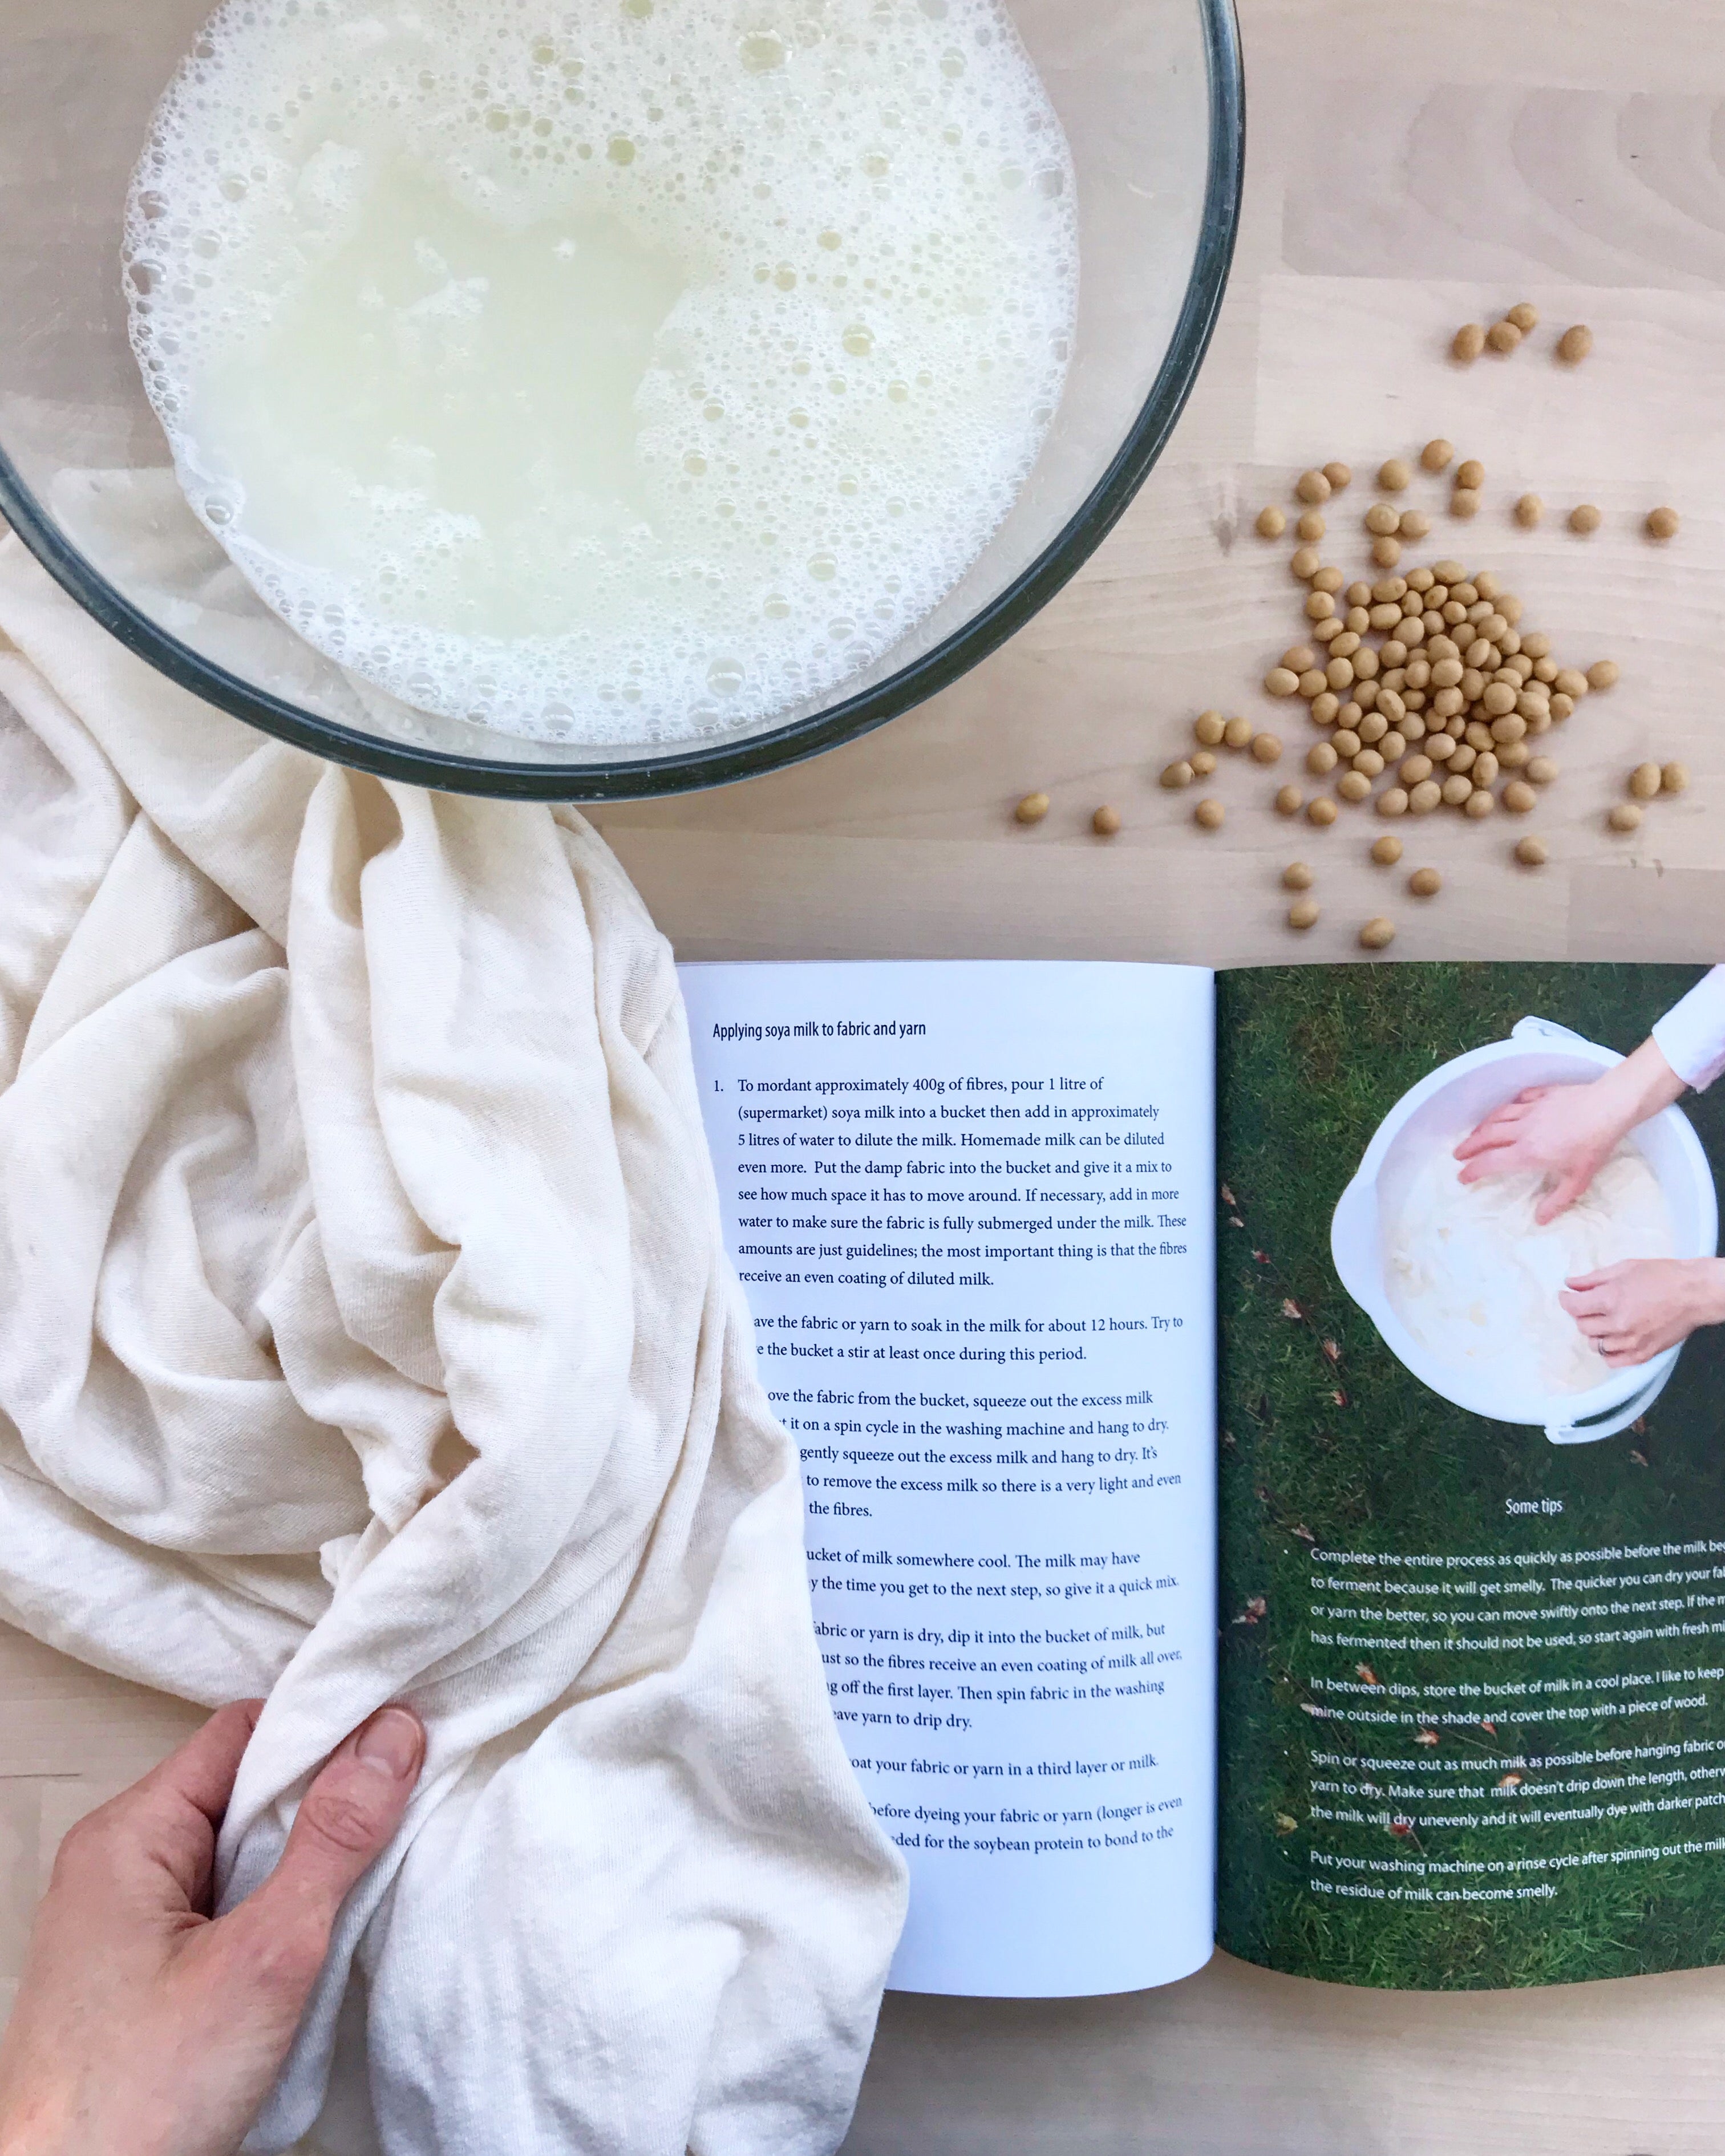
Above: The soya milk method in Botanical Colour at your Fingertips
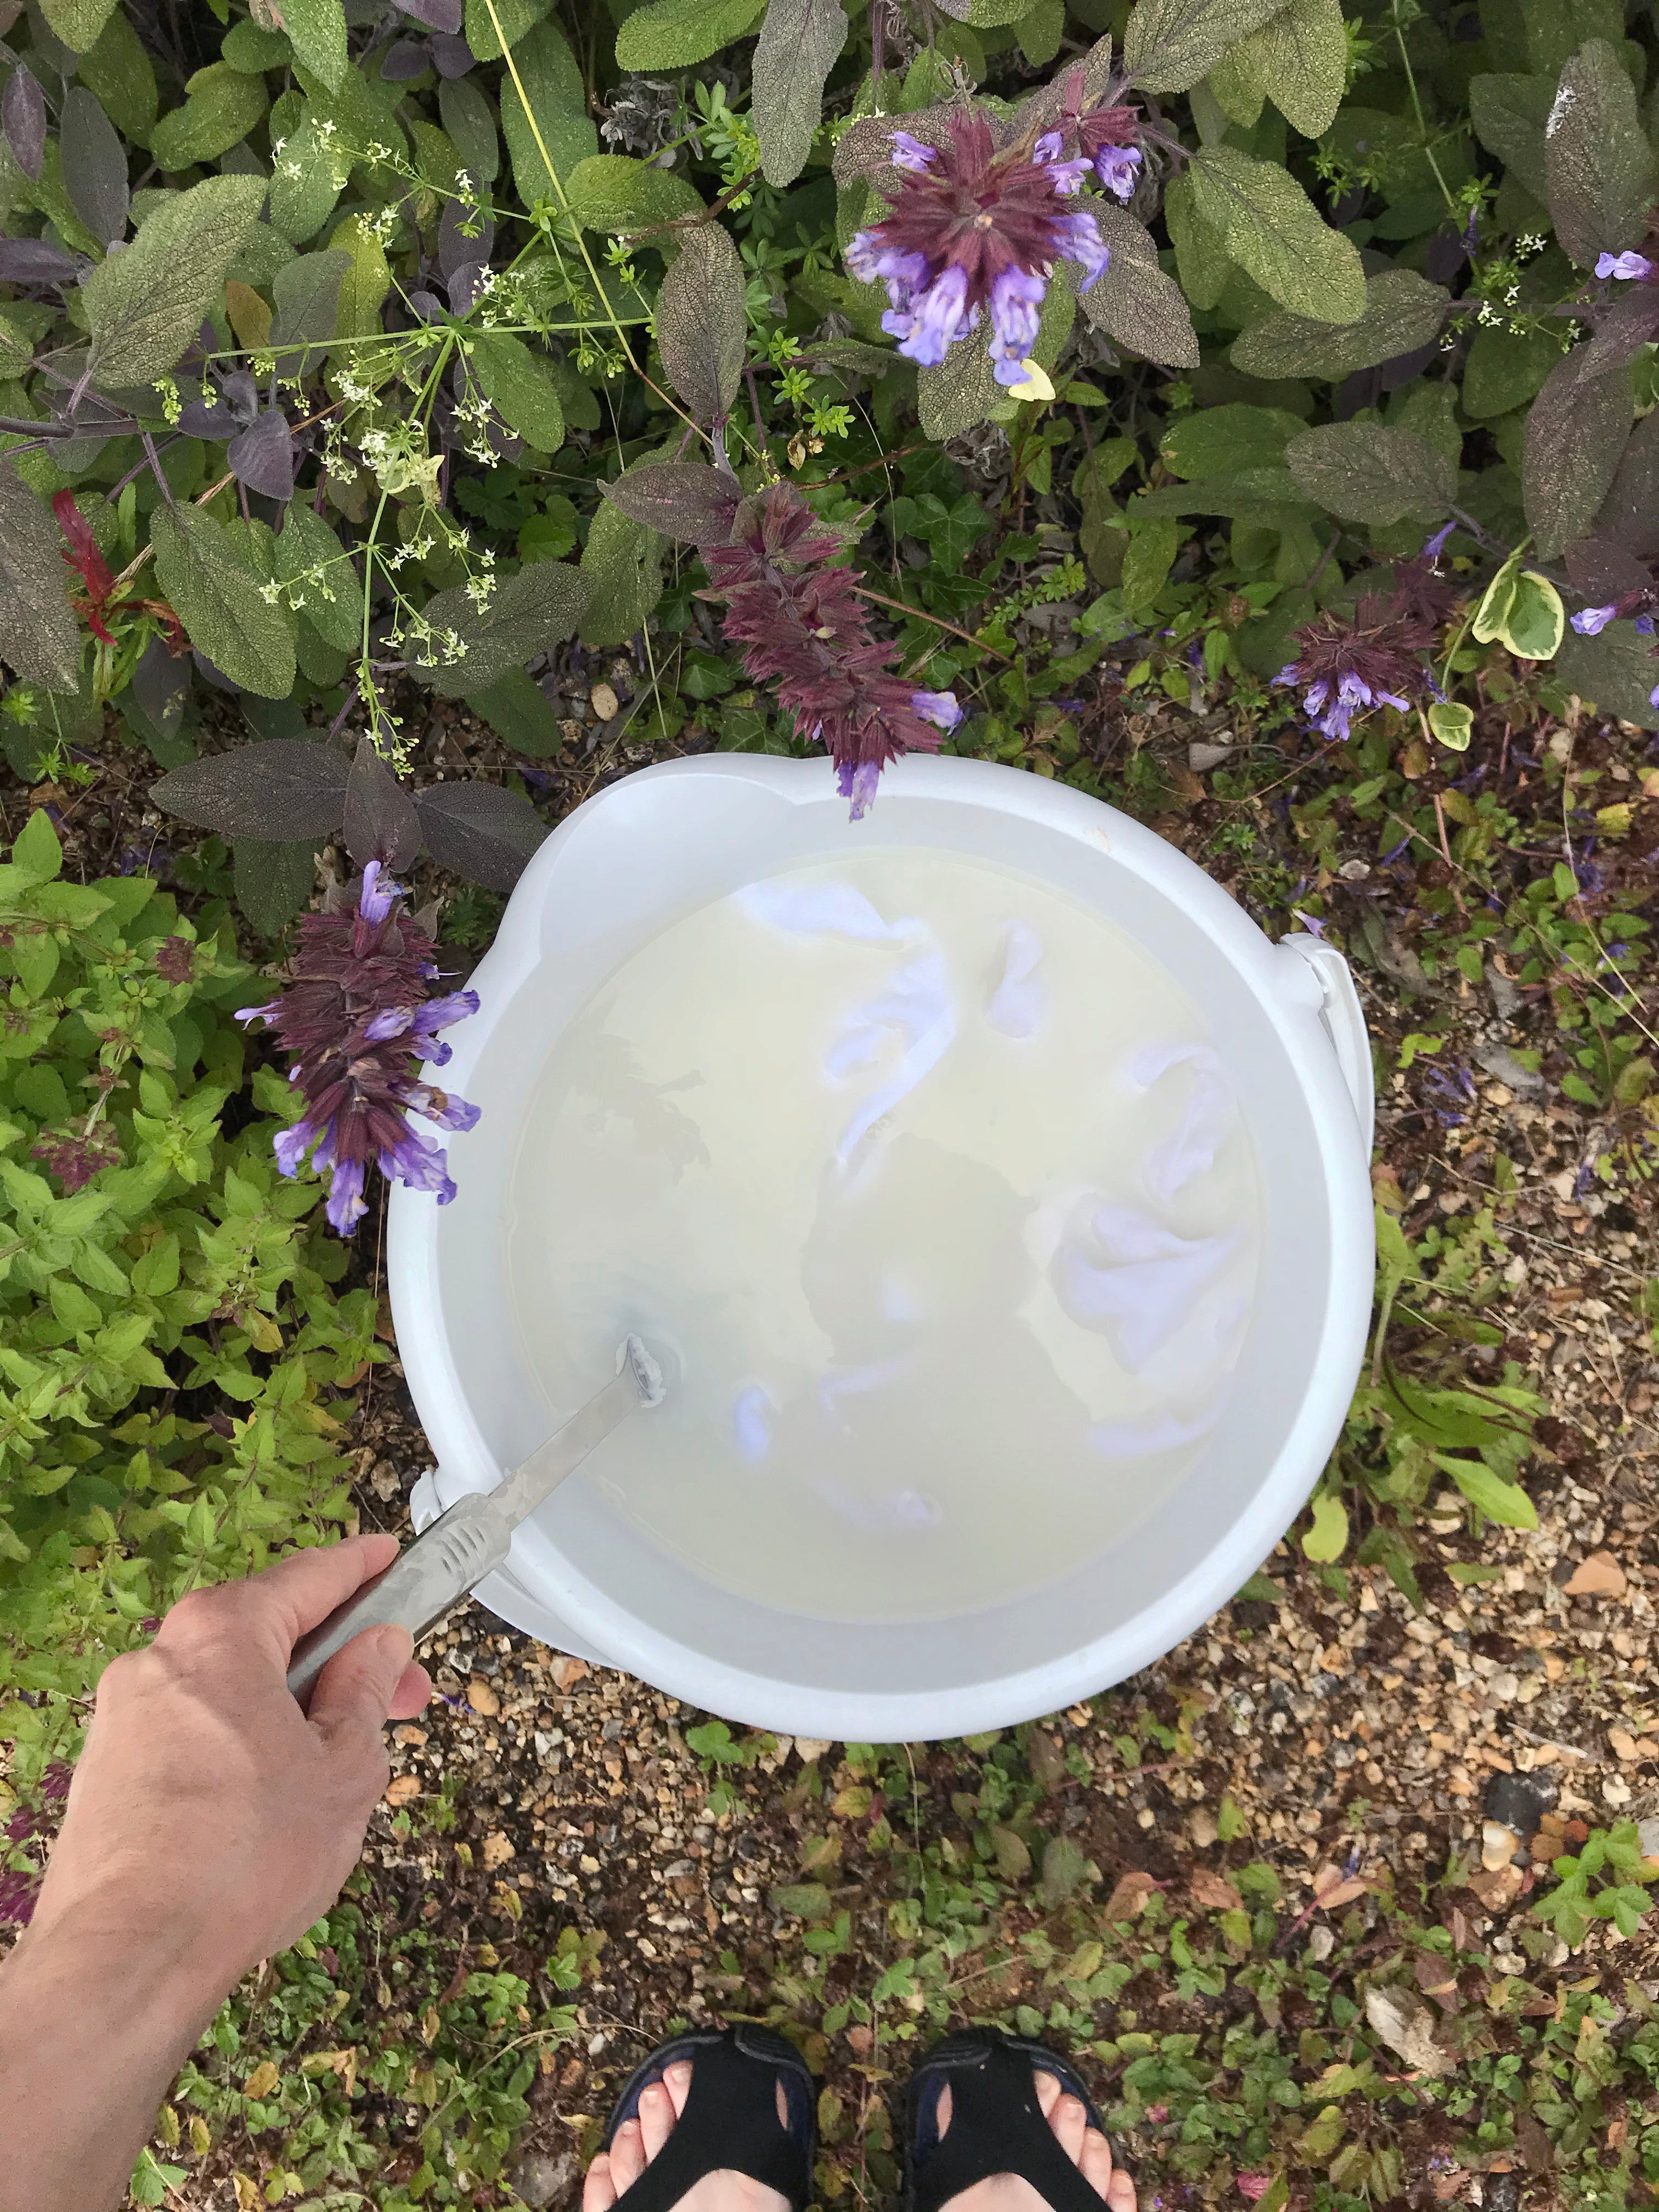
The basic method for soya milk pretreatment is to dilute soya milk in water at a ratio of 1:5 milk:water. Soak for 12 hours, spin out the excess liquid in the washing machine, hang to dry. When dry, briefly dip the fabric into milk, dry, then dip and dry again. If you’re using soya milk, remember to leave the dry fabric to cure for a week before dyeing. This allows the soya protein time to bond to the fibres.
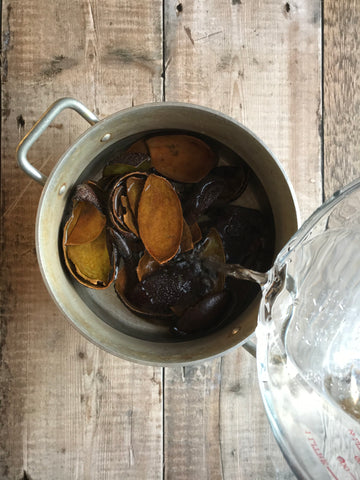
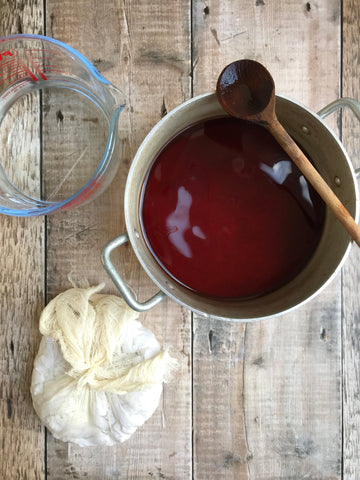
Making the dye
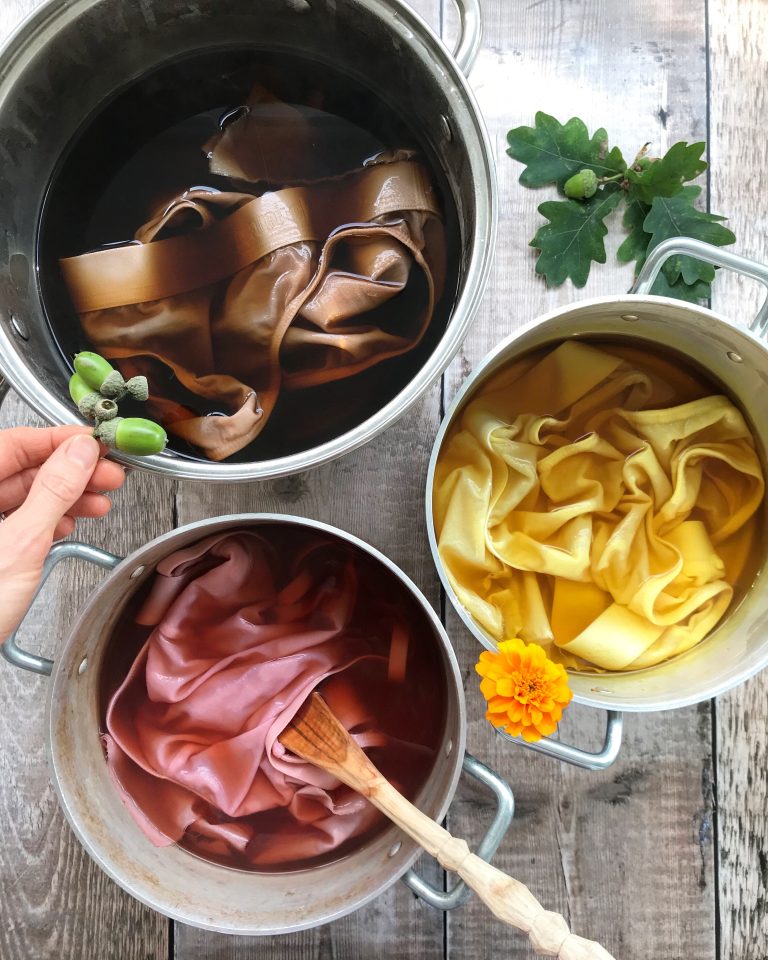
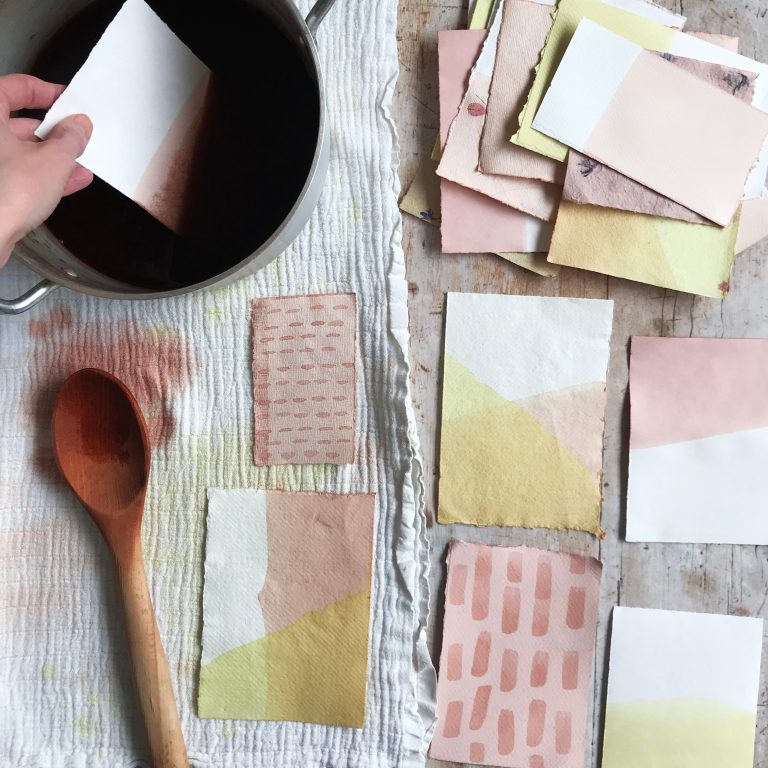
I used 10 avocado skins for this pot of dye, but depending on the depth of colour you’re looking for, you can get away with fewer than this. Also, you can add in the avocado stones (pits) to make the dye more concentrated. There are no absolutes with this method — you can adapt things to suit your situation. I collected the skins over the course of a couple of weeks, and carefully washed them after we ate the avocados. Check out this blog post with lots of tips for washing and storing avocado skins and stones. Also it’s full of tips for the pinkest dye!
Place the avocado skins into your dye pot. I like to use aluminium as the pot gives some mordanting benefit, and also has the benefit of brightening dyes.
Cover with enough water so the skins are all submerged, then with the lid on, heat gently for around an hour. Make sure you don’t allow the liquid to boil as it could turn the dye brown. Then turn off the heat and allow the skins to soak in the dye for the rest of the day, or over night. With the lid on, the dye will stay warm for a long time and the dye will continue extracting into the water.
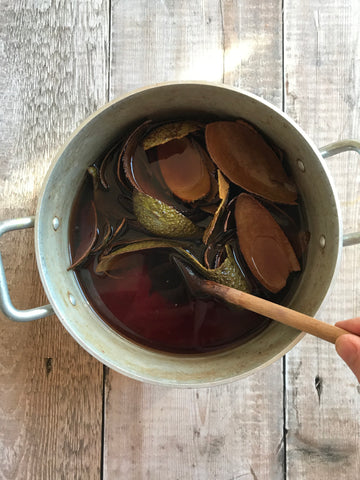
When you’re happy with the depth of colour, strain out the dye through a muslin cloth laid over a sieve. This is essential so we are left with a clear dye, without any little bits of avocado skins that could leave darker spots on the fabric.


Scrunching the clothing
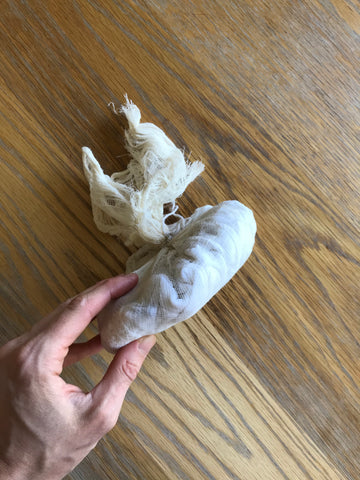
Let’s begin scrunching our clothing. For this I like to use a piece of fine fabric, such as muslin, but you can also use an off-cut of sheeting or whatever else you have to hand. You also need a length of string to tie up your bundle.
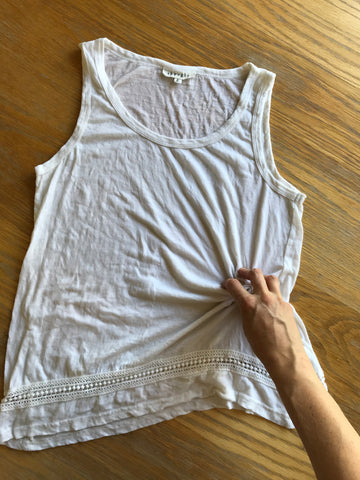
Scrunch dyeing is as simple as it sounds: we simply scrunch the fabric. However, if you scrunch in a fairly methodical way, you can encourage even marbling to develop across the entire garment.
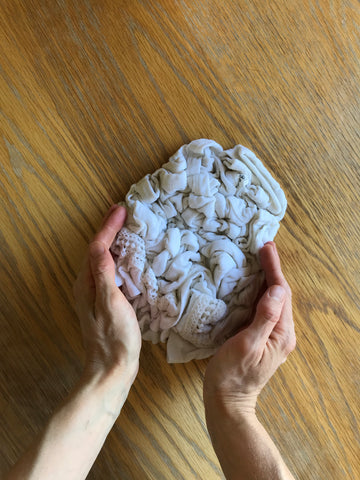
Basically, I scrunch the clothing into a flat disk shape, so all parts of the garment are exposed to the same amount of dye. If you scrunch into a ball, then the middle of the bundle will end up paler.
Dampen your clothing, then begin scrunching from the side like shown in the photo below.
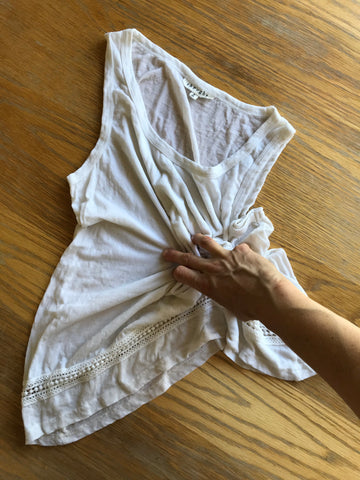
Continue scrunching and gathering the fabric. Be mindful of the way the gathers form, as these are the folds where dye will settle and dye darker areas.

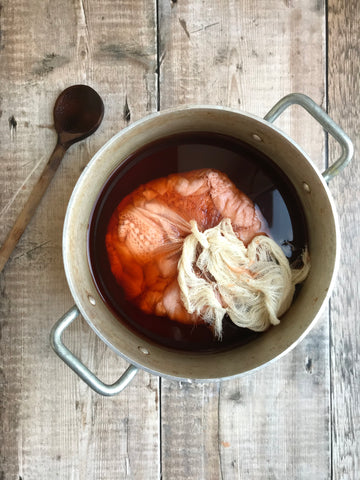
Dyeing the clothing
Now we’re ready to dye our clothing in the dye pot.
Place your bundle into the dye, and top up with water if necessary. I tend to allow the liquid level to be slightly below the depth of the bundle, and flip it a couple of times during the dyeing process.
Heat for around an hour on a gentle heat, ensuring that it doesn’t boil as this could dull the colour.
You may notice that your dye has become pinker over the course of the day. Dye from avocado skins and stones oxidises and develops a deeper shade. Interestingly, after I’d finished dyeing this top, the remaining dye was pinker than it was at the beginning, so the second lot of clothing that I dyed was an even brighter pink!
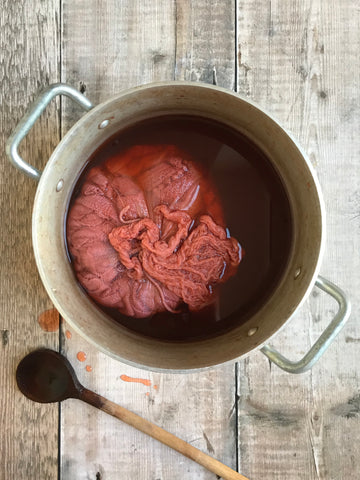
When you’re happy with the depth of colour, squeeze the bundle in your hands – ideally whilst wearing gloves to protect your skin. Then allow it to dry in the shade. Try to squeeze out as much liquid as possible, so dye doesn’t drip down the length of the fabric and cause streaks to form.
There is always the option of rinsing your fabric straight after dyeing, but I much prefer to allow it to dry after dyeing, as I feel that it retains more colour this way. The only downside is that if you don’t squeeze out the dye fully, then it can potentially develop darker areas where the dye drips. So be mindful of this.
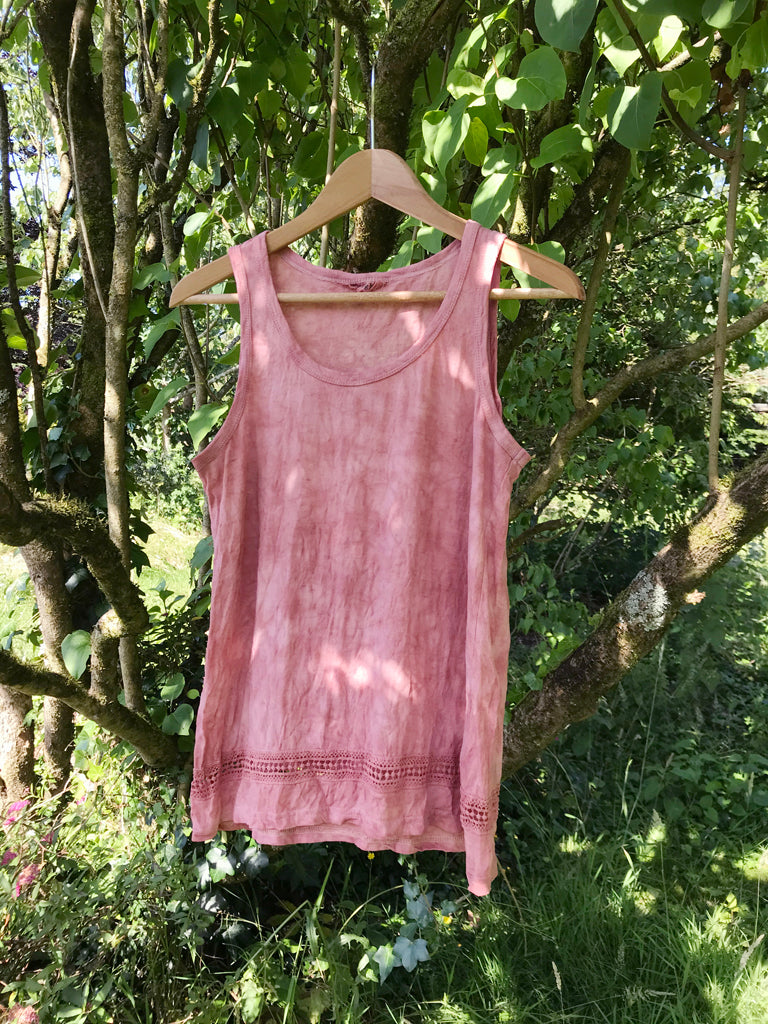
Once your garment is dry, store it away for a few days – ideally a week – then rinse out the excess dye in a bowl of water, then wash it on a quick, gentle cycle in the washing machine. This will remove all the excess dye. Allow it to dry, then enjoy wearing it.
How will the colours last?
Further learning
To dive deeper into avocado dye, you’ll love my new course: