This is one of the most exciting tutorials I’ve shared in a long time. I can’t wait to show you how I made this walnut printing ink!
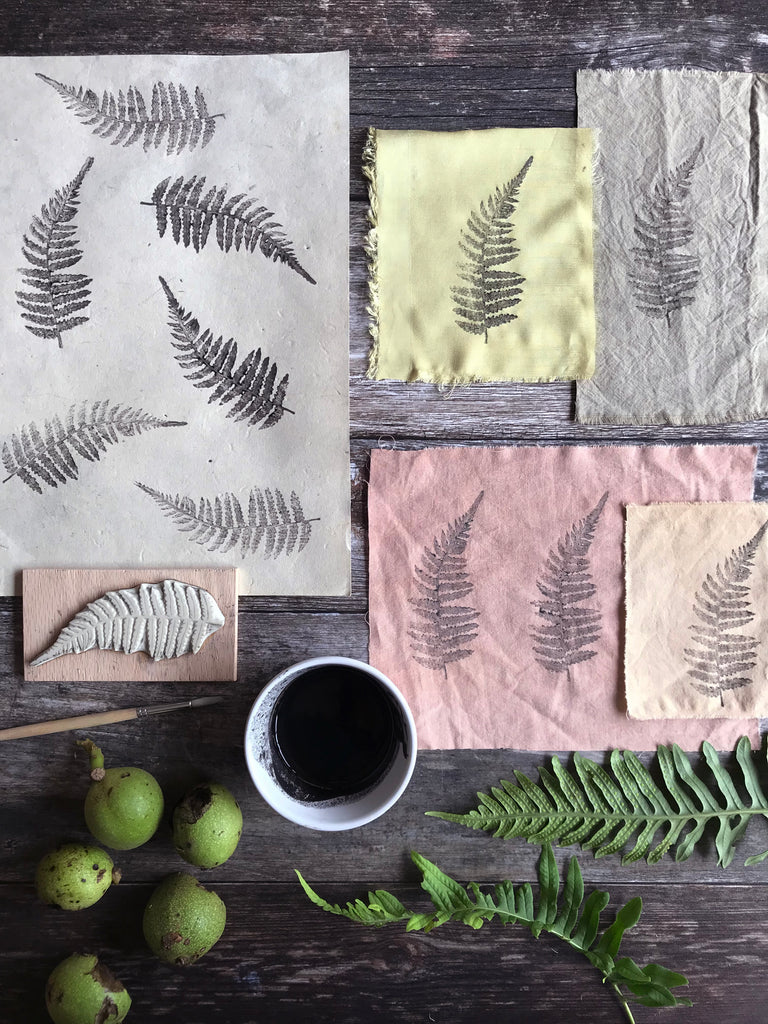
I was very kindly sent a beautiful handcarved fern stamp by Jessica from Jess Nicole Stamps, and I planned to make some kind of plant-based ink. Funnily enough, I’d started making some walnut paint at just the perfect time for when the stamp arrived in the post. The little bowl of paint was sitting on the kitchen windowsill just waiting to be used for this project! I love it when things align like this.
Thank you so much for the stamp, Jessica — I know I’ll love using it for years to come!
In this tutorial, I’ll show you how to make the ink and how it can be stamped on fabric and paper. The “ink” is a thickened dye which has the consistency of a paste. The method will work with any kind of dye plant, but it’s particularly effective with a tannin rich dye stuff like walnut husks, due to the high tannin content. Some other plants that contain high levels of tannin include pomegranate skins, acorns, oak galls, black tea…
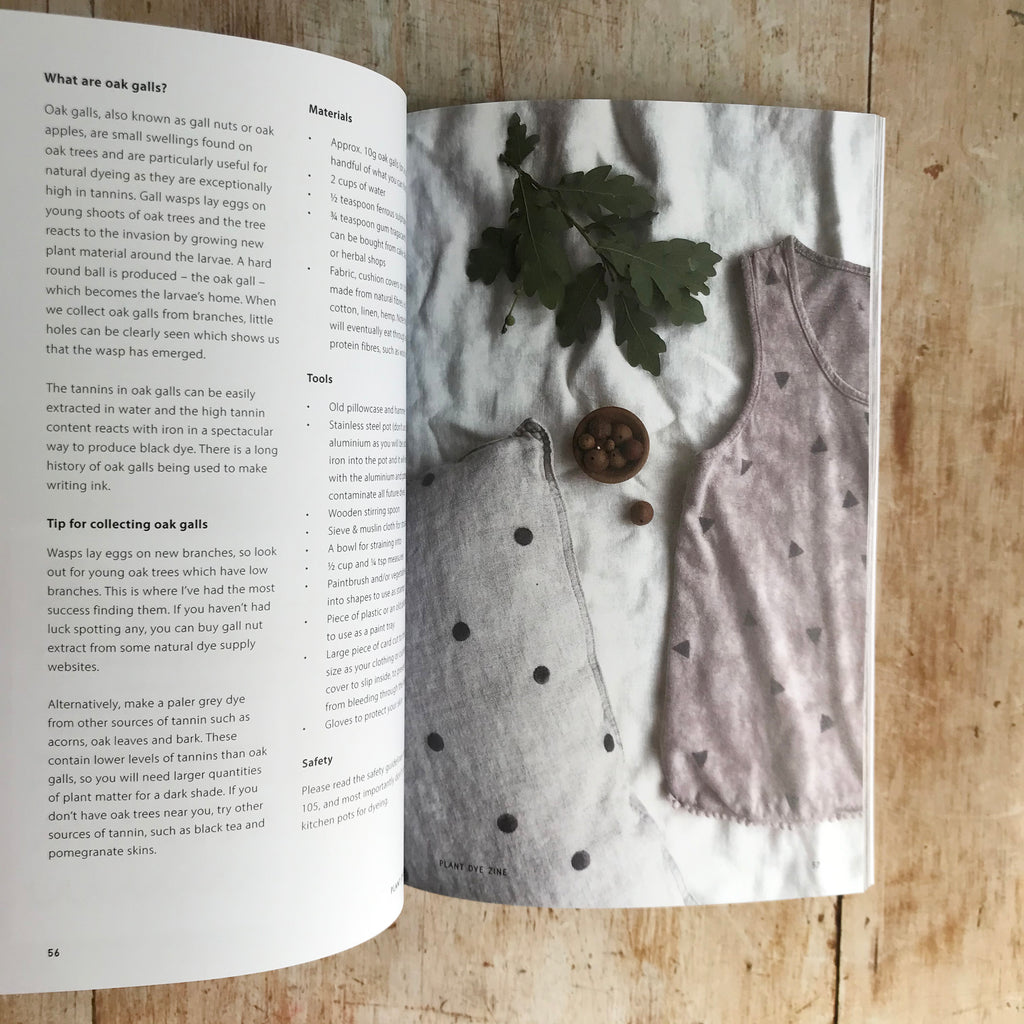
The idea is adapted from my oak gall paint recipe in Plant Dye Zine, which you can order in paperback or as a digital download. Both oak galls and walnut husks contain high levels of tannins, and with the addition of rust/iron, the brown dye turns a spectacular shade of black!
This may seem like quite a long recipe, but I promise the method is very simple. I have written it out in lots of detail to try to answer as many potential questions as possible. I work in a simple and intuitive way, and will outline the basic steps in my process. Feel free to adapt to suit your needs!
What you need
Note: Do not use your kitchen tools — you need a separate set of dye-only equipment.
- A handful of walnuts in their husks (the husks are the part that contain dye)
- Dye pot — I used stainless steel rather than my usual favoured aluminium, and will explain why in a moment
- Water
- Heat source
- Muslin cloth and sieve for straining
- Bowl for straining into
- Smaller saucepan for making the paint
- Ferrous sulphate crystals — I order mine from wildcolours.co.uk
- Spoon reserved for ferrous sulphate
- Measuring cup — I used a 1/3 cup
- Measuring spoon — I used 1/8 teaspoon
- 1/8 tsp gum tragacanth powder — it can be found online, sold by herbal websites e.g. Baldwins, and also cake decorating stores
- Whisk
- Small bowl for the paint
- Jam jar to store paint in the fridge
Let’s get started
Collect a few handfuls of walnuts for your dye pot. I collected them from the ground and many had been half eaten by squirrels, but that doesn’t matter at all. It’s a great way to make use of the inedible, damaged ones.
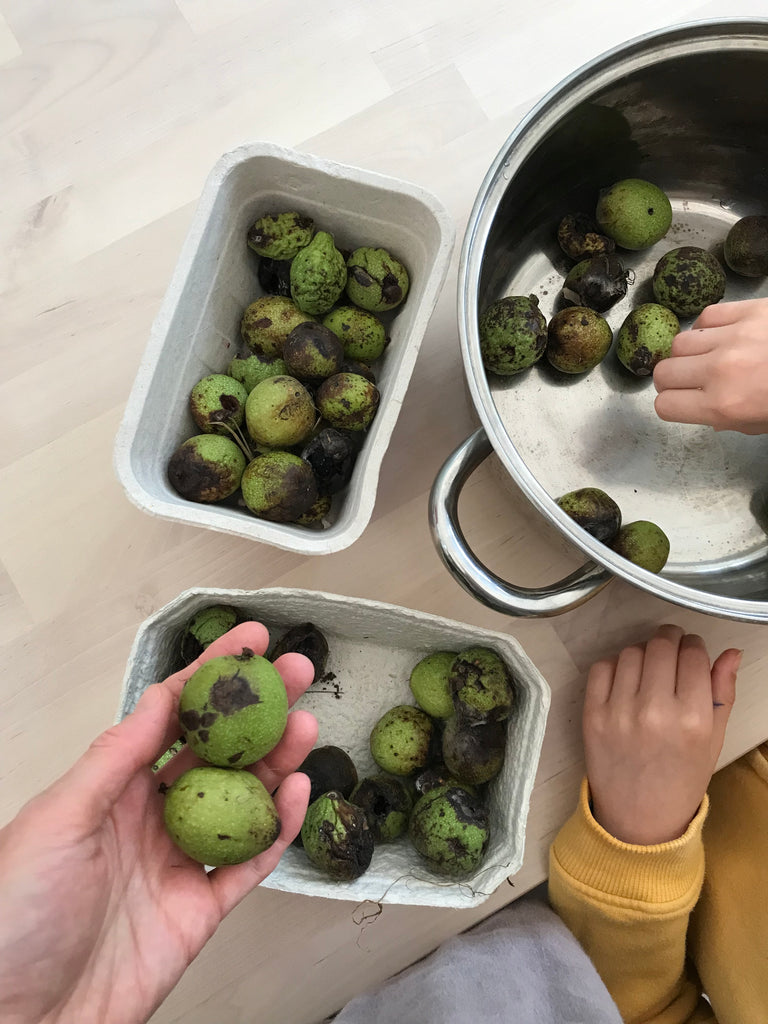
I decided to use a stainless steel pot on this occasion. If you follow my work, you may know that I often like to use aluminium, but on this occasion I decided that stainless steel would be best. I knew I’d be soaking the walnuts for quite a few days and just didn’t want the mess in one of my aluminium pots — the metal is reactive and can be very hard to clean. Stainless steel felt like the best option. Plus I wasn’t concerned about needing the mordanting benefit of the aluminium pot, as I would be adding iron into the dye, which acts as a mordant instead. And let’s not forget the tannins present in the walnuts, which are a natural mordant.
I chose to keep my walnuts whole as it was the simplest thing to do, but you may decide to smash them into smaller pieces, to expose more surface area. If you do this, pur them into an old pillowcase or bag, and bash with a hammer. It’s probably best to do this outside.
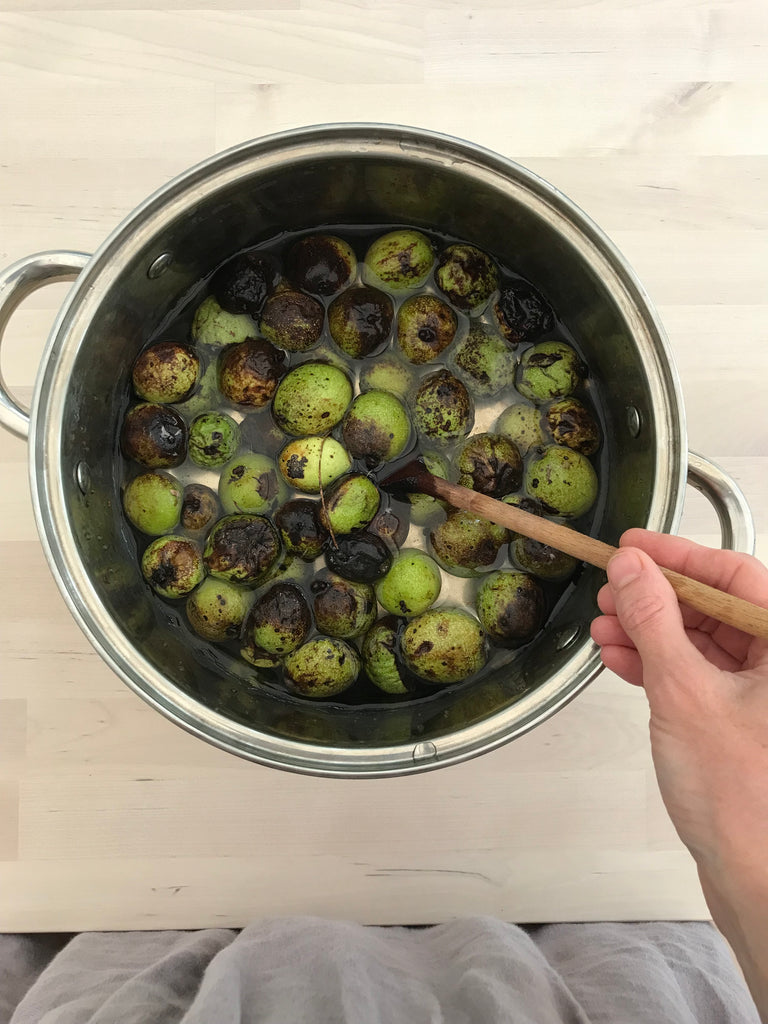
Add the walnuts into your pot and cover with water, so they are all submerged.
Heat the walnuts for about an hour to begin coaxing out the dye. You’ll find that the water turns brown fairly quickly and the walnut husks will darken.
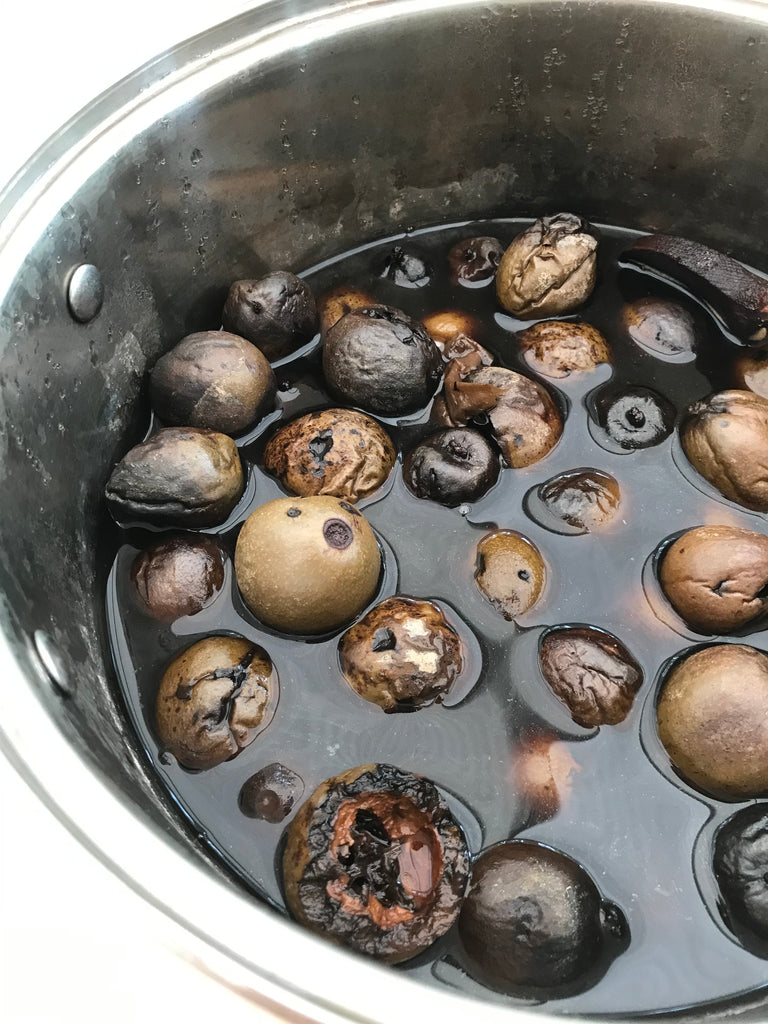
At this point you can just leave the dye pot to sit somewhere cool for a few days, and allow the dye to darken further. The only consideration is that you want to avoid it going mouldy, so try to find somewhere fairly cool. Keep an eye on your dye pot each day and see how dark it is, and check for mould. If you see a tiny spot of mould forming, scoop it out, and begin using your dye right away. I think I left my pot for about 4 days in the end, and it was a very rich chocolate brown. If you like, you can add a small swatch of fabric into the dye and check the colour of this each day and monitor the depth of colour of your dye. Some people leave walnuts soaking for weeks or months over the cooler winter period, so there are many ways to do this.
When you’re satisfied with the depth of colour, strain out the dye into a bowl, through a sieve lined with a muslin cloth. The cloth is essential to catch all the small bits.
Your dye is now ready to use for a multitude of projects. Use it as a dark brown dye, or turn it black with iron, which I’ll show you in the next section.
To make the printing paste in this blog post, we only need a small amount of dye, so we’ll have a lot of walnut dye left over for other projects.
Now let’s thicken the dye into paint
I followed my oak gall paint recipe that’s in Plant Dye Zine.
1. Measure out your dye and pour into your smaller saucepan. The basic proportion for the paint is 1/3 cup dye, and 1/8 tsp gum tragacanth, so decide if you’ll use this amount or double it.
2. Sprinkle in a tiny amount of ferrous sulphate crystals into the dye. For this part, I work intuitively and just watch for a change in colour from brown to black. Stir and observe. If you feel it could do with going a bit darker, then add in a little more ferrous sulphate. We are aiming for black.
3. Now put your saucepan of dye on very low heat, and sprinkle in the gum tragacanth.
4. Whisk in the powder. As it heats, it will dissolve fully.
5. Now at this point there are two things you can do. We are aiming for a thicker paint consistency than what we currently have and need to allow the extra water content to evaporate. If we add more gum to thicken it, then it will just have more of a jelly consistency, which isn’t what we’re looking for. We want the dye component to be more concentrated.
- I poured the mixture into a couple of small bowls and let the paint evaporate on a windowsill for a few days. I know this sounds rather tedious, but it works rather well. The iron will stop it going mouldy.
- The alternative is to keep heating the paint on a low setting on the stove, and very carefully evaporate more of the water. Just don’t let it burn, and make sure you stir continually. As it cools, it will thicken even more, so it can be tricky to judge how long to heat for.
I prefer leaving it on a windowsill as it won’t burn and you can check on it each day and use it at the perfect stage. At room temperature, you can really see the texture well, and test it out to see if it works well. Even add in a drop more water if it thickens too much for your liking.
6. When you’re happy with the texture of your ink/paste, begin using it right away or store in the fridge for later. To store in the fridge, pour into a jam jar and label clearly. It can be kept in the fridge for quite some time — the iron will stop it going mouldy. I find that it’s fine to use for a few months, but obviously keep a close eye on it, and label it clearly so other people in your home don’t mistake it for a sauce!
Let’s begin stamping!
I stamped on fabric and paper.
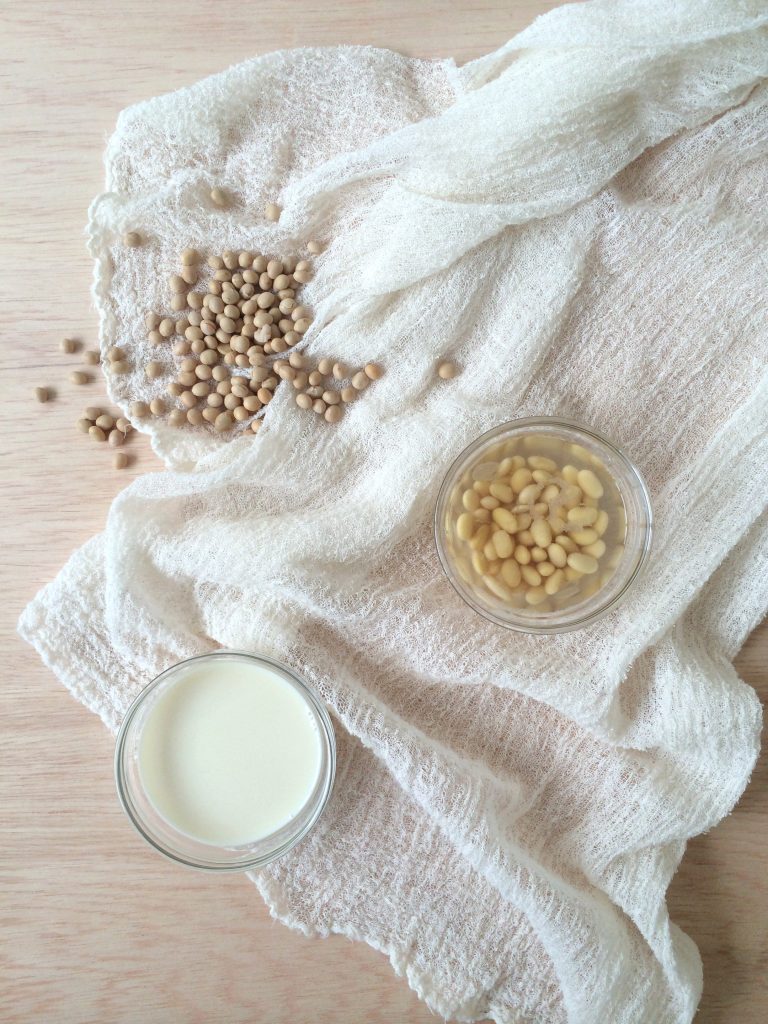
- The fabric was mostly cotton and one piece of bamboo viscose. It had all been previously dyed with plant dyes, and had originally been pretreated with soya (soy) milk which acts as a binder between plant fibres and plant dyes. You can iron your fabric beforehand to remove any creases.
- The paper was textured handmade paper, which absorbed the paint nicely.
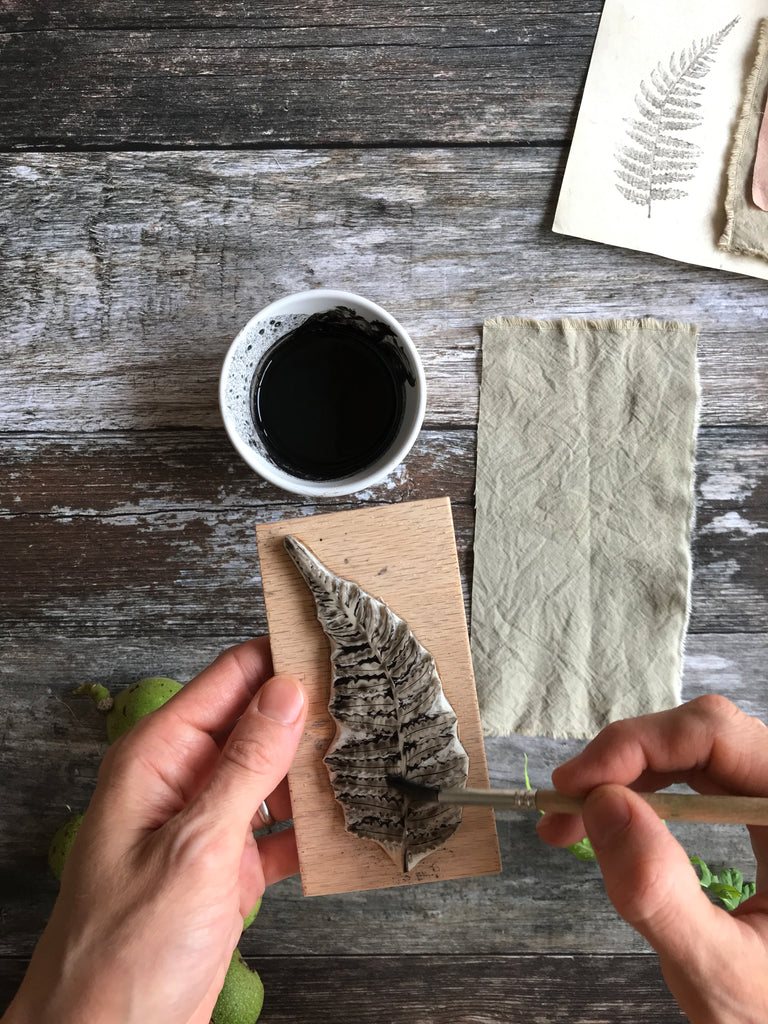
There are different ways to apply the printing paste to your stamp.
- I chose to carefully apply with a brush, as this is what I had easily available to me. The downside of this is that you might lose detail in the stamp as the paste could overfill the stamp. However, I did a few tests with it and was satisfied with the results, so continued with this method.
- Another option is to pour the paste into a large flat dish (you could reuse plastic food packaging) and stamp into this to pick up the paste. The downside is that you might pick up too much paste which means you’ll lose detail in the design.
- A third option is to apply the paste to your stamp using a roller. This will given you a more even coating.
Which ever option you choose, look at the rubber stamp carefully before you press onto fabric to make sure that it’s evenly coated. Do plenty of test prints to get a feel for how the paint transfers to the paper or fabric.
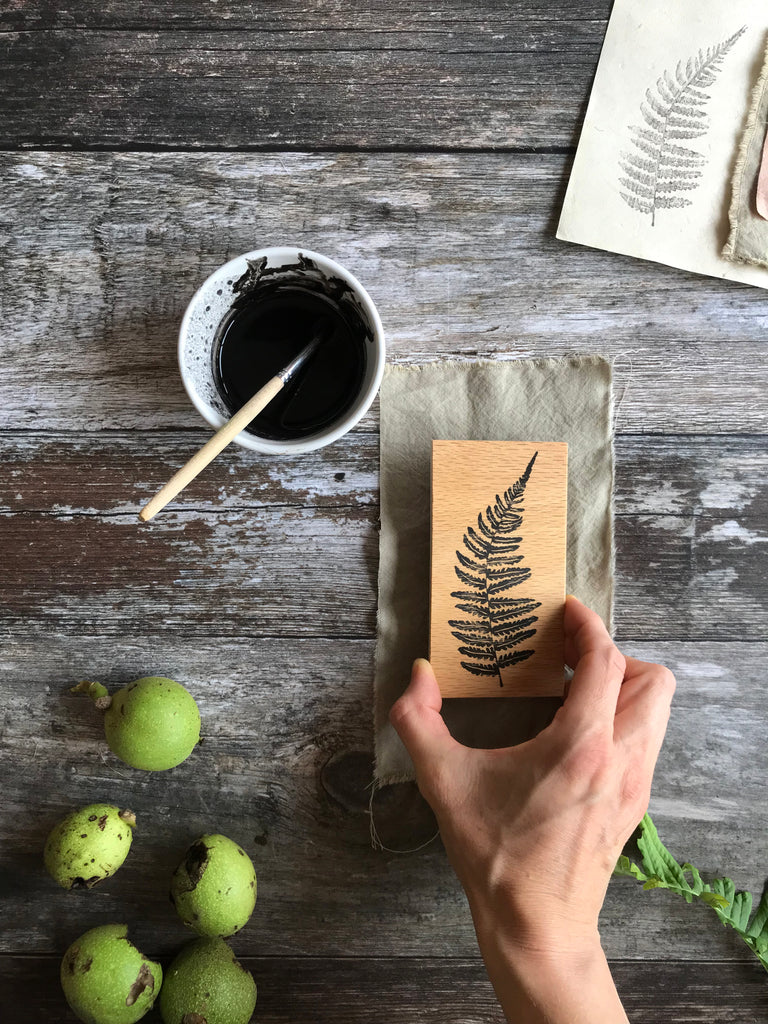
When you press your stamp down, make sure you apply even pressure on all sides of the stamp, to transfer the dye evenly. However, don’t get too caught up on a completely perfect result and try to embrace the variations in texture and finished result. This is a homemade paste and we’re hand stamping. It’s never going to look like it was digitally printed, and that’s not what we’re aiming to anyway. If you’re printing a repeated pattern, some paler prints will add interest to your finished piece.
For the smoothest result, I recommend applying the ink with a roller.
When you’ve finished printing, set aside your paper and fabric to dry. The paper can be used right after it’s dry, but the fabric will need another process to help set the dye.
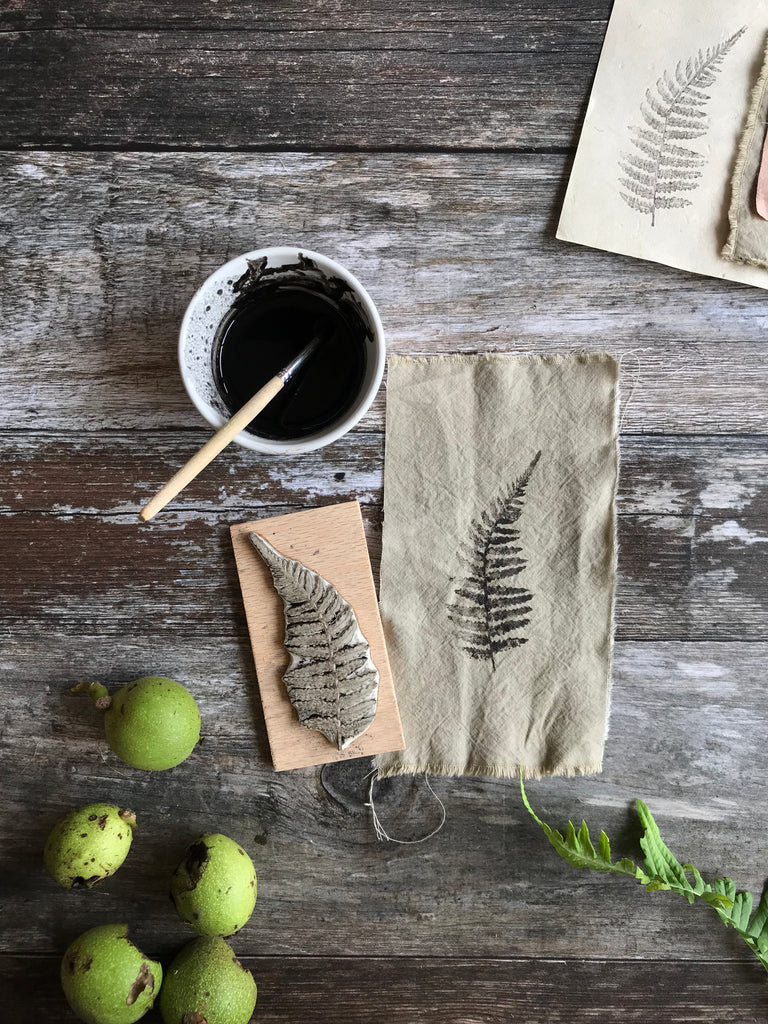
After the ink is completely dry, we will set the dye on the fabric. I recommend ironing with the hottest setting that your fabric can take. For cotton, I used high heat on my iron, but the bamboo viscose needed a lower setting. Iron over the prints a few times, covering with a tea towel or similar cloth.
At this point, you can either rinse the excess dye from your fabric, or you can leave it for a few days before rinsing, which might help retain more colour. When you wash your fabric, first rinse in plain water first to remove any unattached dye, then give it a gentle wash with laundry detergent. My favourite washing liquid is Greenscents (available in the UK).
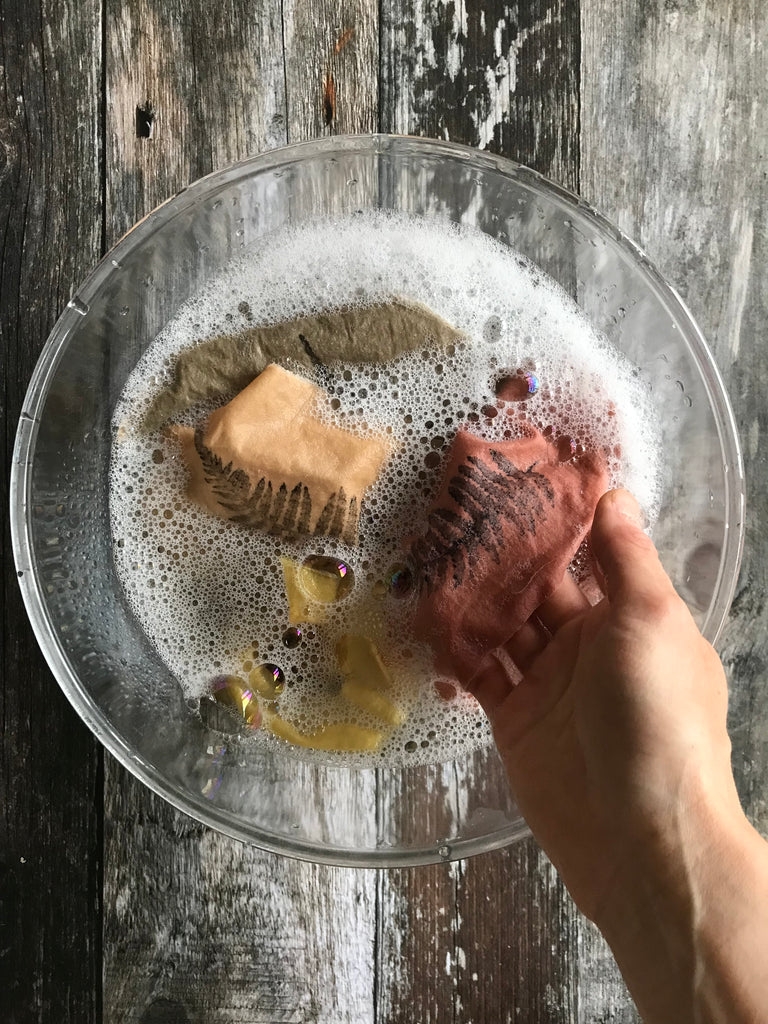
Rinse the fabric in fresh water, squeeze out, then hang to dry. You can also use a gentle setting in your washing machine, if you prefer.
When it’s dry, give the fabric a quick iron, and enjoy!
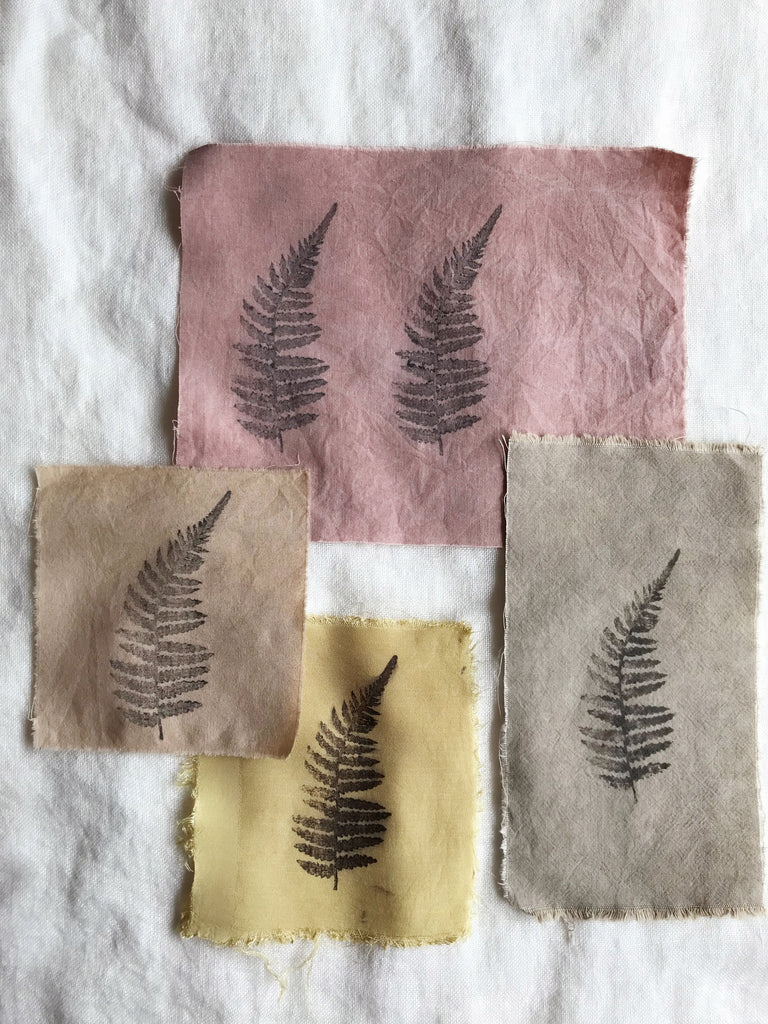
These are the finished results after washing:
How long does the colour last?
The high tannin content along with the iron will give the print a very good level of colourfastness!
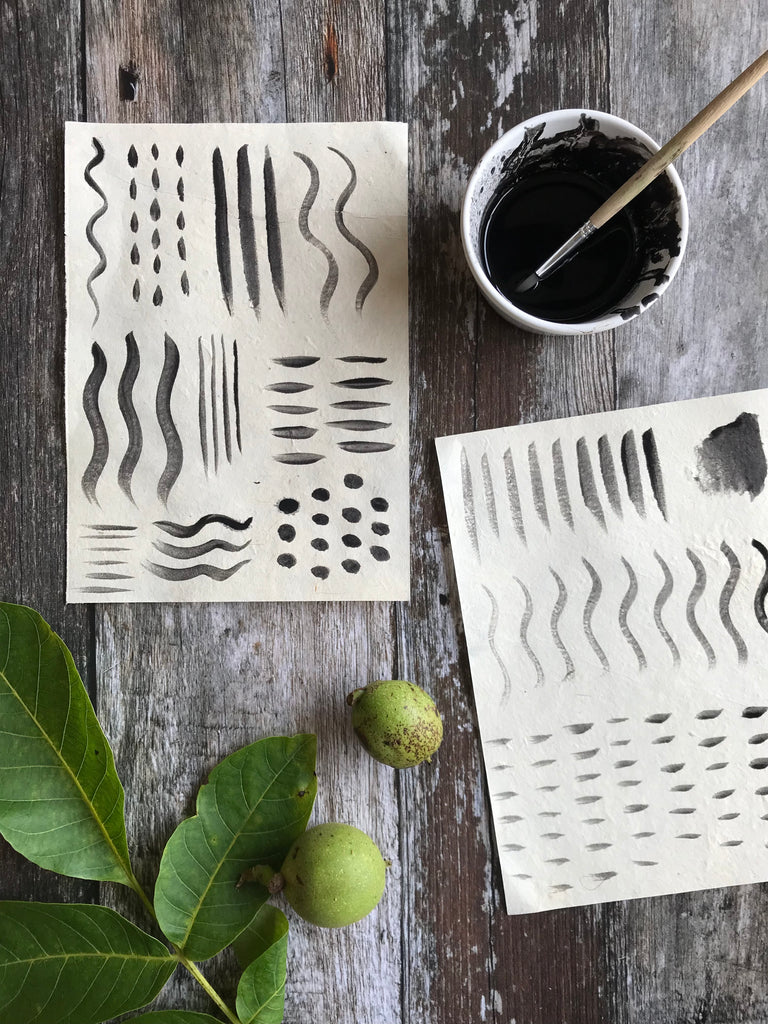
Painting on paper
The paint has a creamy texture and is lovely to paint with. Look at how smooth these lines are…
Further ideas to try
For more botanical dyeing recipes and tutorials, take a look at my books and eBooks:
- There are a couple more ink recipes in Plant Dye Zine, as well as tutorials on bundle dyeing, plant hammering onto fabric, and lots more!
- Learn how to dye fabric and yarn in Botanical Colour at your Fingertips.
- For dyeing wood, check out Botanical Dyes on Wood.
