This summer I’ve made dyes from a few flowers from my garden. In this blog post, I’ll share my dye notes and colour swatches for three colours of buddleja (butterfly bush), yarrow and goldenrod flowers.
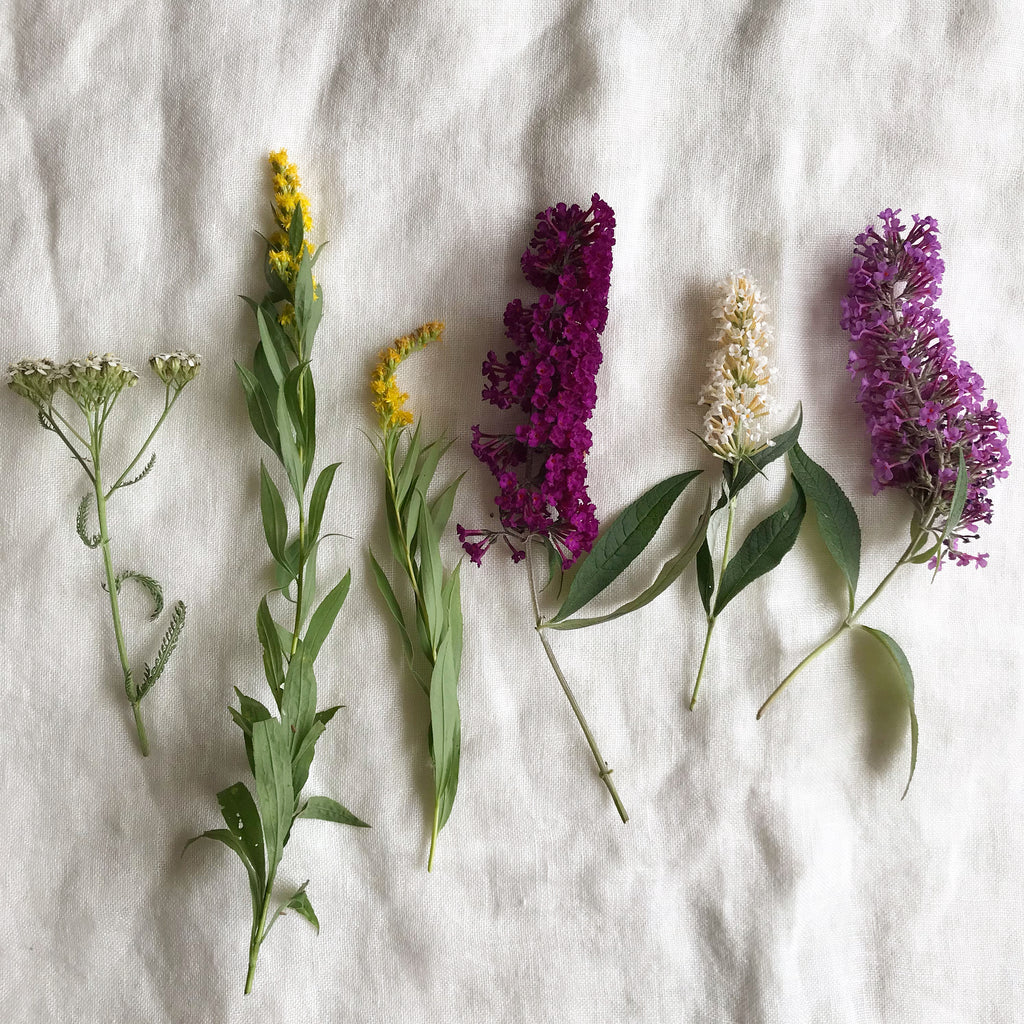
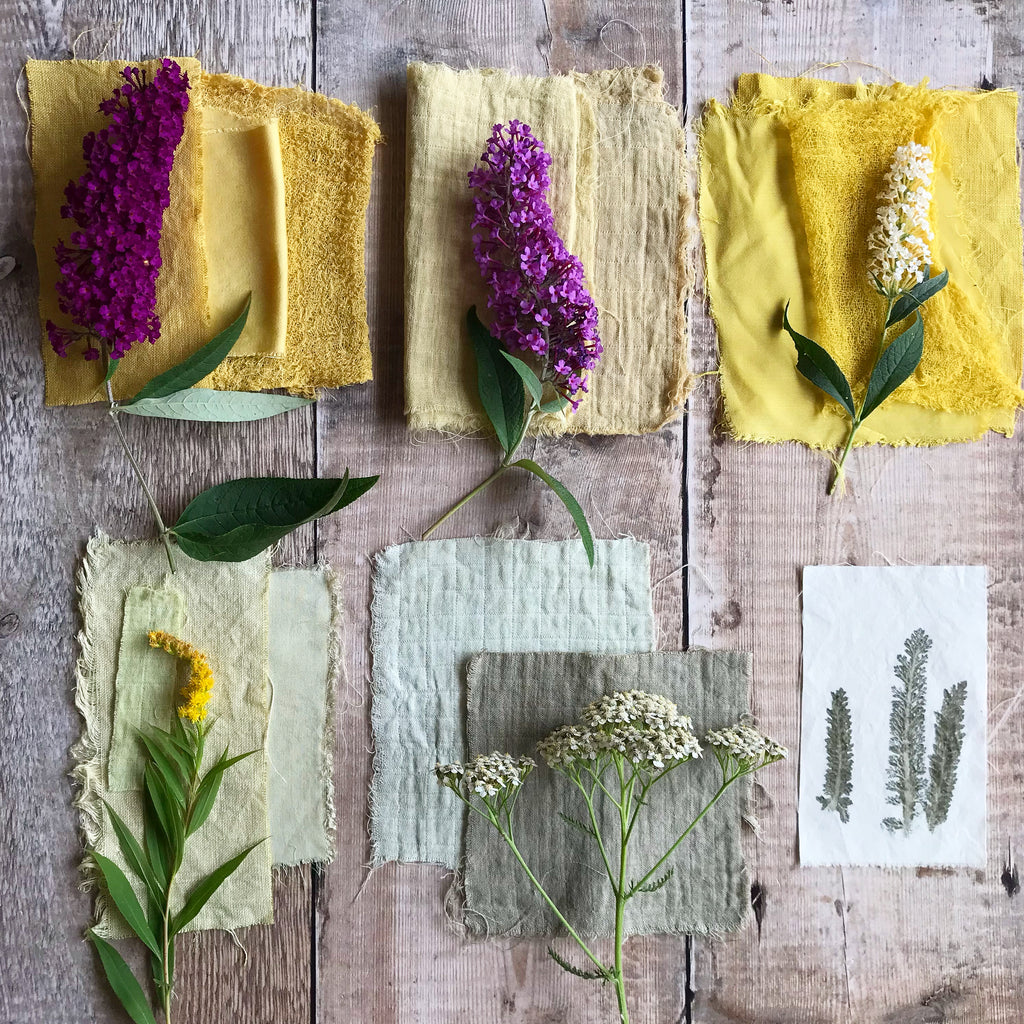
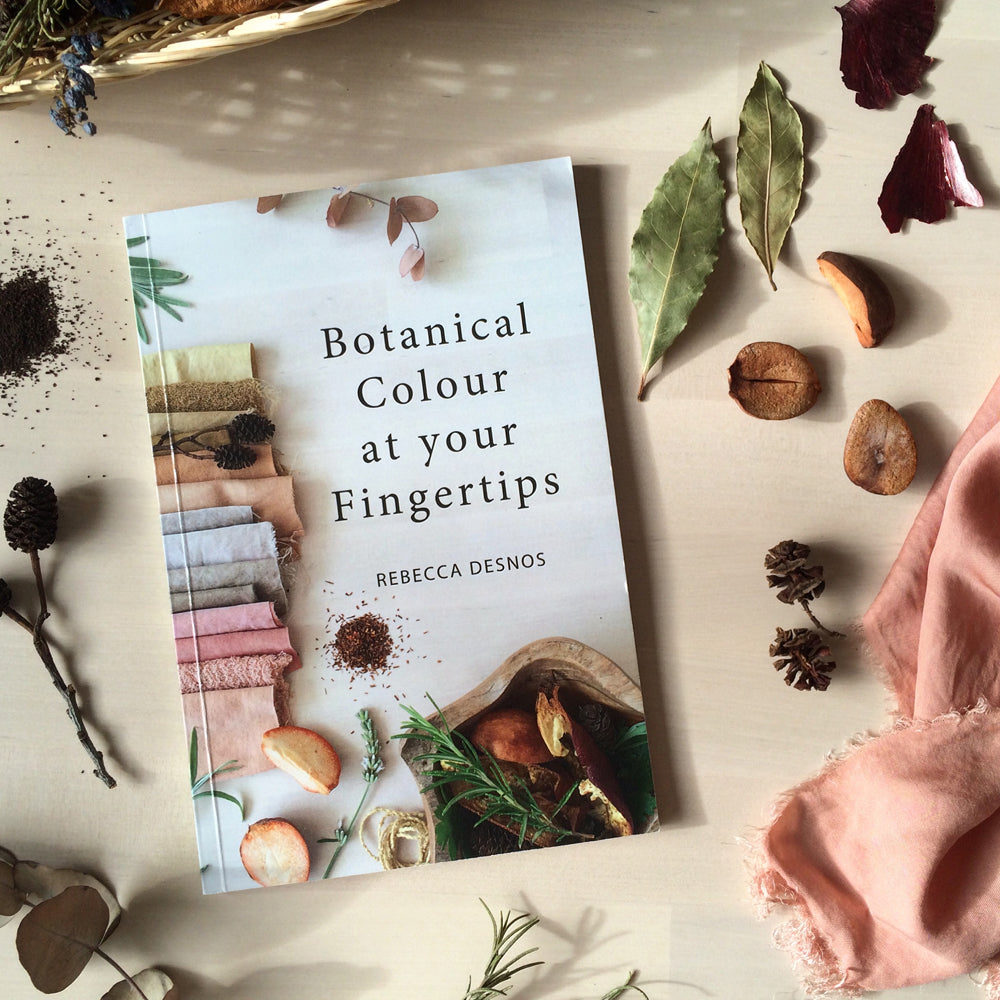
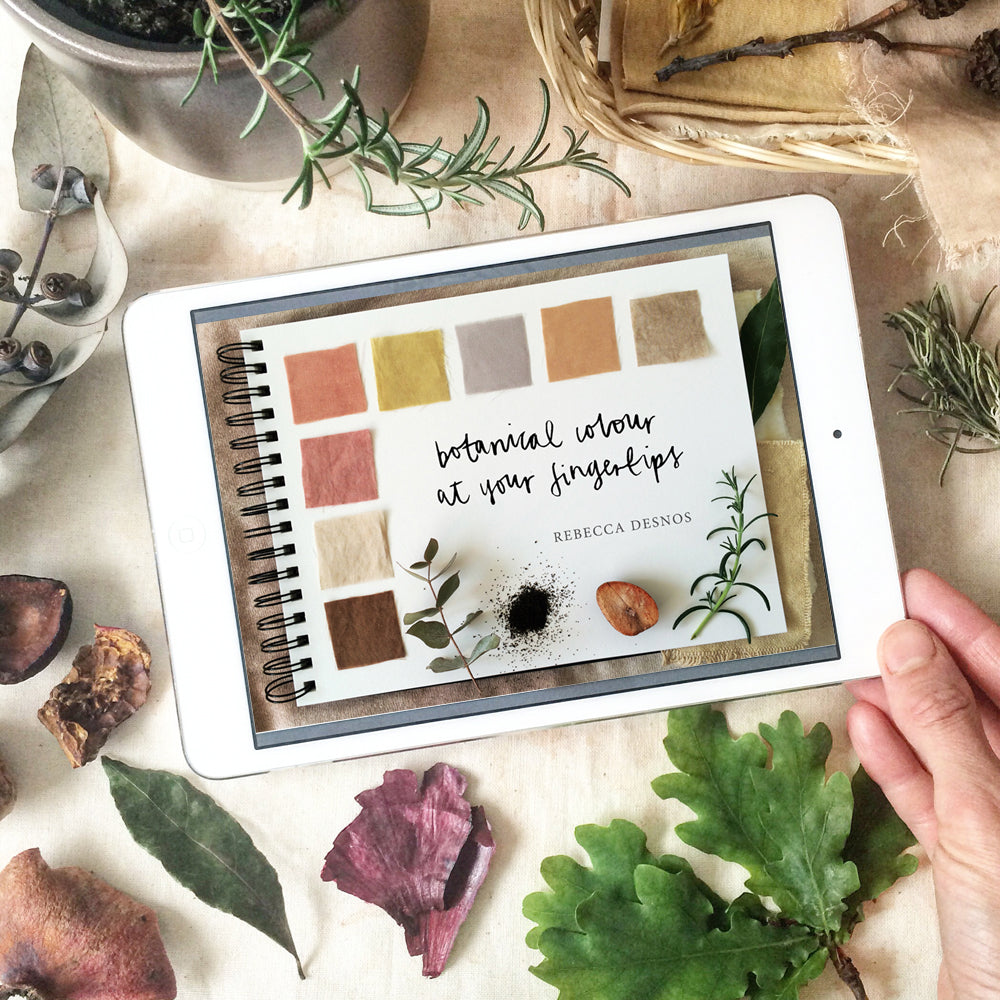
I used cellulose fabric for all of the swatches — organic cotton, bamboo viscose and linen. Aluminium dye pots were used throughout. All fabric was pretreated with soya milk, following my usual method in my book Botanical Colour at your Fingertips (available in print and as an eBook).
BUDDLEJA
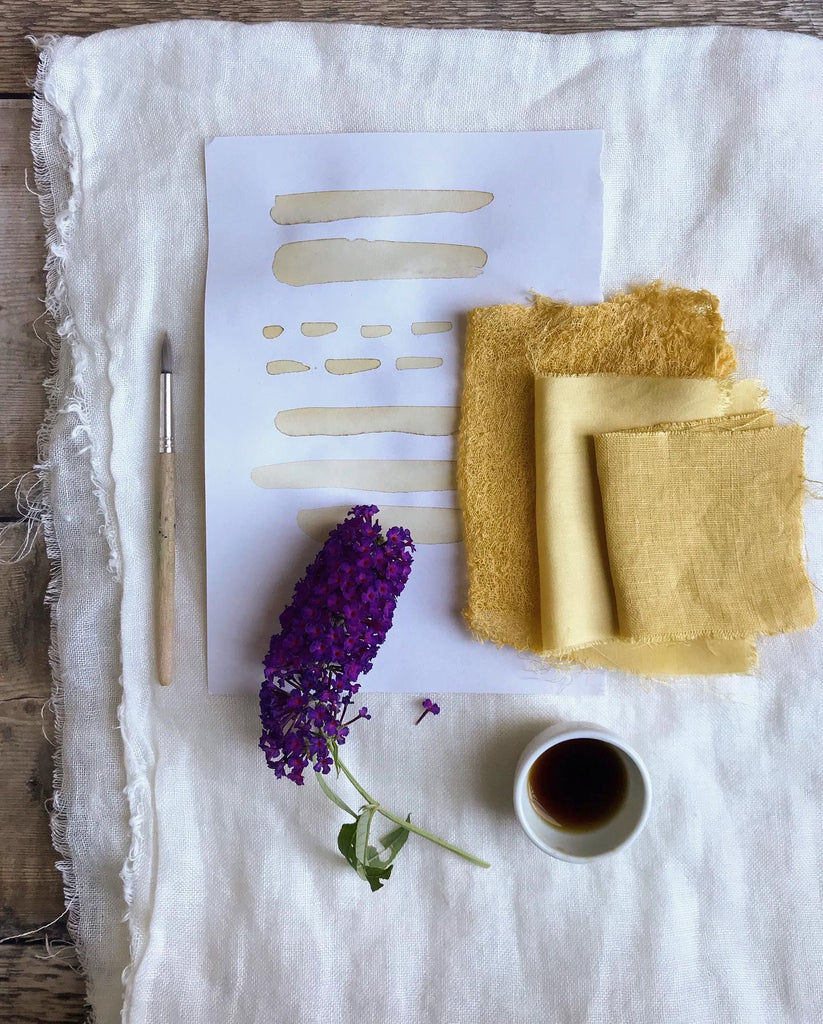
I’ve dyed with buddleja several times over the years and on every occasion I’ve effortlessly made luminous yellows. Since moving across the country from the south east of the UK to the south west, I was thrilled to discover we had our own buddleja bush in our garden.
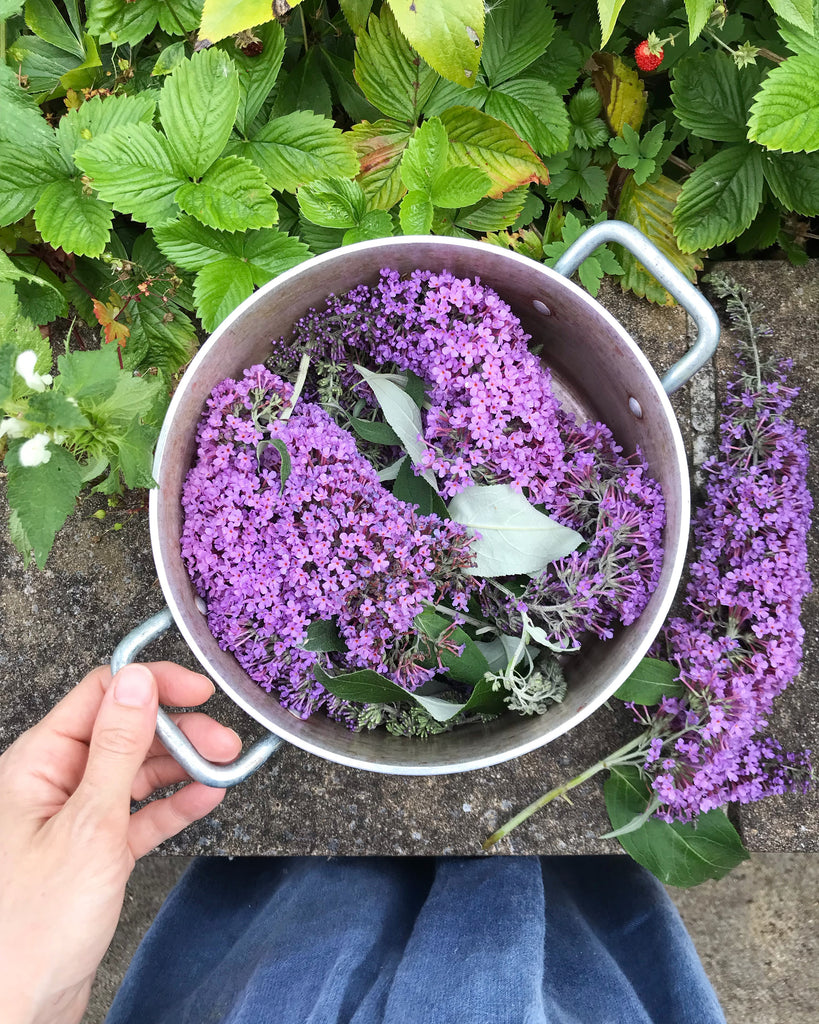
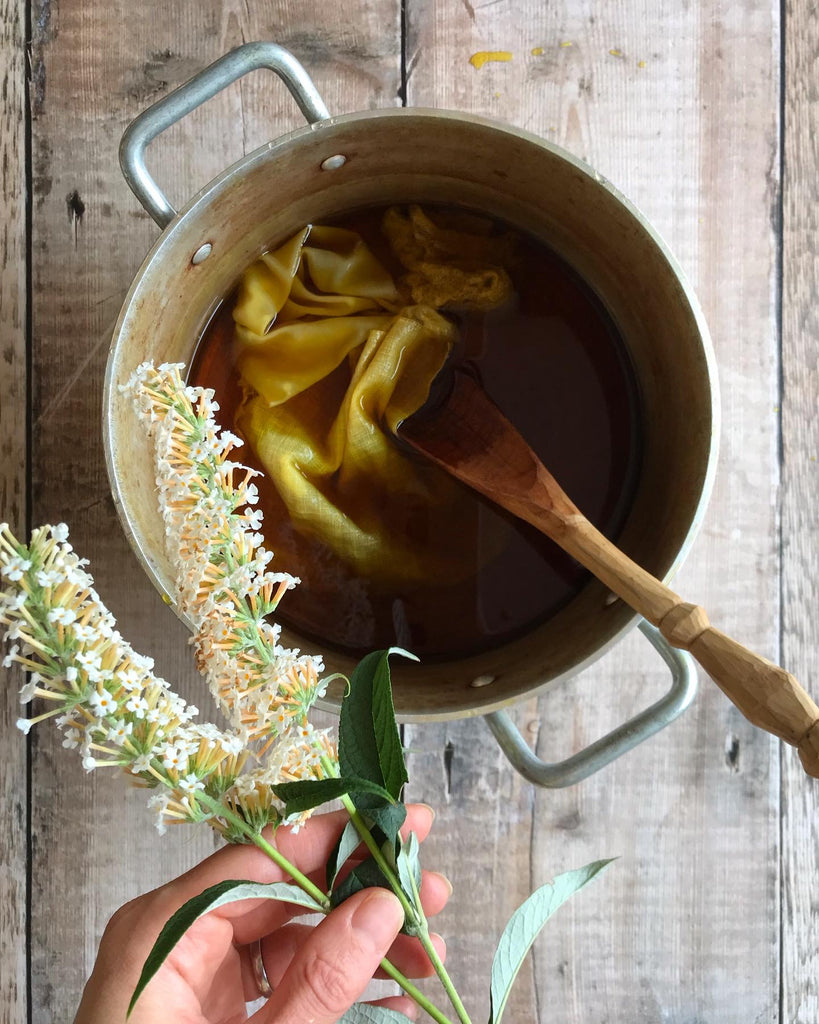
I filled my dye pot with some of the purple blooms and followed my usual dyeing method for flowers, which involves covering with just enough water to submerge the plants, then heating very gently. I never boil flowers — I try to keep the heat below simmering point. The aim is to gently coax out the colour, rather than cook the plants. This method has always given me bright shades from buddleja.
Well, on this occasion the dye went a murky green, swampy colour. I admit that it was a disappointment. I thought buddleja would effortlessly release yellow dye, like it had on countless other occasions. So I picked another small handful of flowers and tried again — this time with even lower heat. Perhaps I’d let the first pot get too hot and accidentally burnt the flowers. Well, to my astonishment, I made an almost identical colour. I dyed my swatches in this second pot of dye, and decided to just accept the shade for what it was.
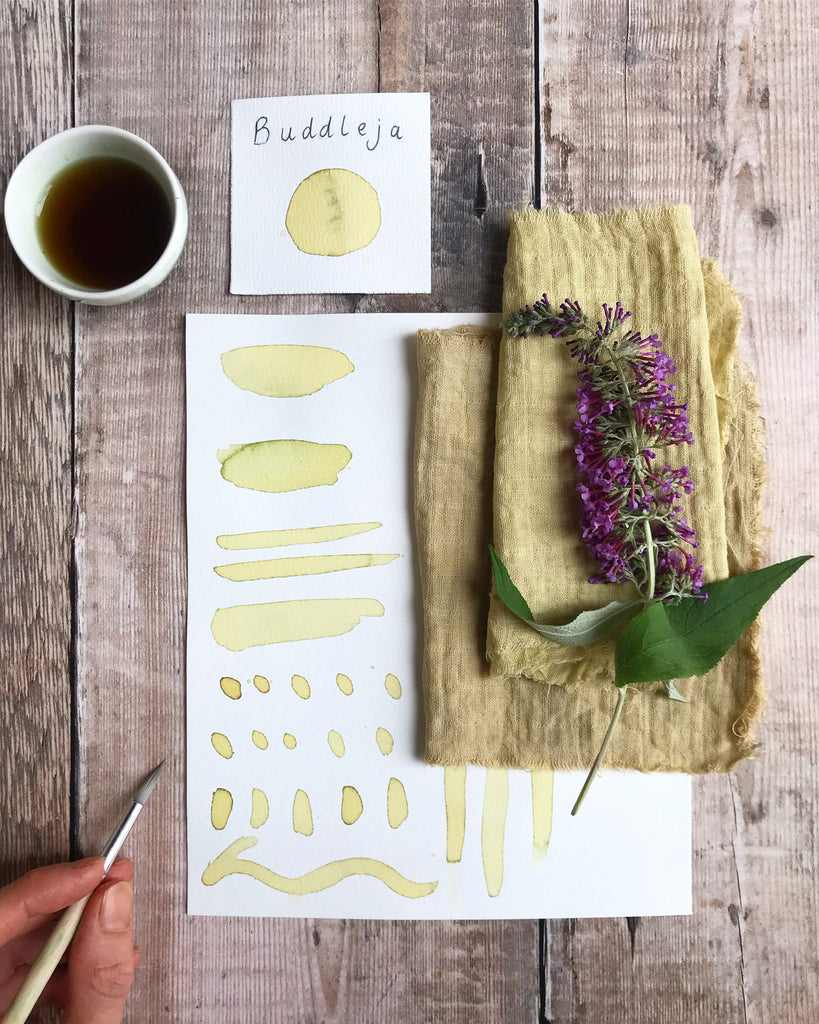
The previous owner of our house must have loved buddleja, as we also discovered that we had a darker purple and white bush. Of course I had to try these in my dye pot, and both of these made the luminous yellow dye that buddleja flowers are known for.
YARROW
A lot of the lawn in my new garden is covered in yarrow. Perhaps a weed to many, but as plant lovers, we know that it’s anything but that! Yarrow is a very special plant with various therapeutic uses, and the flower is loved by insects.
Now I must confess that I didn’t have high hopes for yarrow. I imagined it would give a pale yellow and wondered if it was even worth trying it. How wrong could I have been?!
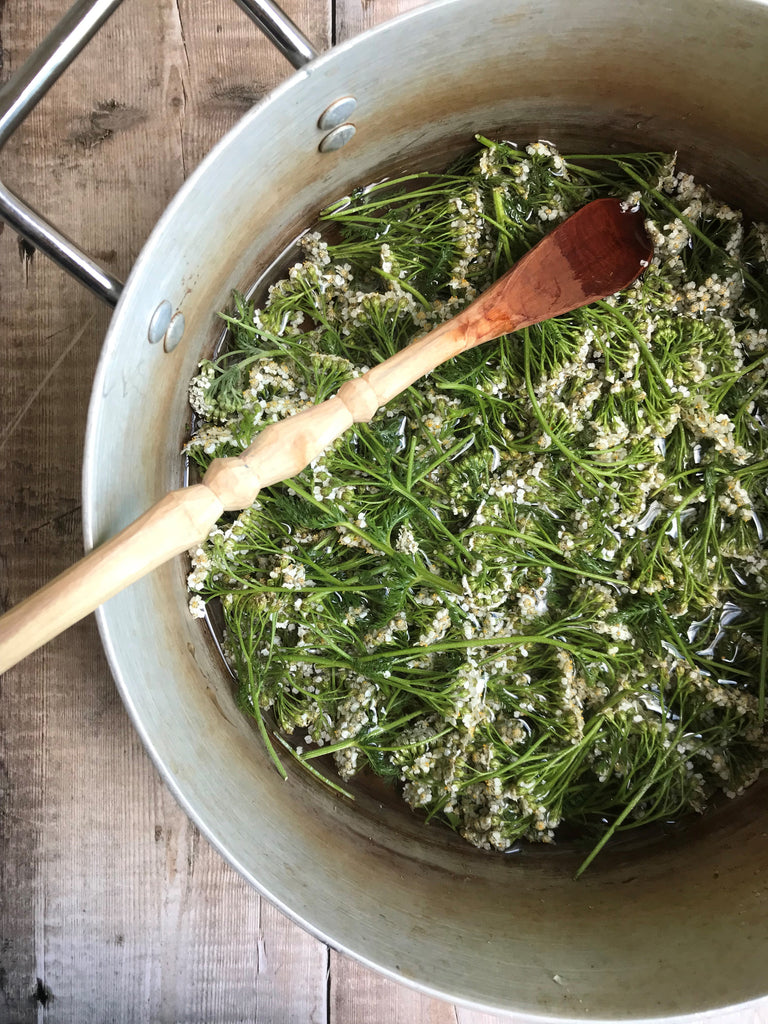
I decided to dye with just the flower tops, as the stems were very tough and woody. I snipped off the flower tops, and laid them on a tray for a couple of hours to let any insects crawl away. Later, I followed my usual dye method for flowers — I filled the dye pot with just enough water so the plants were submerged and heated very gently for around 30 minutes. Then I left the lid on and allowed the flowers to soak over night.
By the next morning, the dye was a yellowy shade, just as I’d expected. I decided to reheat very gently, then left the flowers to soak longer. By this point, I was unable to strain out my dye pot, as something else had happened. So I had no choice but to leave it soaking until the following day. By then, I had a big surprise waiting for me — the yellow dye had shifted to green!
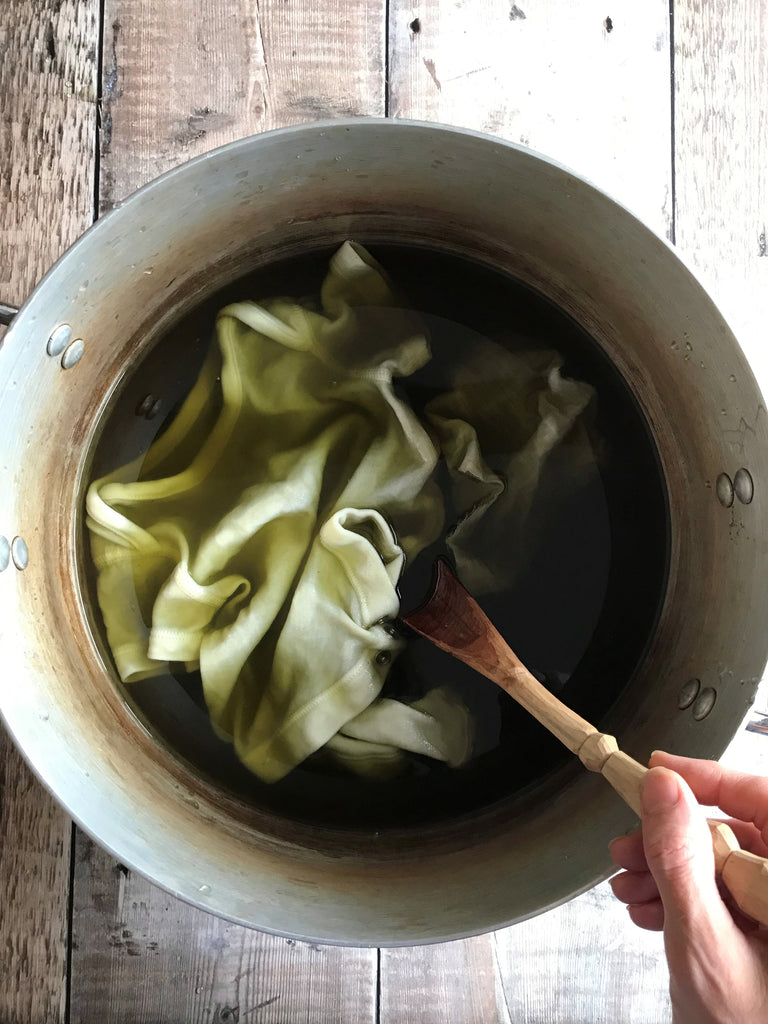
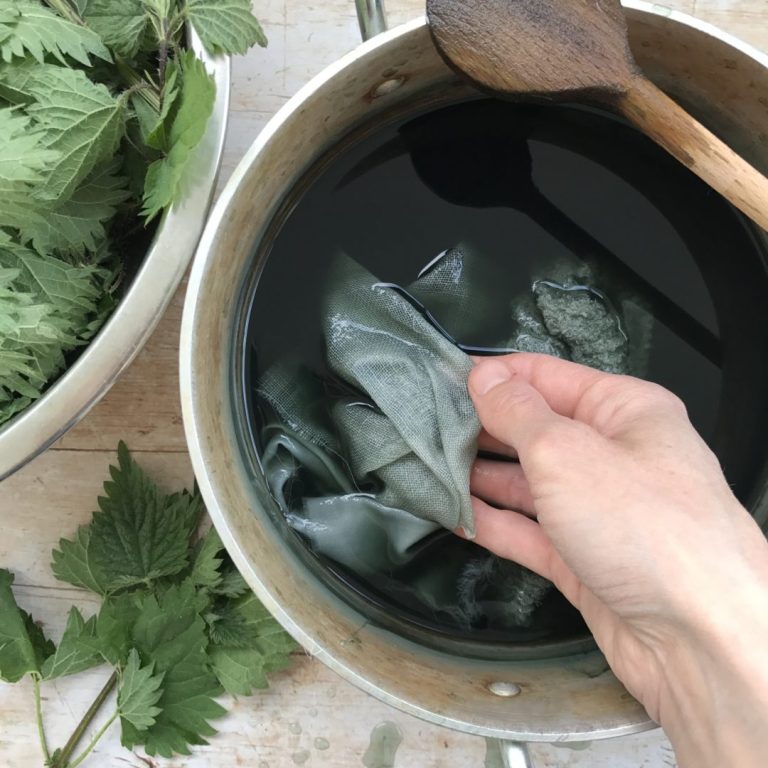
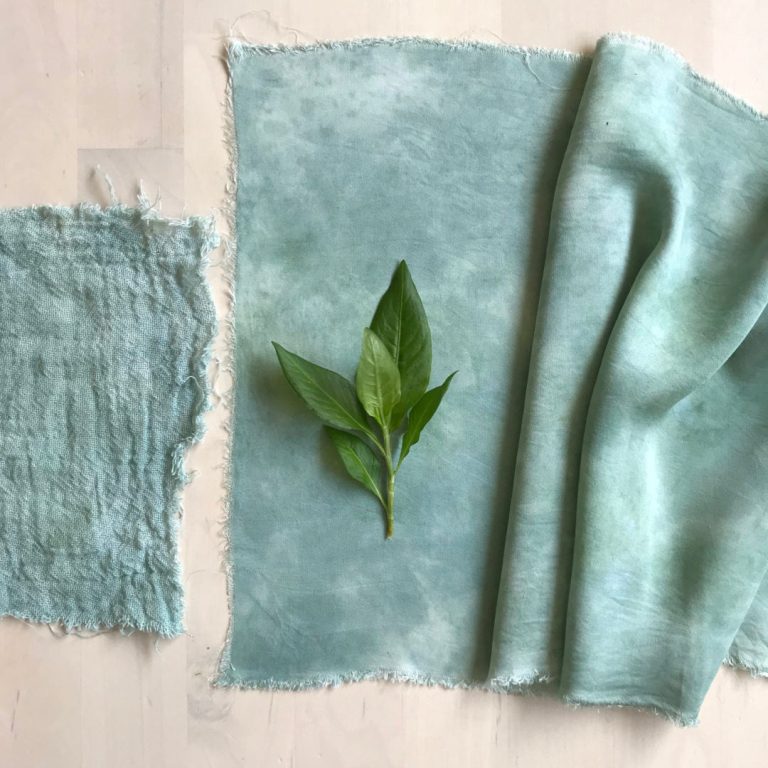
After straining out the flowers, I was left with a gorgeously green dye. I was astonished! The added some swatches as well as a cotton baby vest. I made sure not to heat too much, so kept the heat on the lowest setting and didn’t even allow it to simmer. After soaking in the warm dye over night (the lid keeps the dye hot for hours!), I was so thrilled to discover that the fabric had all dyed a gorgeously soft green shade. I thoroughly squeezed out the excess dye, then left the pieces to dry. I waited a few days before rinsing out the excess dye, then gave the fabric a quick wash in the washing machine. At the end, everything was still a beautiful shade of green.
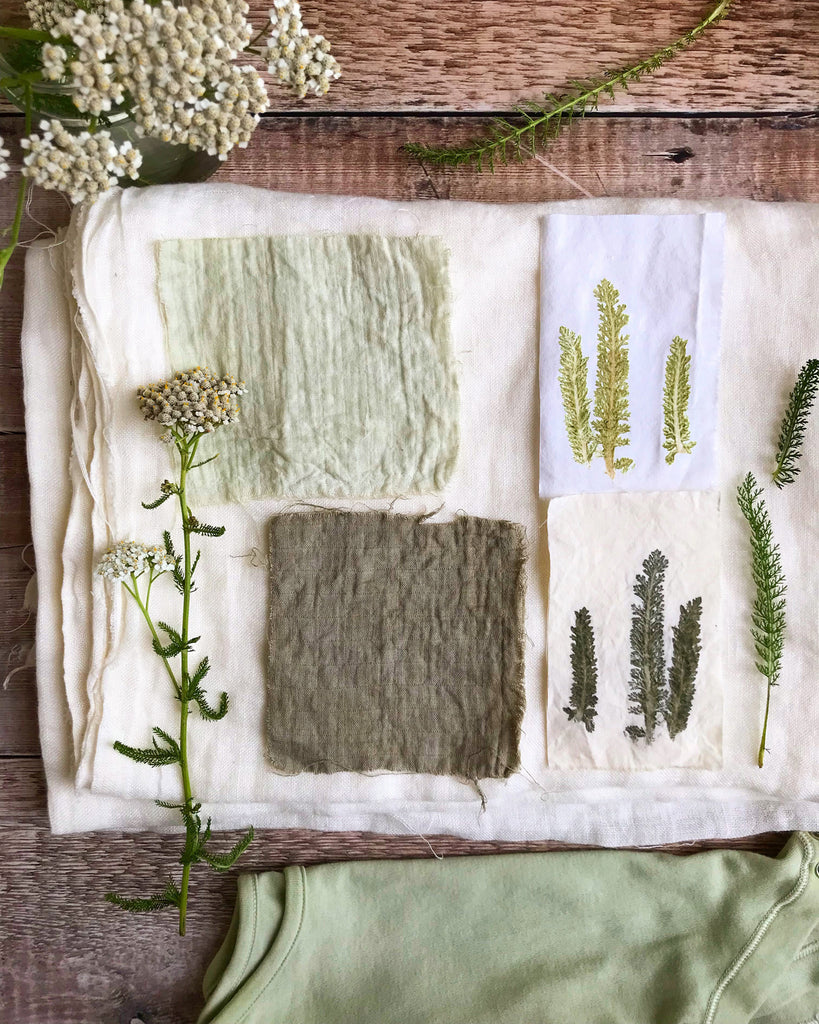
While I haven’t done colourfastness tests on this dye yet, I was too excited to let this stop me from starting another dye pot. So I gathered a basketful of yarrow flower tops from the garden — this time from a different spot, nearer the house. I let the insects crawl away, then set to work extracting the dye.
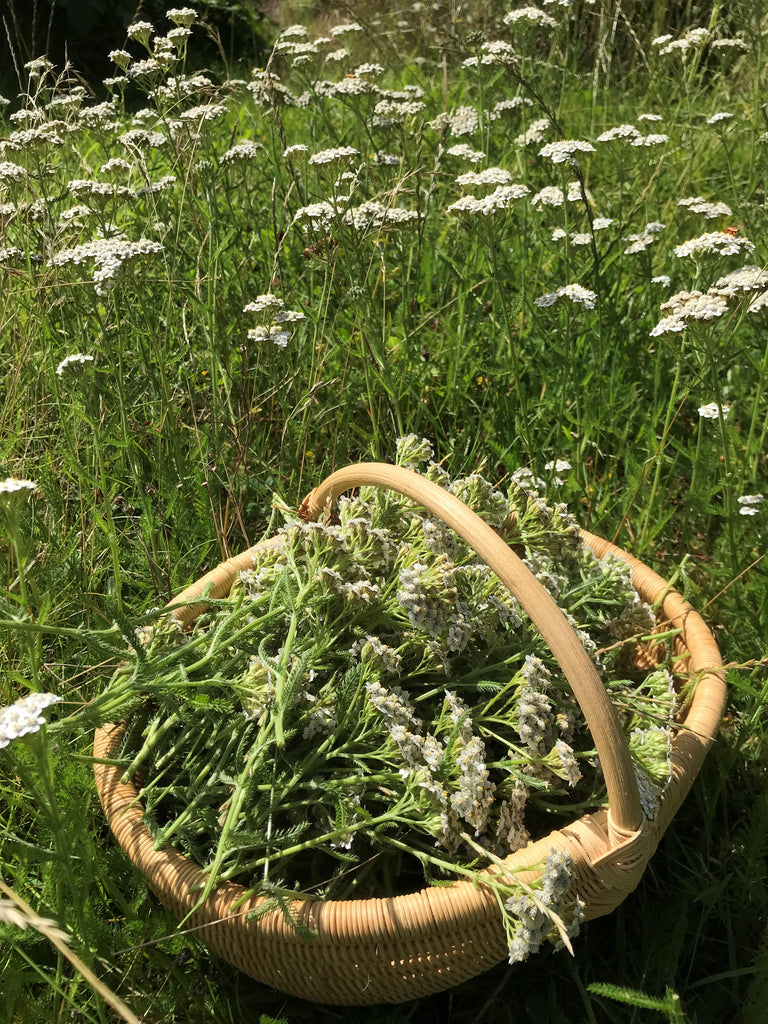
Shockingly, the dye turned brown quite early on. I was so disappointed! Had I let the dye over heat? (I didn’t think so — it had remained on the lowest heat all along). I was tempted to pour away the dye, but let the flowers steep until the following afternoon, when I strained out the plants and added another piece of clothing. I fully expected it to dye brown, which felt like a bit let down. I heated the dye and let it soak for a few hours. By the time I took it out, it did look brown — it was a kind of murky yellow/green/brown shade and I wasn’t in love with it. I squeezed out the excess dye and hung it up to dry over night.
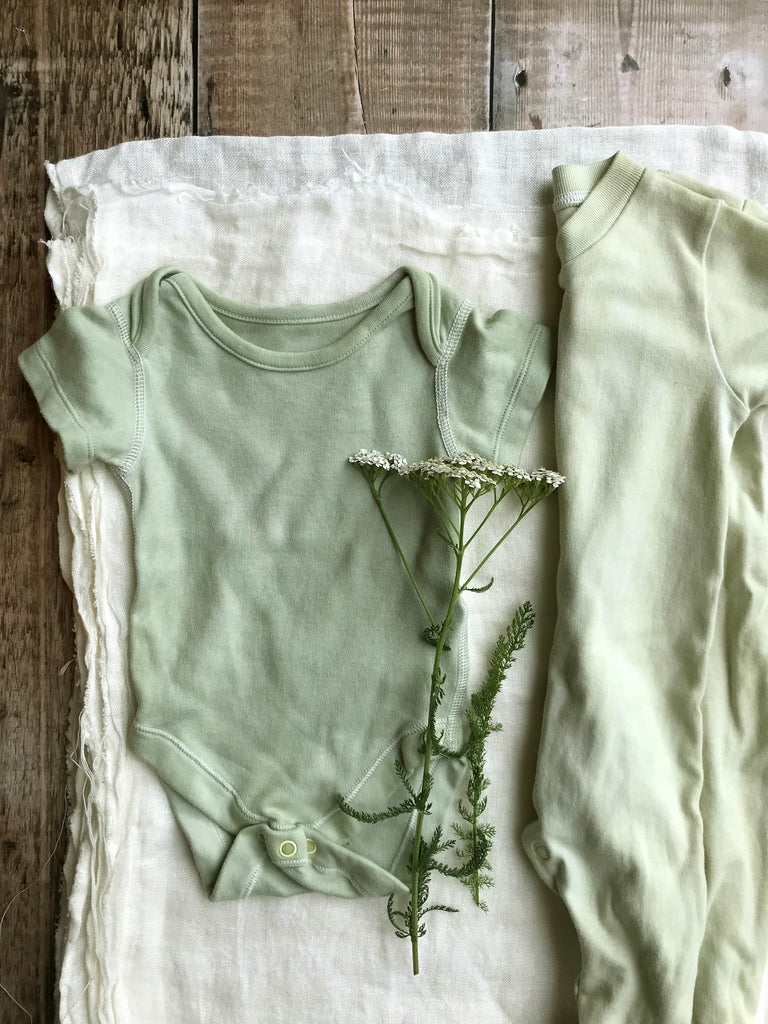
Well, I was in for a shock when I took a looked at it the following morning. It was actually very green! It wasn’t quite the same shade of green as the first round of yarrow dyeing, but it was definitely green! I left it for a couple of days, then rinsed out the excess dye and gave it a quick wash in the machine. It was even greener by this point — I was thrilled with the results!
Below you can see the result from the first dye pot on the left, and the second dye pot on the right:
What I learnt from this experiment is that we must never try to predict the results until we’ve finished. My tutor at university (when I was studying Interior & Spatial Design) always told us not to “end game”, where we try to predict the end before we’ve even got there. Well, that’s exactly what I’d done in this situation! I almost poured away the dye before I’d tested the colour on fabric, when in fact the final colour on fabric was beautiful.
Every dye pot will teach us something new, and no experiment is a waste of time!
GOLDENROD
Our garden is mostly wild and over grown and I was thrilled when I noticed some tall spears of goldenrod popped up amongst the Japanese anemones. Goldenrod is considered an invasive weed to many, but as a natural dyer, I know that it’s a wonderful dye plant! Of course it has some medicinal properties too, so it’s a very useful plant.
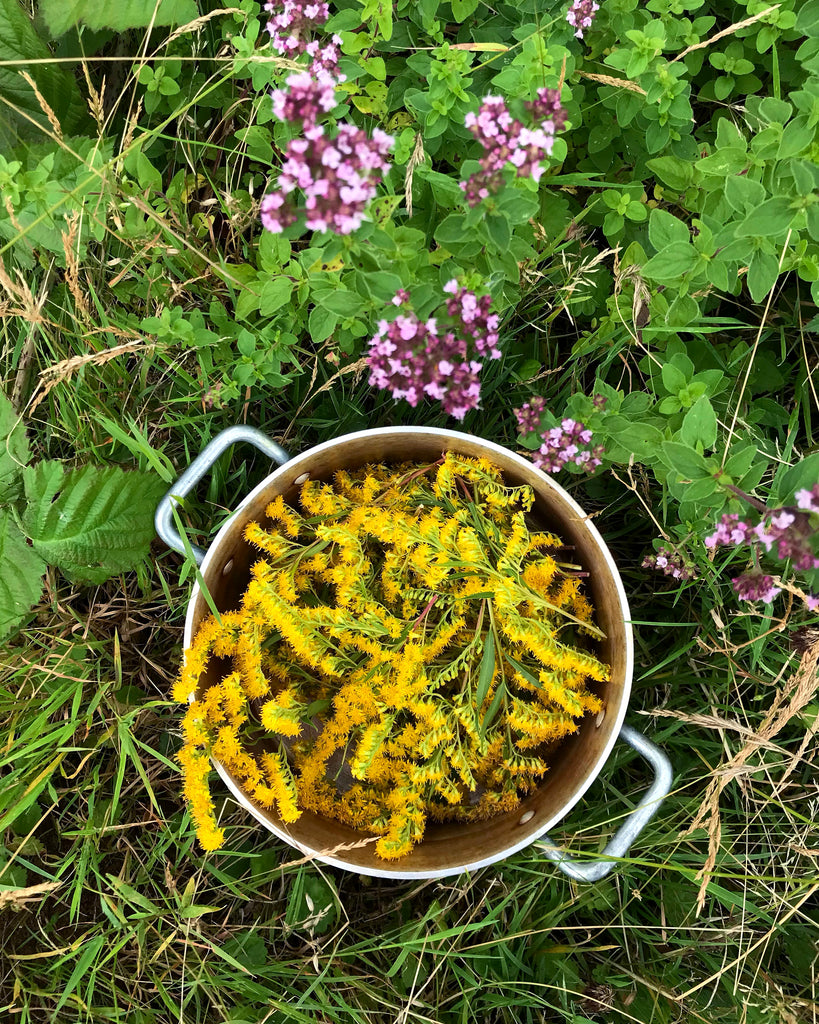
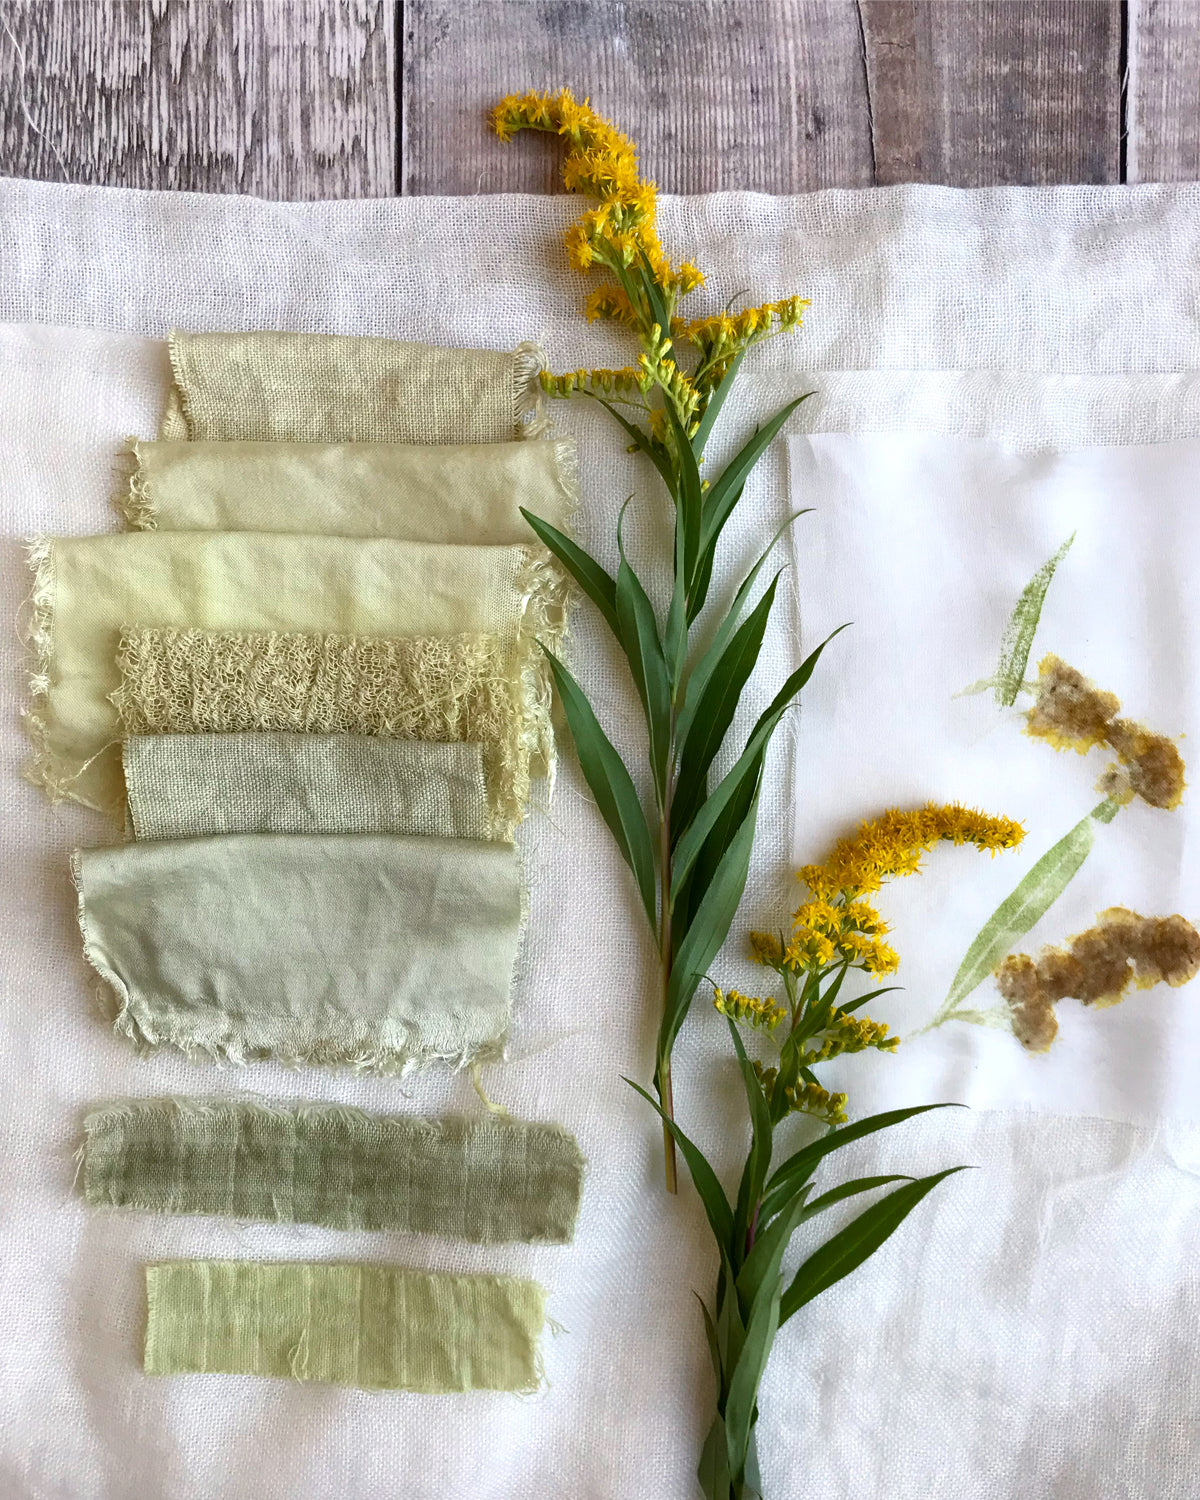
After my last two dye pot surprises with the buddleja and yarrow, I just didn’t know what to expect with the goldenrod. I decided to pick a couple of flower tops to test in a tiny amount of water. I covered with about a centimetre of water and heated very gently for about 15 minutes. To my amazement, the dye had turned almost neon yellow! I quickly snipped a strip of cotton fabric and added it to the warm dye. I came back about half an hour later, and it had dyed a luminous yellow.
The next day I gathered a larger pot of flowers and heated gently once again. The dye was a bright yellow, but I was multitasking — cooking rice at the same time — and I accidentally boiled the goldenrod dye! The dye sadly turned brown, but interestingly still dyed fabric yellow. After over heating the dye, it didn’t turn green like it had the day before.
It seems that there are various factors that influence the colour of goldenrod dye: low heat will encourage greens, and many people say that young flower tops make green, and more mature flower heads make deeper yellows. I’ll have to test this later in the season to see.
I have a feeling that colours are much more saturated on protein fibres (silk and wool), as I’ve never been able to achieve the deep golden shades that other people make. I am, however, very happy with the gentle greens I made.
Use the plants at your fingertips!
Just as the title of my first book says, let’s explore the botanicals that we have at our fingertips. Whether you have your own garden, or there’s a nearby woodland or park, explore your local plants and see what you can try in your dye pot. I always find every experiment worthwhile, and learn something new, no matter what the result is. Only pick plants that you are certain you can identify, and ones that are non toxic. You don’t need to grow your own dye garden to dye with fresh plants. Enjoy your projects!
