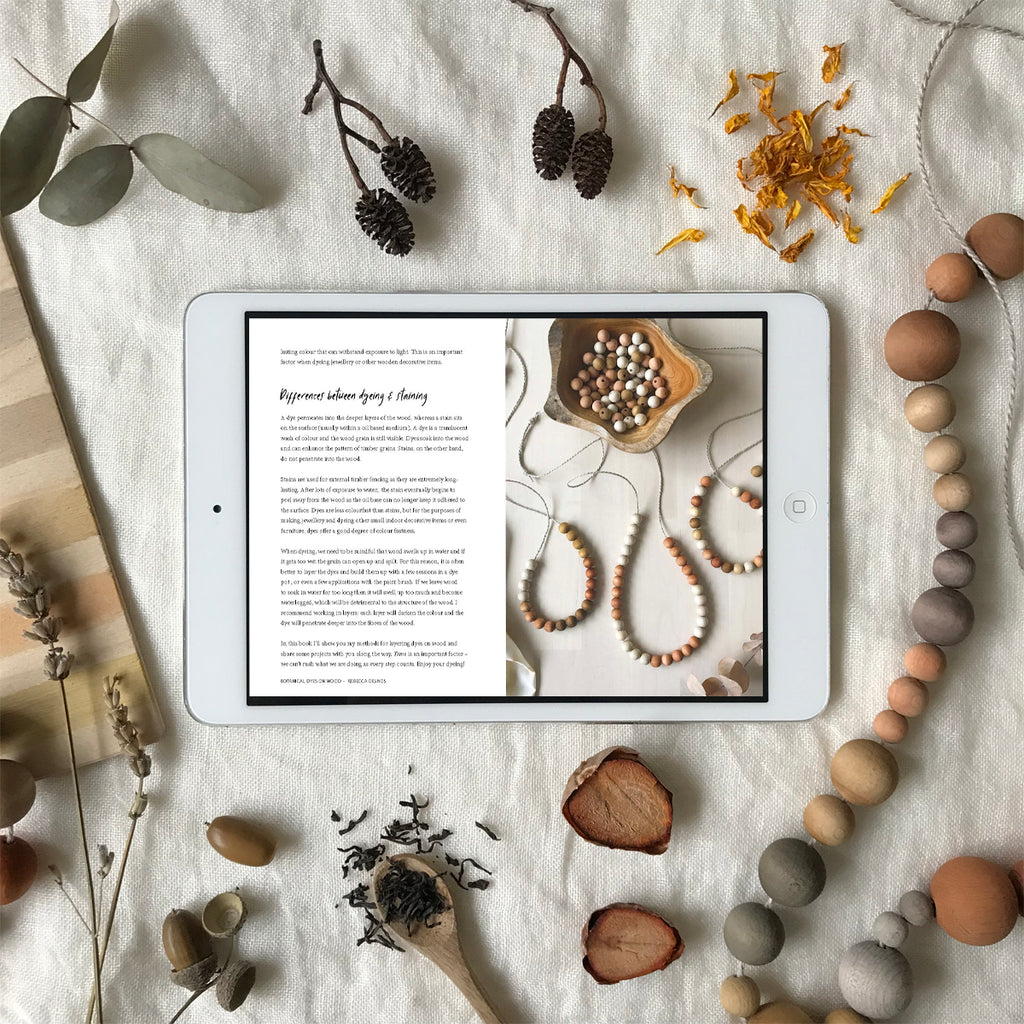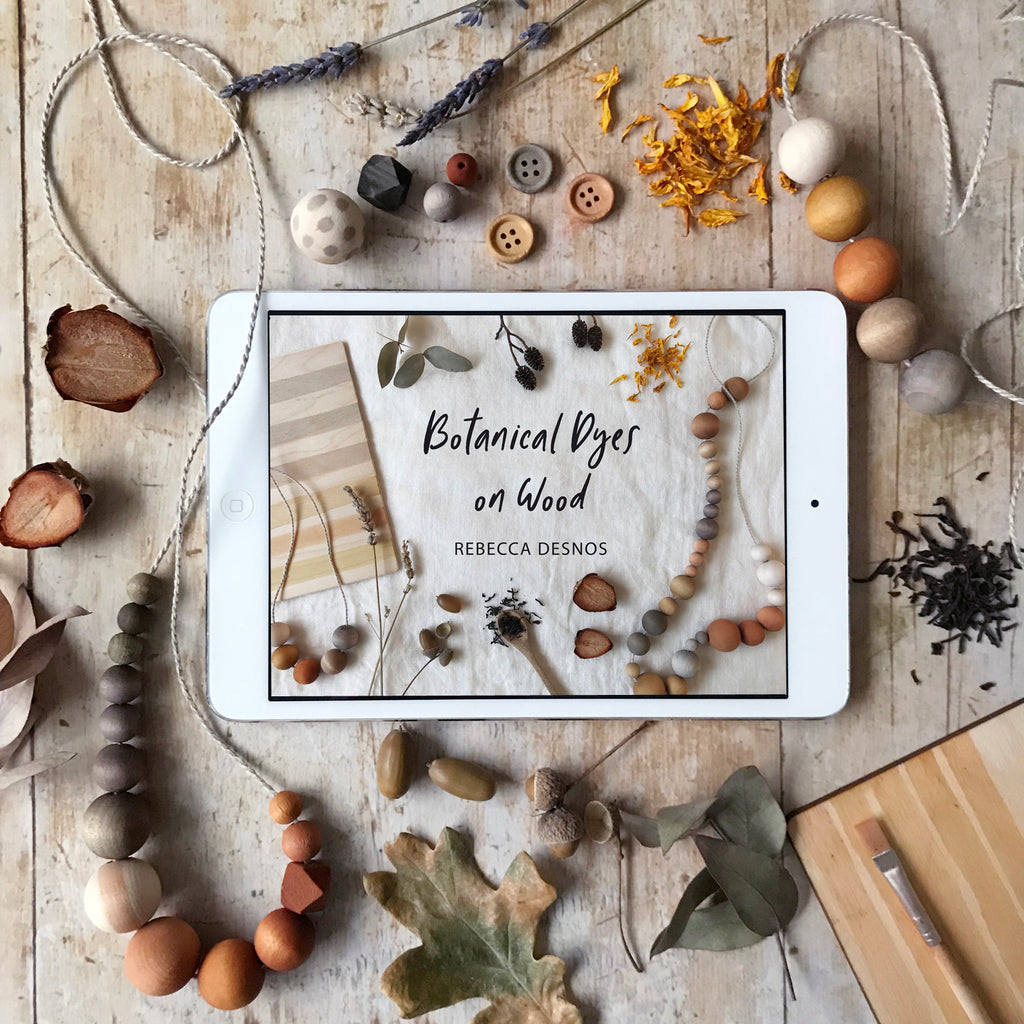
What’s in the eBook?
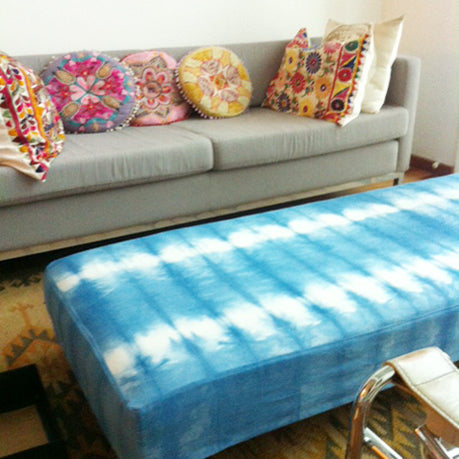
I’ve been dyeing wooden beads for years and for the first time I’m sharing my entire dyeing process with you. The book actually goes beyond dyeing beads – find out how to use your dyes to paint patterns on round beads, flat wooden surfaces (to create artwork) and even paint furniture.
As a bonus at the end, there’s a section on using the same dyes to paint on paper and fabric. If you follow the methods in my book you will end up with lots of jars of concentrated dyes in your fridge… so I wanted to show you what else you can do with them.
I hope that my eBook will inspire you to begin your own adventures with dyeing wood – and beyond. The possibilities pretty much endless!
Let’s make a necklace together
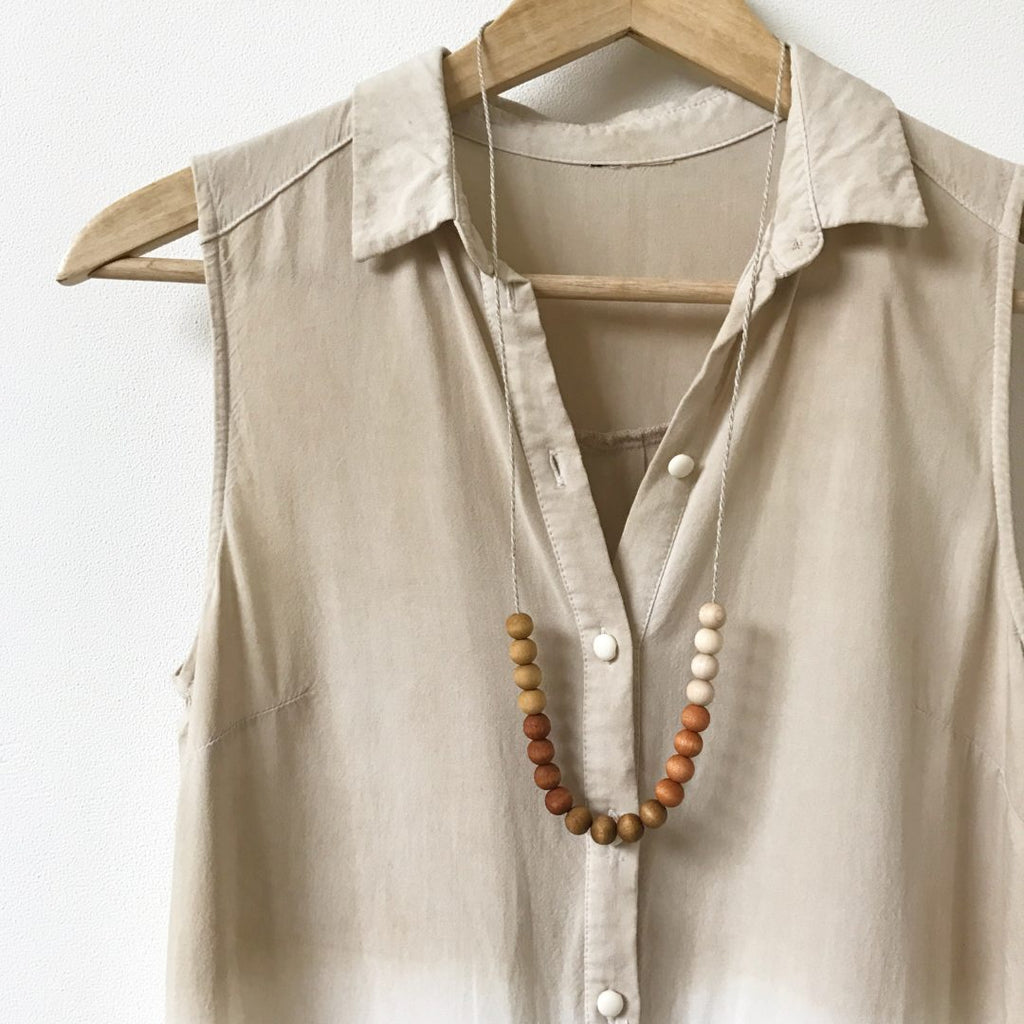
So now let’s talk about necklaces! My favourite way to string wooden beads is on cord and tying a couple of sliding knots so the necklace is adjustable. It’s a really easy knot to do and my best tip to just keep practicing. Like with many things, it just needs practice and soon it will become second nature to you.
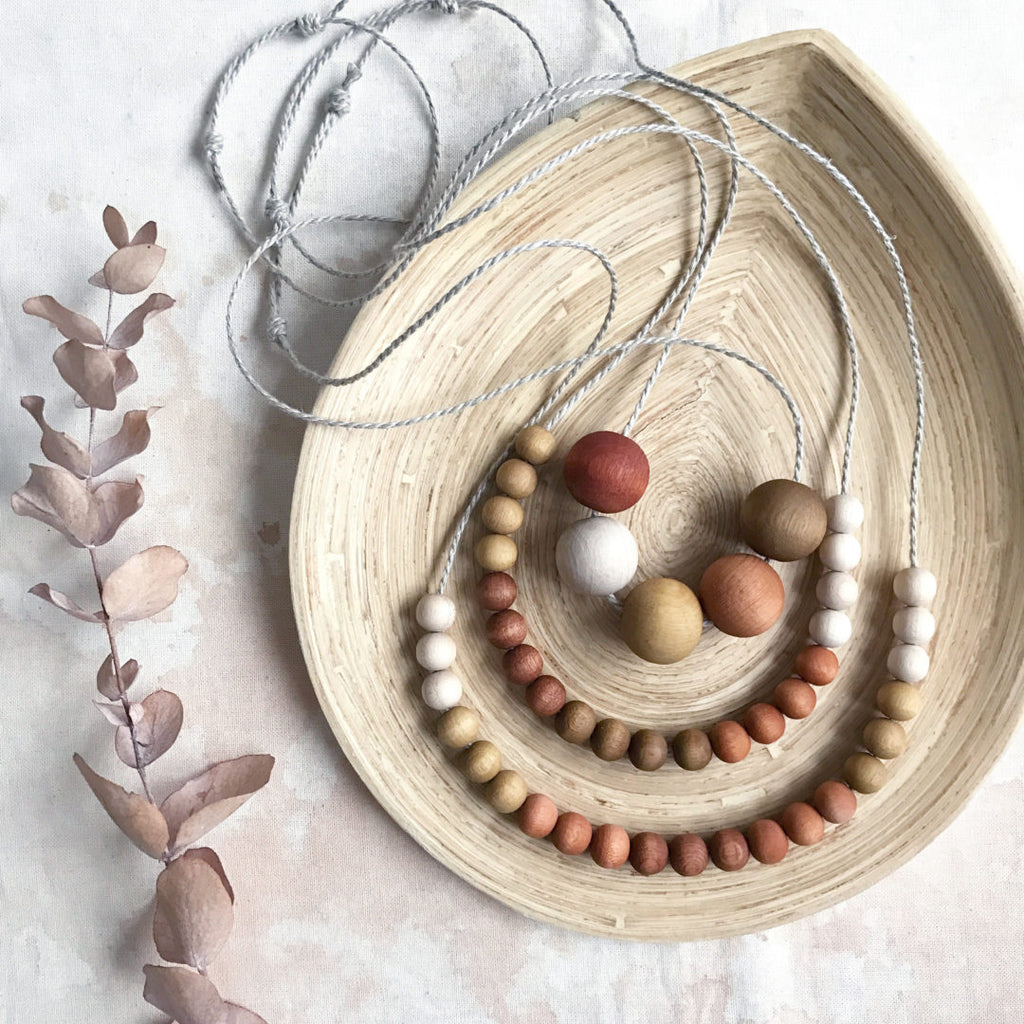
In the necklaces above, the colours are from the following plants:
- yellow: pomegranate skins
- brown: alder cones
- dark red/brown: avocado skins
- peach: avocado stones
- white: undyed
What kind of cord should you use?
I suggest using cord that is uniform in diameter so the knot can slide easily up and down. It doesn’t matter if the cord is slightly textured but you don’t want bumpy bits along the length as it will give too much resistance for the knot to slide.
I love using linen cord that is approx. 1.5mm (shown in all of these photos) in diameter or you could use cotton or hemp cord or any kind of string or yarn. As long as the cord is thin enough to fit through the holes in your beads and is smooth, then this method will work.
Now, let’s make our necklace
- Cut your length of cord. My preference is cut cord that is around 1 metre in length as I find this is the perfect length for the kind of necklace I like to wear. The knots will take up some of the length of cord so keep this in mind if you choose to use a shorter cord than I do.
- Thread on the beads.
- Now follow the method that I show you in the video (as it’s so much easier to show you in a video than using photos or words!)
How to make a necklace with a sliding knot. from Rebecca Desnos on Vimeo.
How do you stop the knots undoing over time?
Did you see how I pulled the knots quite tight in my hands? The knots tighten themselves when you pull on them. These knots shouldn’t come undone over time and are really quite tricky to undo if you ever try.
When you cut the remainder of the cord after the knot, make sure you leave about 5-10 mm excess. If you cut the cord too close to the knot then there is a risk that it will undo over time.
This very simple knot can transform beaded necklaces into something very special. Enjoy making your necklaces from your naturally dyed beads!
