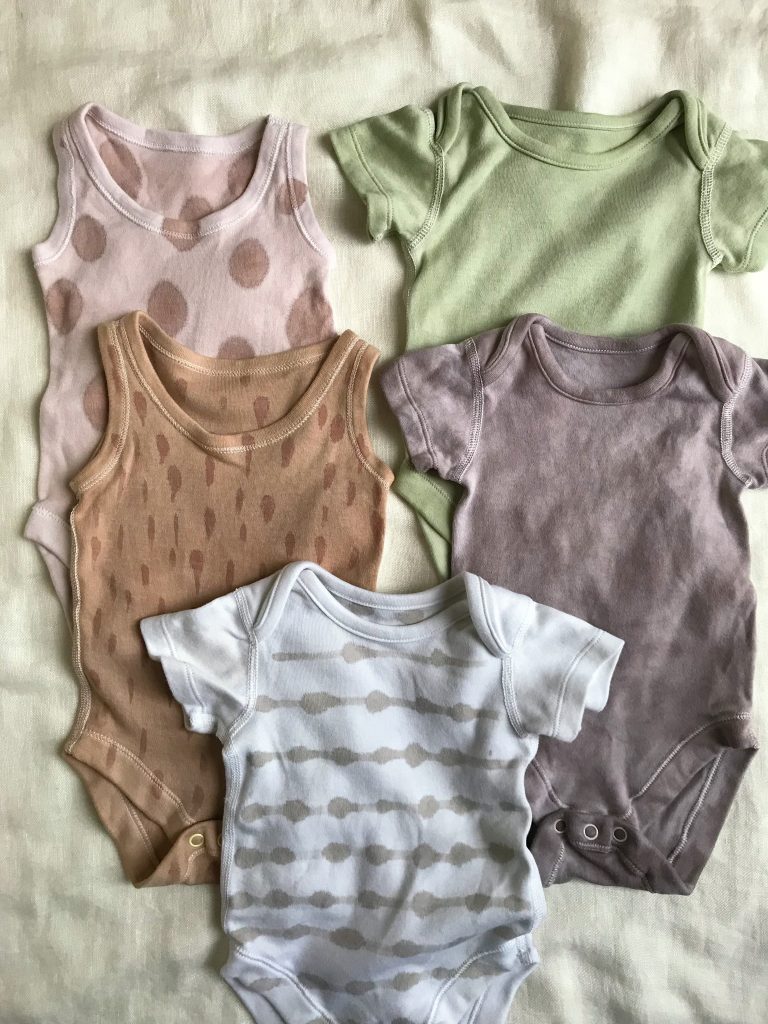
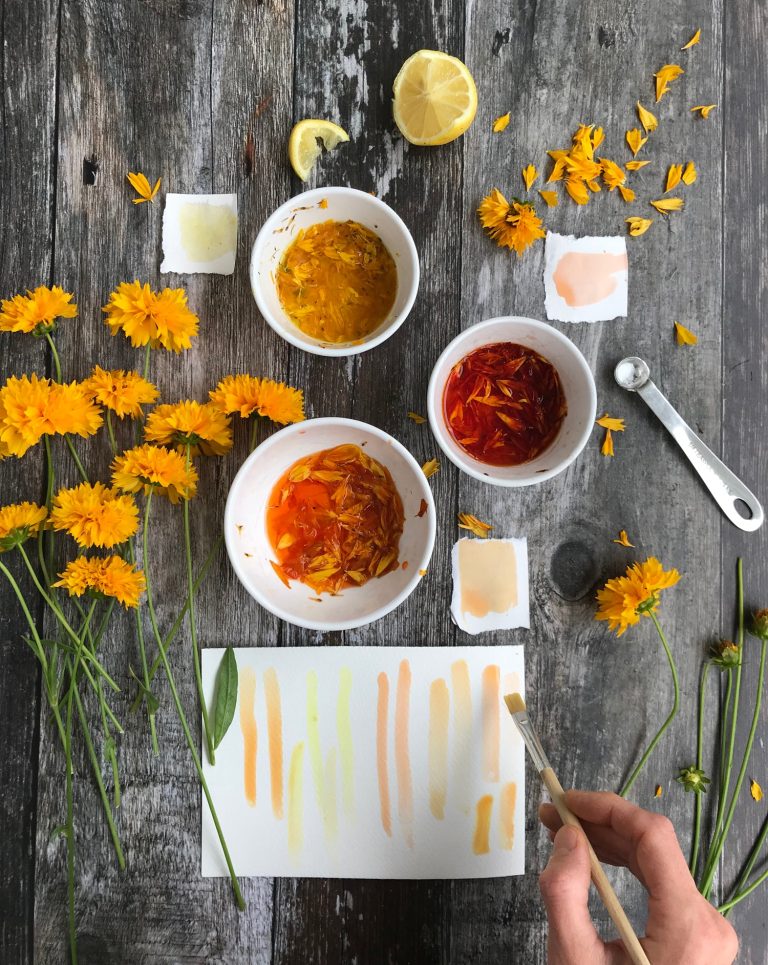
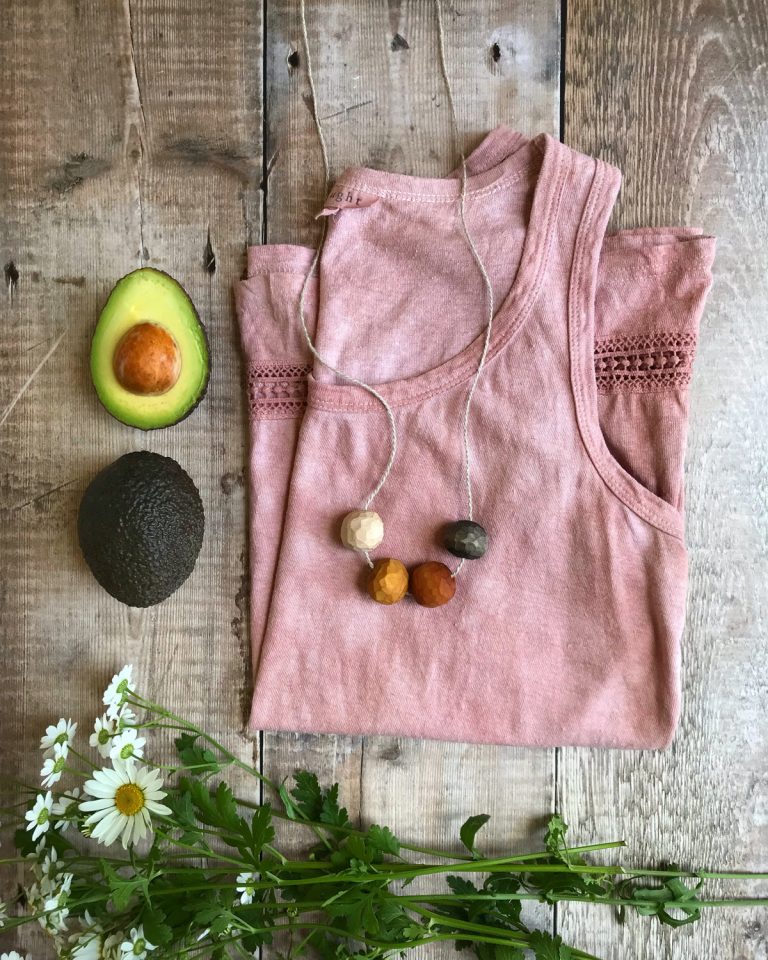
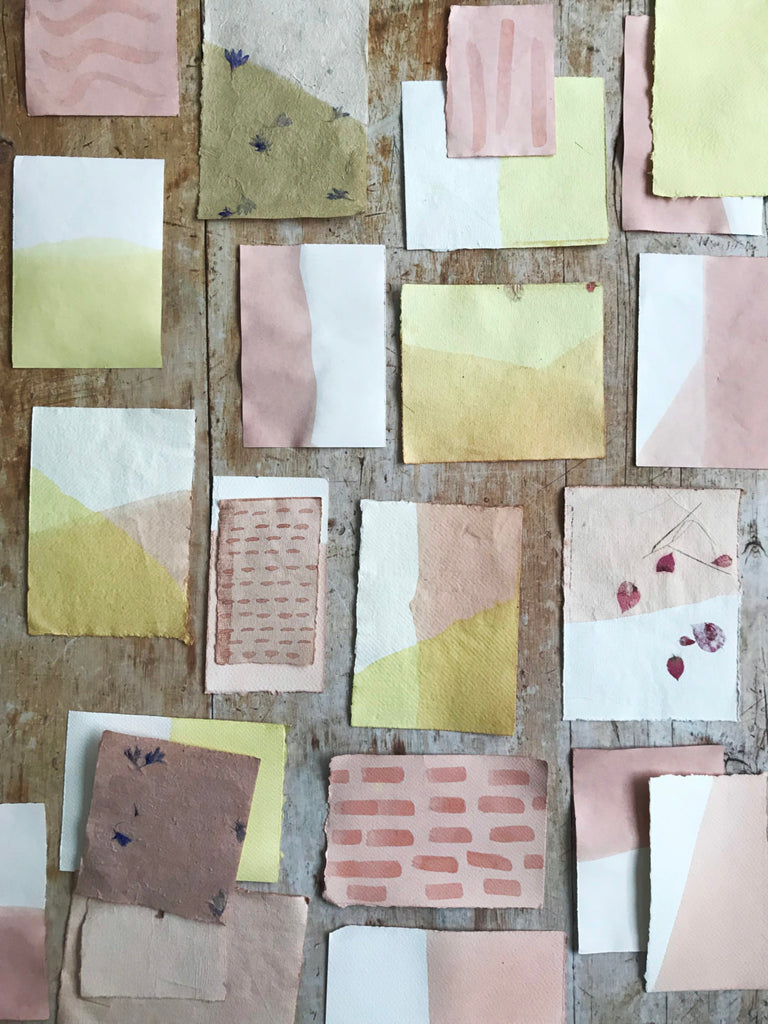
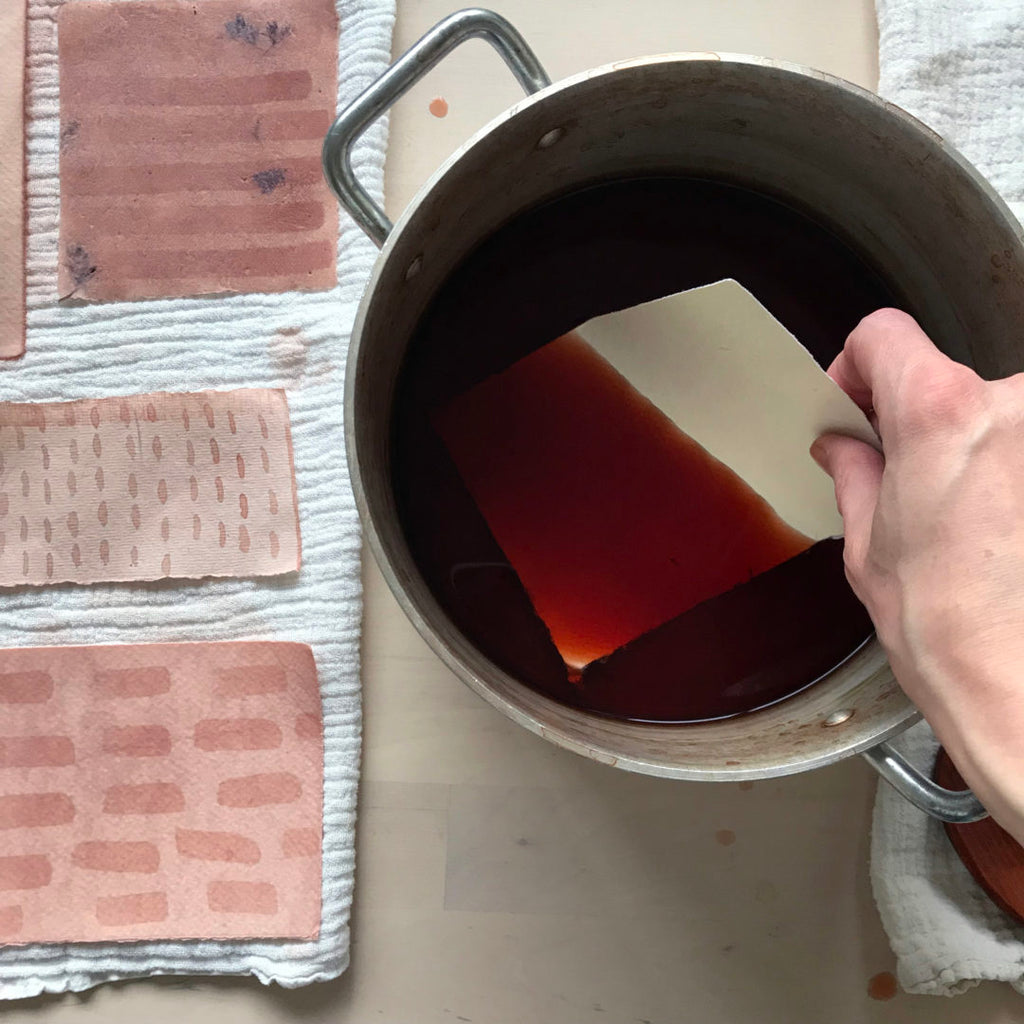
In this blog post I’ll show you how to dye paper with homemade plant dyes. The pink dye is made from avocado skins and the yellow is from pomegranate skins. With just a few tweaks to my usual fabric dyeing method, we can easily dye paper. Can you see the patterns on the pink paper? We will make those by painting paper with milk. It’s such a quick trick and I’ll show you how.
Before I jump into that, I just wanted to mention something that I think you’ll love. I have a course dedicated entirely to avocado dye.
My speciality is to take the stress out of natural dyeing so you can get great results and enjoy the process.
OK, let’s begin dyeing paper!
Why dyeing paper is different to fabric
Paper is made up of thousands of tiny fibres that are arranged in a random network across the surface. Unlike fabric, the fibres aren’t woven: they are pressed into place. So when paper gets very wet, the fibres can begin to separate and the sheet has the potential to disintegrate and turn back into pulp. In fact this is how paper is recycled and made into new paper: old paper is soaked until it softens, then it’s blended into pulp.
To keep our sheets of paper intact in the dye pot and stop them breaking apart, we need to treat them carefully. I suggest the following:
- Use more concentrated dyes for paper (than we usually do for fabric) so the paper dyes quicker, therefore doesn’t have time to break down in the dye pot.
- Don’t leave paper soaking in a dye pot for long periods of time like we do with fabric and wood.
My dyeing methods in this blog post are adapted from my eBook Botanical Dyes on Wood. In this eBook, I show you how to make concentrated dyes with minimal water. When you dye wood, you can reuse the same dyes for dyeing paper and get several projects out of one pot of dye.
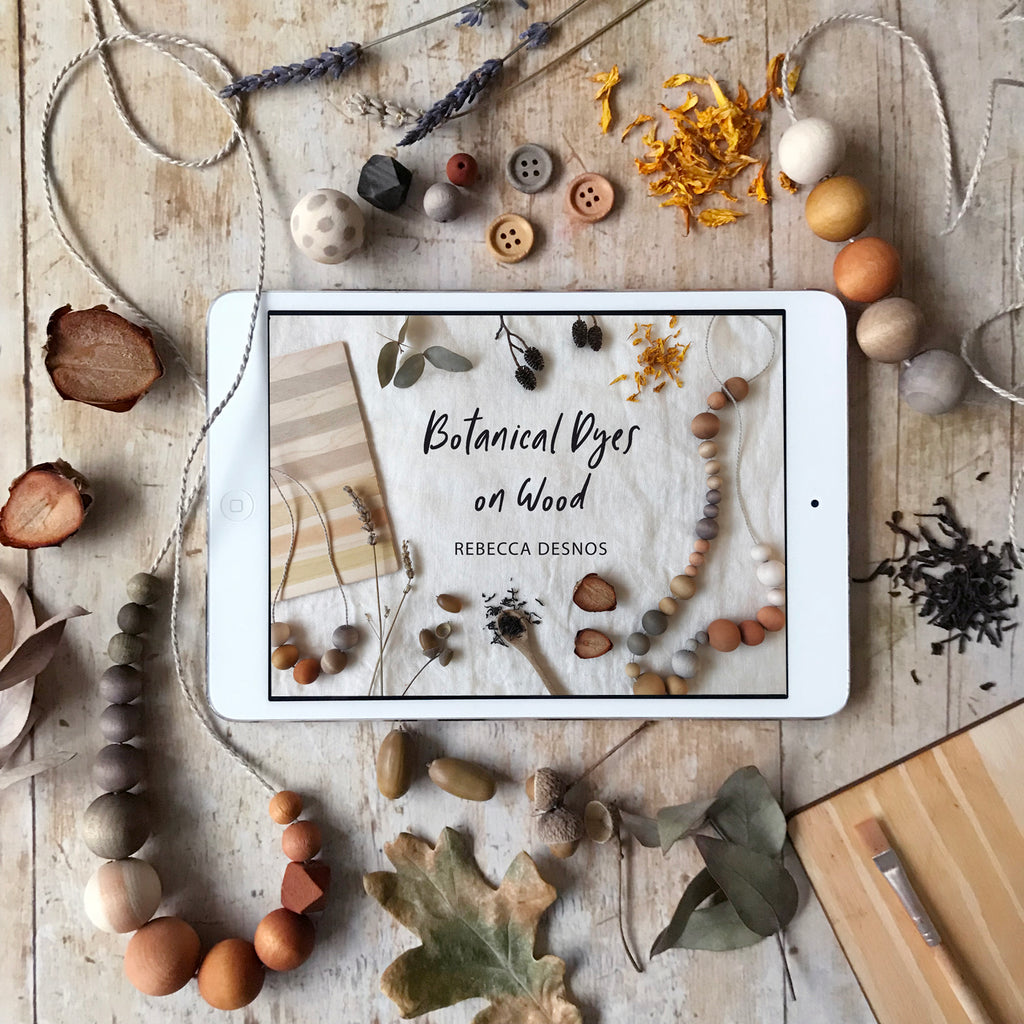
The concentrated dyes for wood and paper are much more intense than the dyes I dye on fabric or yarn (that I show you in my first book Botanical Colour at your Fingertips).
Let’s choose some paper
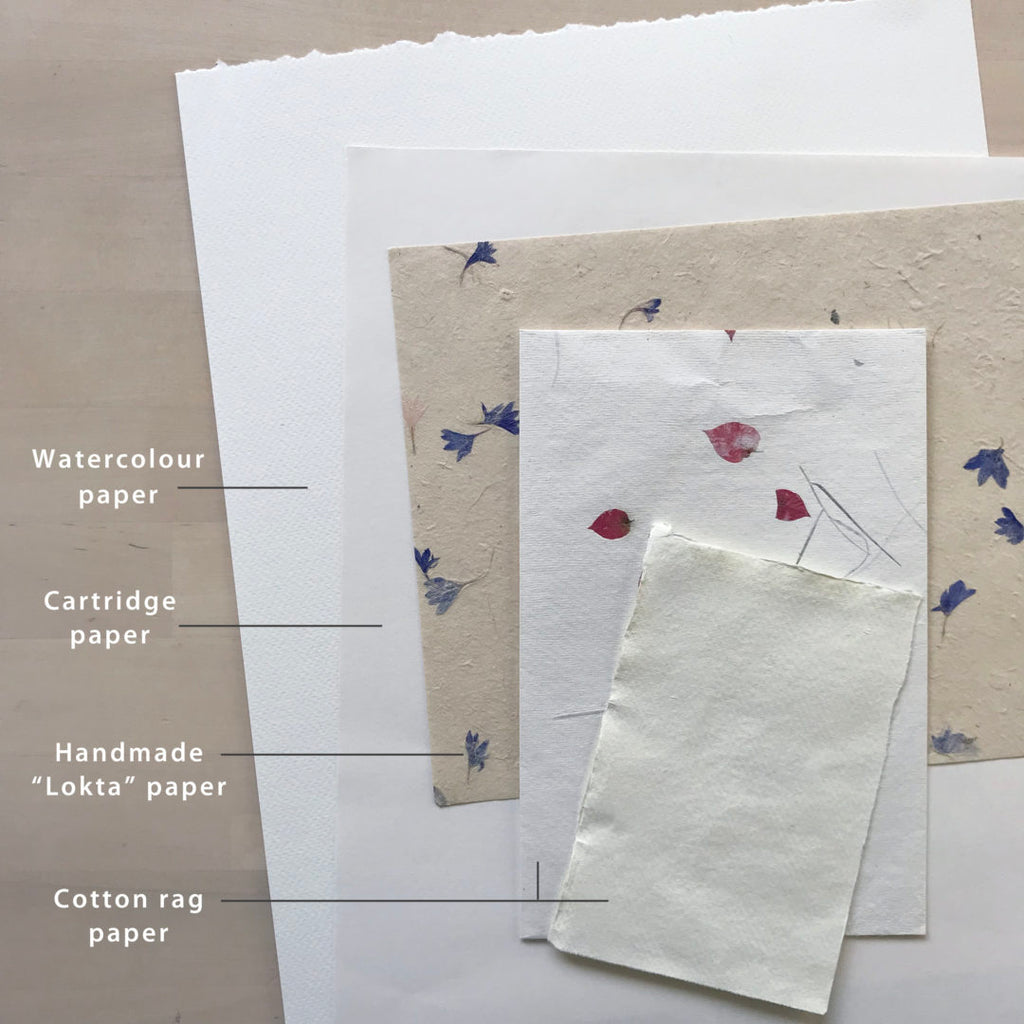
The best paper to dye is pourous and uncoated. I feel that anything that accepts watercolour paints on the surface will also dye well. If you touch a sheet of paper, see if it has a rough, natural feel. If so, it should be OK to dye. These are the types of paper I chose to dye.
What size paper?
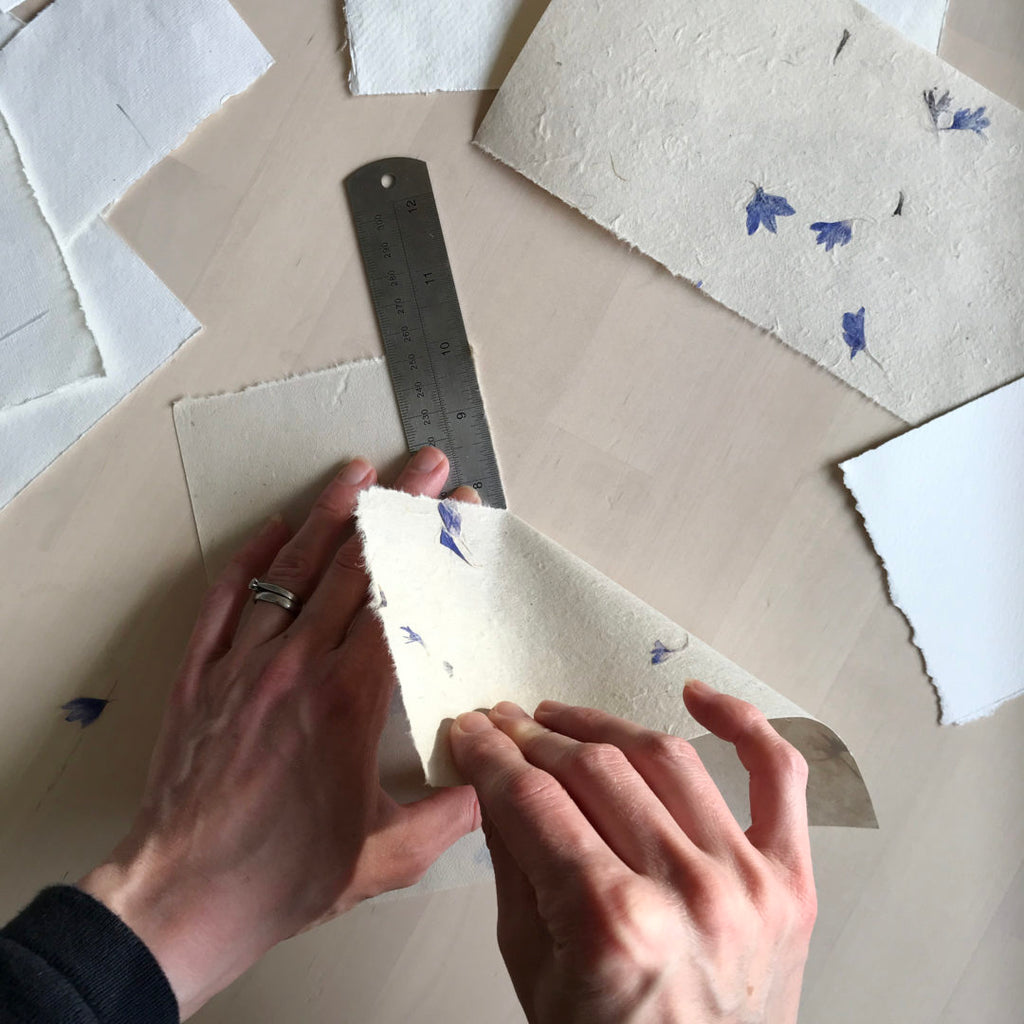
For this tutorial I decided to tear the paper into postcard sized pieces so they will fit into my dye pot more easily. I plan to use the paper to make collages and some notecards. I tore the paper into smaller pieces using the edge of a ruler to make soft, deckled edges.
If you’d like to dye larger pieces, think about the type of container you can use to hold the hot dye. Maybe you have a large square-ish container that you can pour hot dye into? My suggestion is to heat the dye in a pot, then carefully pour it into a larger container to dip the paper into. I’ll guide you through the process in a minute.
Remember: paper is delicate and can break apart easily, so we don’t want to fold or crumple the sheets in the dye pot. Once you use a container for dyeing, don’t use it for cooking in the future.
Before we begin, some notes on safety…
- When heating your plants, keep your pot covered and do not inhale fumes.
- Keep the window open to keep the air flowing and fresh.
- Check that that plants you’d like to use are not toxic.
- Some dyes may irritate the skin so wear gloves if possible.
Equipment we need
- Dish for soaking paper in milk
- Old towels for drying paper after painting and dipping in milk
- Old cloths for drying paper after dyeing (these cloths will get dyed in the process)
- a tablespoon
- a cup measure
- Dye pot* (I suggest aluminium for the brightest colours)
- Sieve*
- Stiring spoon for dye*
*do not use your kitchen equipment – use separate equipment for dyeing.
A brief outline of the entire method
- The first step involves coating the paper in soya milk as a pretreatment before dyeing. This step is optional, since you can dye paper without doing this, but it gives us deeper shades with less time in the dye pot. Another way to use milk is to paint patterns on the paper with milk before dyeing.
- Next we will make our dye from our chosen plants (I use avocado skins and pomegranate skins).
- Then we will dye the paper in the dye.
- Once the paper is dry, iron it to smooth any wrinkles.
Ingredients you need
- Supermarket soya milk (or another milk you’d like to try)
- Any plants you would like to use to extract dye. I used avocado skins and pomegranate skins.
OK, let’s get started!
First, soak the paper in soya milk
1. Take your soaking dish, and pour in 2 cups of water and mix in 2 tablespoons soya milk. Then mix together.
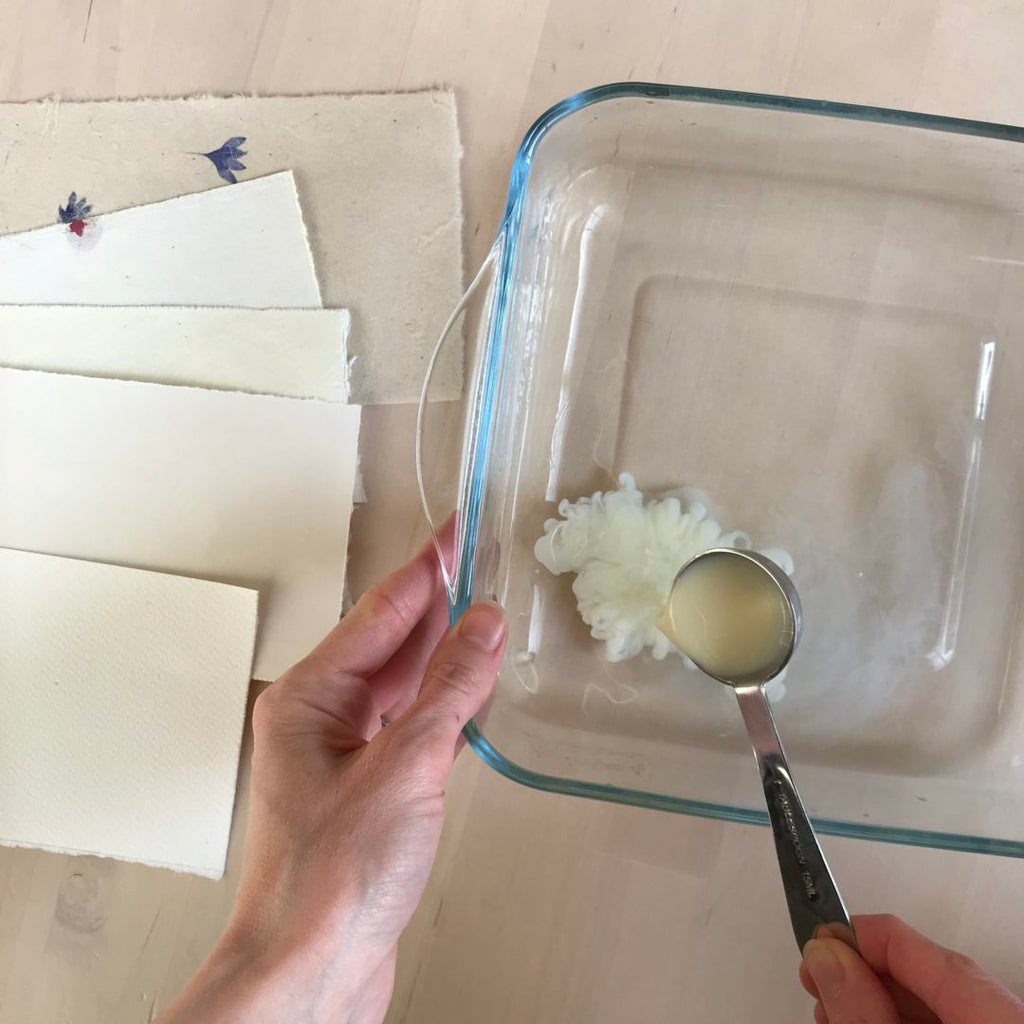
2. Add your sheets of paper into the milk one at a time. Allow each one to become completely waterlogged and sink to the bottom of the dish. Then add the next one on top.
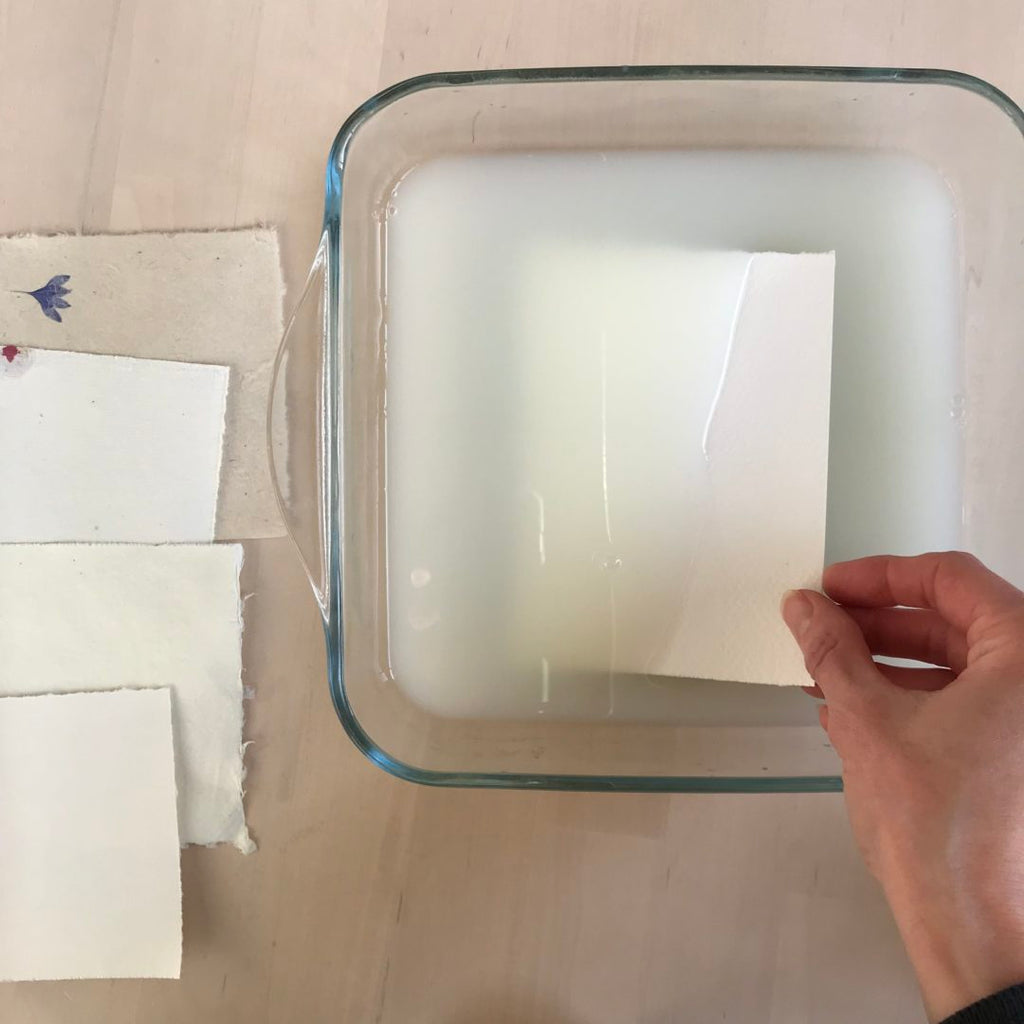
3. Leave the paper to soak for a about half an hour. Thinner paper will need to be taken out sooner as it will begin to disintegrate fairly quickly. I took the khadi paper out after just 10 minutes, but left the other sheets in for longer.
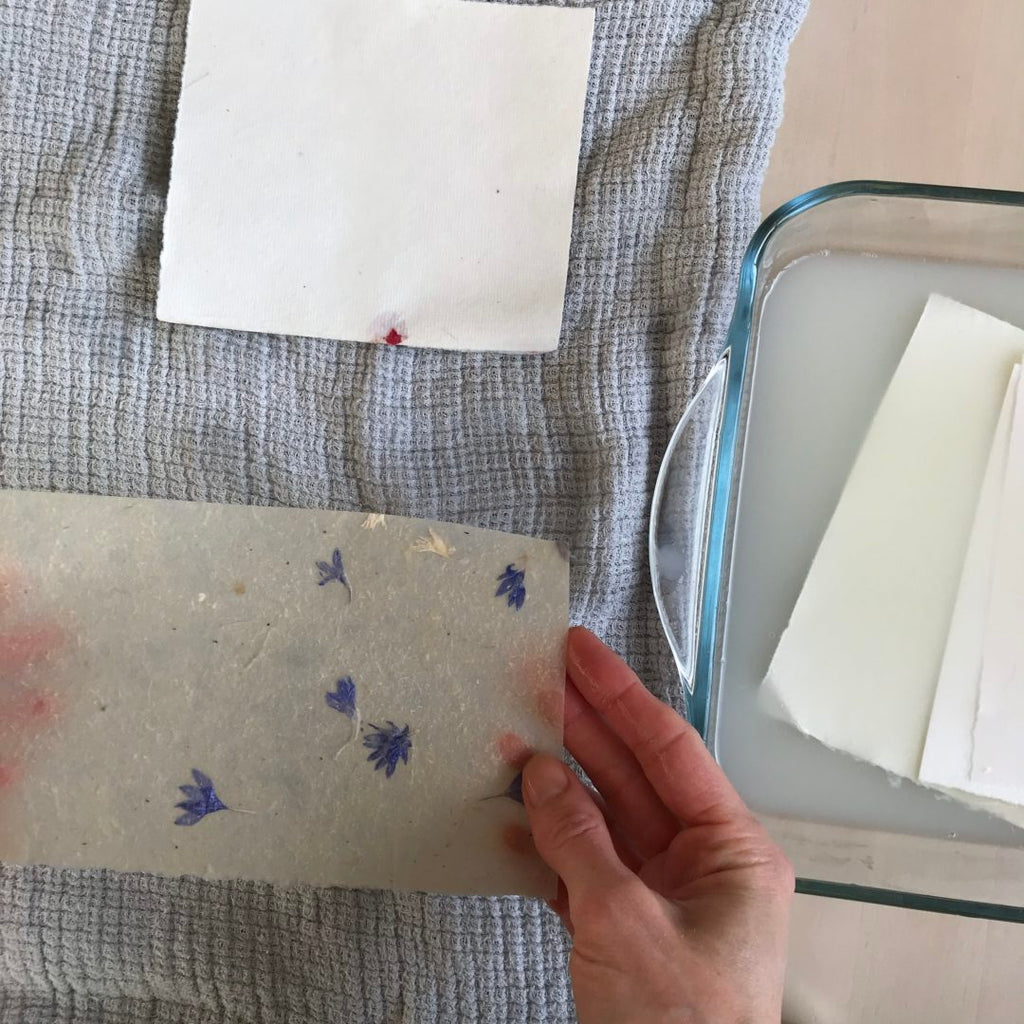
4. Take the sheets out carefully and dab the excess moisture away with a cloth, then leave to dry on a towel on a table.
5. Once the paper is completely dry, dip into the milk again and leave to dry fully. If you have the patience, you can do it a third time too.
6. Once the paper is dry, put it away somewhere for a few days before dyeing. We do this with fabric and wood too. It gives the proteins in the milk time to cure and bind into the fibres.
Alternatively, paint patterns onto the paper with milk
This is an easy way to make patterns on paper. The areas that have milk on them will dye a darker colour and the pattern will be revealed in the dye pot. Click here to see the method for doing this on fabric – it’s such a fun trick!
1. Prepare a bowl of diluted milk by combining 1 tablespoon soya milk with 1.5 tablespoons water. Mix together with a paint brush.
2. Paint patterns on a new set of paper with the milk solution. (Paint onto paper that has not been soaked in soya milk already). Then leave flat to dry fully.
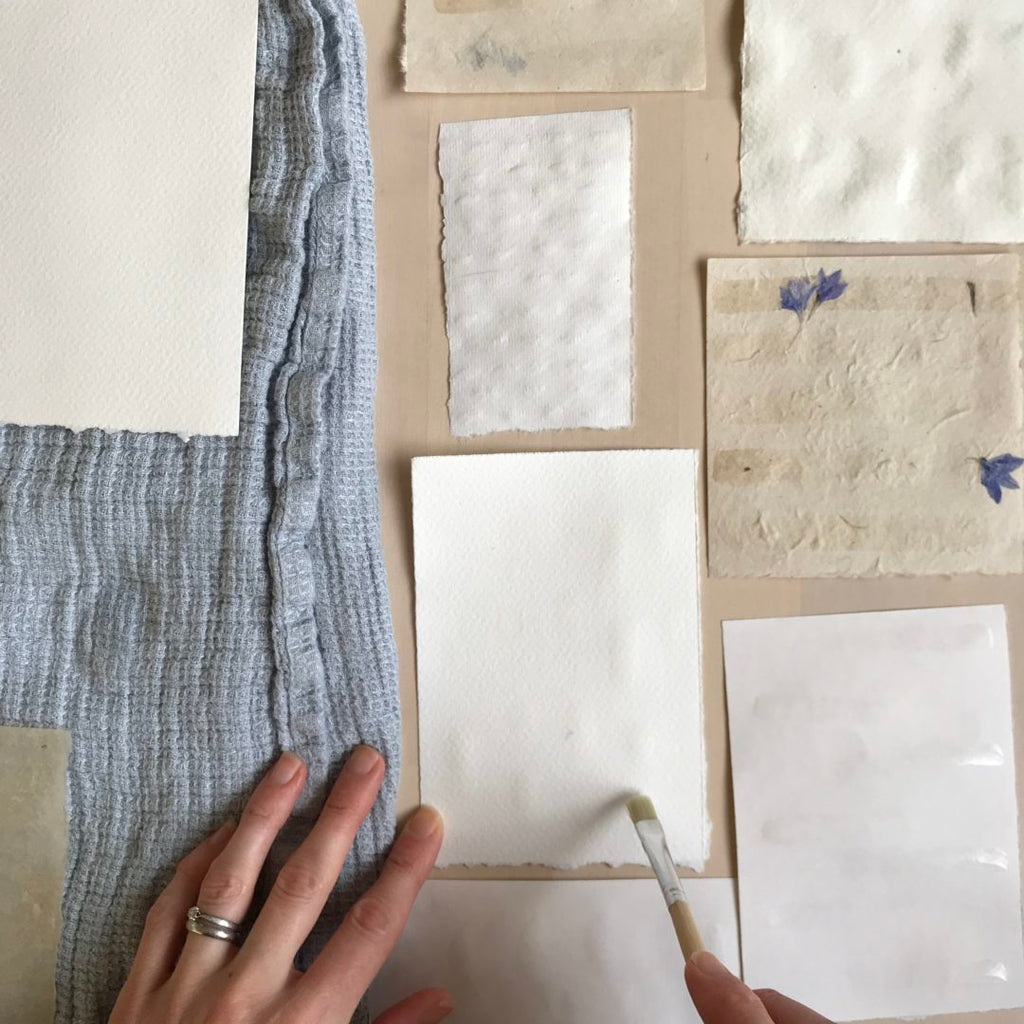
3. Once the paper is dry, put it away somewhere for a few days before dyeing. The time gives the proteins in the milk the chance to cure and bind into the fibres.
A note on dyes that work with the milk painting technique
As I show you in this tutorial, the patterns are really pronounced when the painted paper is dyed in avocado skin dye. The patterns dye a darker pink than the background of the paper. And the same happens with tea, and many other dyes.
Interestingly, pomegranate skin dye doesn’t work in the same way. It is such a potent dye that it dyes the paper really quickly without milk. In fact, the areas with the painted milk patterns end up paler than the rest of the paper. The milk actually resists the dye in those areas. With fabric, you can leave it in the pot for much longer than paper, so the milk painted areas eventually become darker than the background fabric. But in the short time that paper is in the dye pot, the patterns don’t darken in pomegranate skin dye.
Now let’s make our dye!
For this tutorial I have made dyes from avocado skins for pink*, and pomegranate skins for yellow. I recommend an aluminium pot for both, as this gives the brightest shades, especially with the yellow. I used the skins from 10 avocados for the pink dye and the skins of two pomegranates for the yellow dye.
The method I used is the same as in my eBook Botanical Dyes on Wood. In summary, I use just a small amount of water in the pot to create a really concentrated dye.
- Pour in just enough water to cover the dye plants.
- Heat gently with the lid on, then turn off the heat and allow the pot to sit over night.
- Reheat the dye in the morning, turn off the heat, then allow it to sit for a couple more hours. I make my dyes intuitively and keep checking on the colour. I encourage you to use your own judgement and reheat a couple more times if you feel the plants have more colour to give. Heat and time are important factors here.
- When you’re happy with the colour, strain the dye through a sieve with a muslin cloth lined inside it to catch any pieces of plant. This leaves us with a lovely clear dye.
*You can find more detailed instructions for avocado dyeing in my first book Botanical Colour at your Fingertips, and also there are some additional tips in this blog post: Avocado dye FAQs.
The dye is now ready to use. It can be left in the pot for a day or so, until you’re ready to dye with it. But any longer than this, really it needs to be put in the fridge in a jar, to keep it fresh. Use your own judgement with this – only you know how cool your kitchen or craft space is.
After you’ve finished dyeing, you can keep the remaining dye in a jar in the fridge to dye beads, paint paper or fabric, or any other project you have in mind.
Now let’s dye our paper
1. Set up your workspace on a table with a couple of cloths laid down to protect the surface. These cloths will get dye on them, so use something you don’t mind getting stained – in pretty colours, of course!
2. Heat the dye on the stove until it begins to simmer. Turn off the heat. Then put the dye pot on a heat proof mat on the table next to your cloths. Now we need to work quickly while the dye is hot.
3. Begin to dip the paper into the hot dye. The paper absorbs the colour really quickly when the dye is hot. Some of the sheets need only a few seconds to develop a dark colour. Others may need to be left in the pot for a few minutes at the most. Remember that paper needs to be treated really carefully. With the rough handmade papers, be careful not to agitate them in the dye as they will begin to fall apart. Thicker paper can crease which damages the smooth surface.
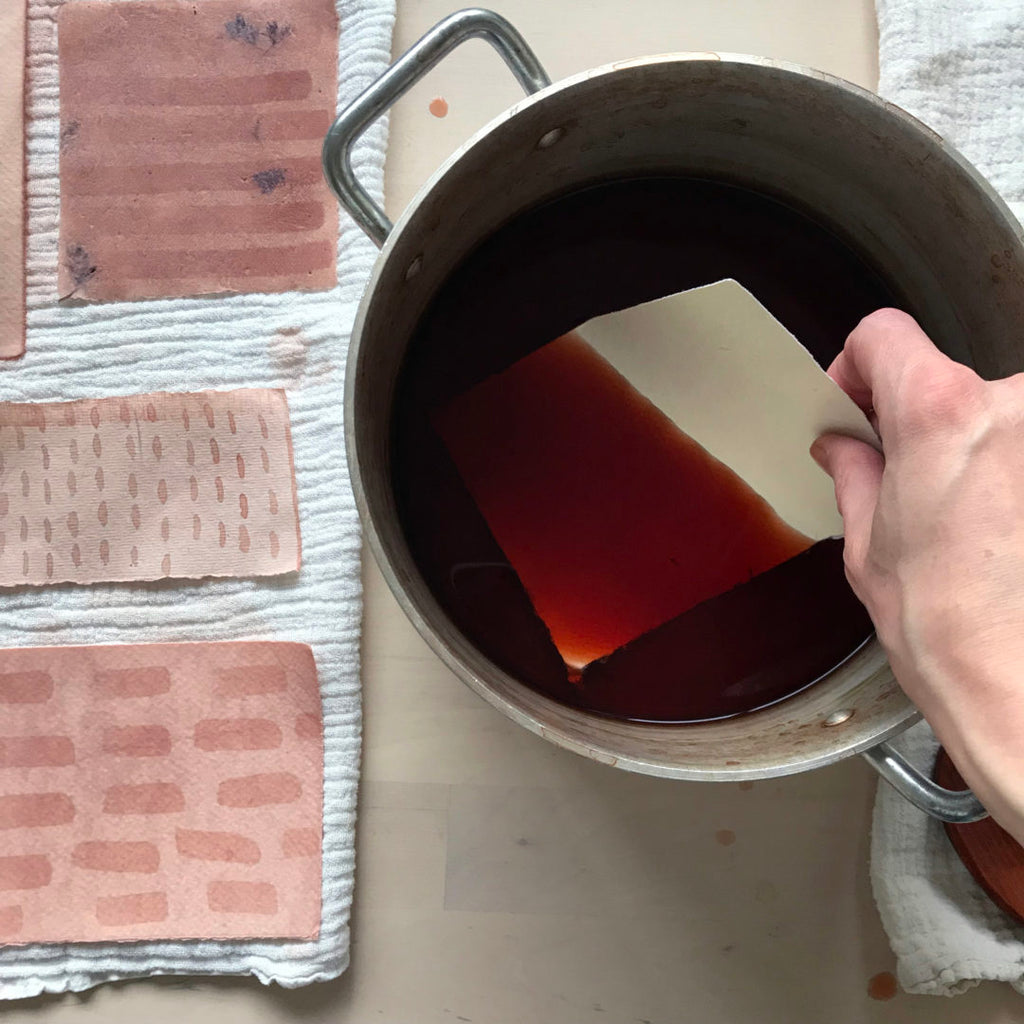
4. When you take each sheet out of the dye, blot it on the cloth to absorb any pools of excess dye and then allow it to dry flat. I don’t like hanging paper up to dry as it develops streaks as it drips, but of course experiment and see what works for you. (You could create some interesting effects with hanging up and allowing the dye to drip down). Once the paper is mostly dry and firms up a bit, take it off the damp cloth and allow to dry fully on a flat surface elsewhere.
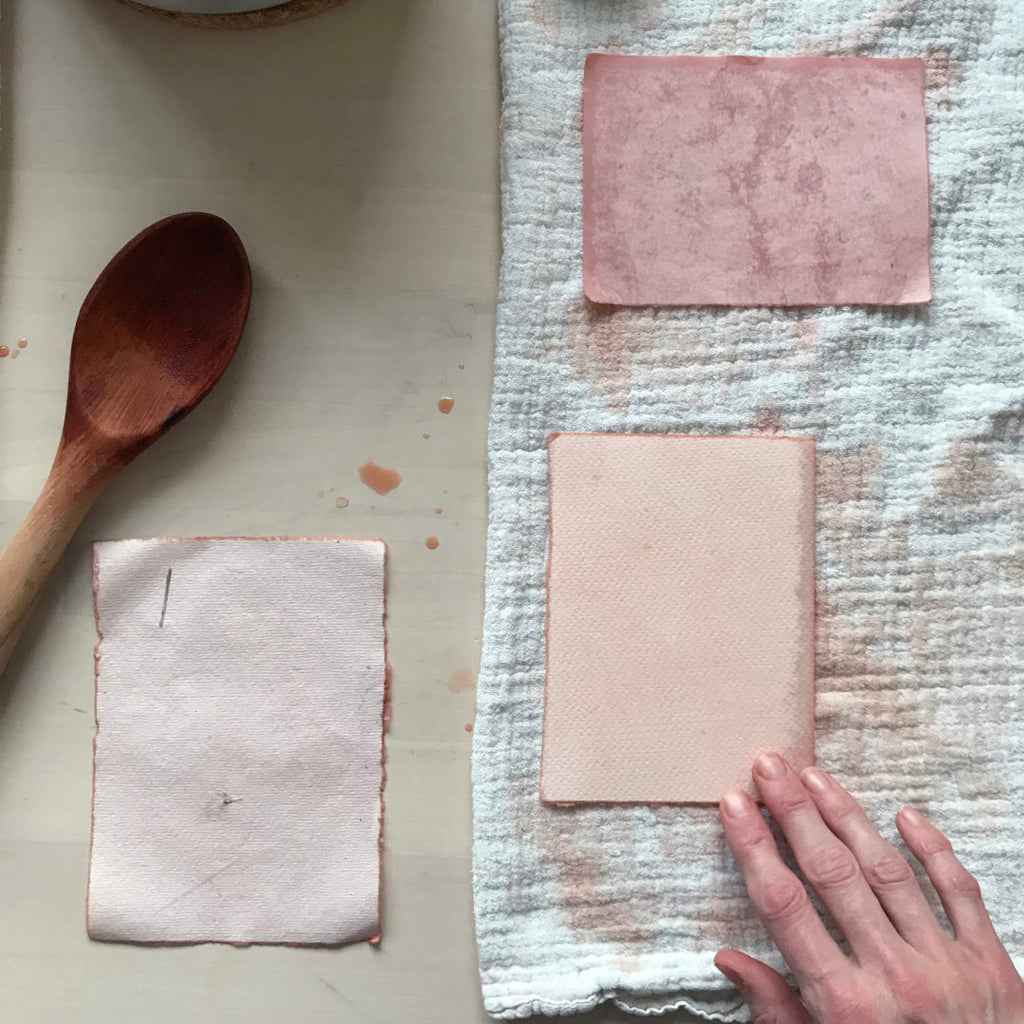
5. When the dye begins to cool after 5-10 minutes of dipping and dyeing, reheat the pot of dye on the stove and continue dipping more sheets. You will find that as the dye cools, it simply doesn’t dye the paper as dark. That’s a sign that it needs to be reheated.
This pattern below (from the painted soya milk) emerged on the paper after just a few seconds!
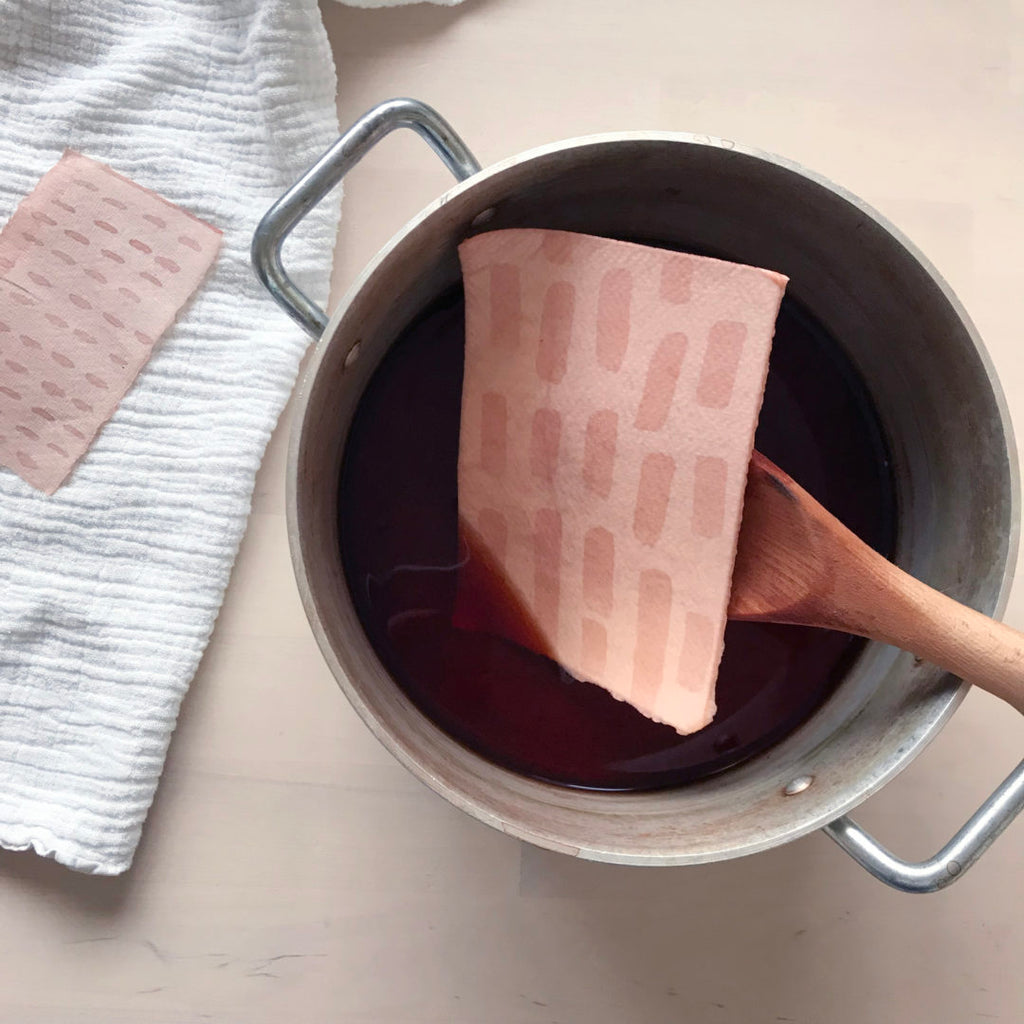
6. Continue dipping and dyeing as much as you like. Then store any remaining dye in a jar in the fridge (or use to dye anything else you like, such as beads, fabric, yarn or use to paint paper).
If you’d like to layer dyes, it’s best to allow the first dye to dry fully before dipping into the second colour.
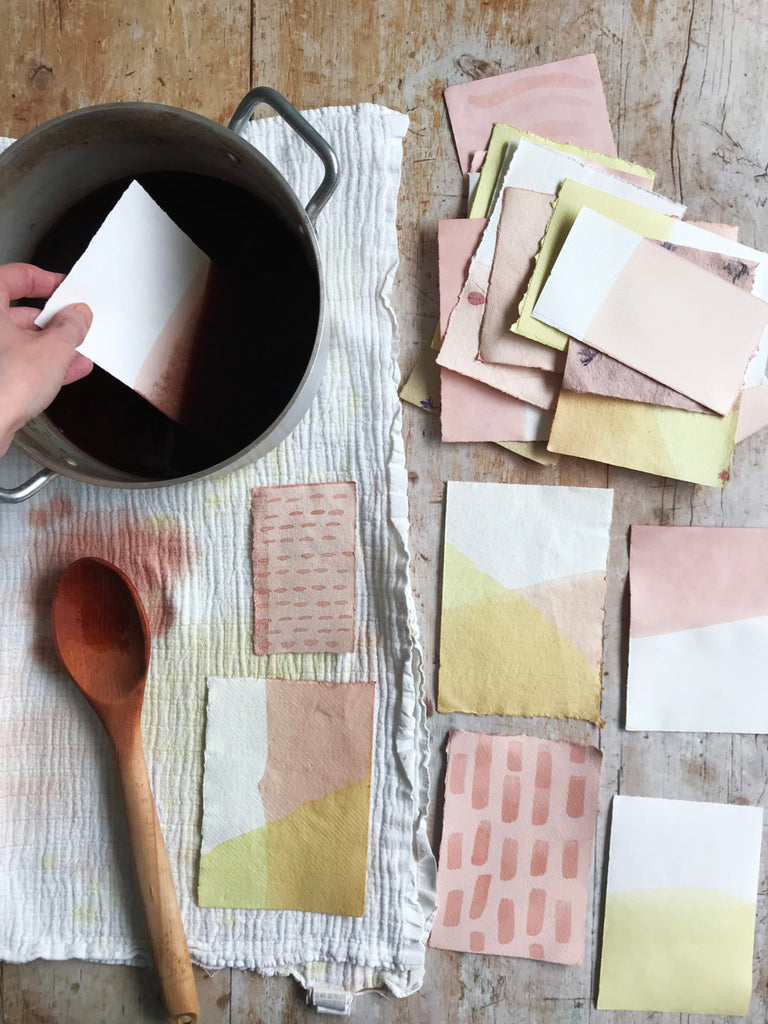
7. When the paper is dry, press it flat with an iron to smooth out any wrinkles. The paper may curl up slightly, so you can flatten it out even more under books.
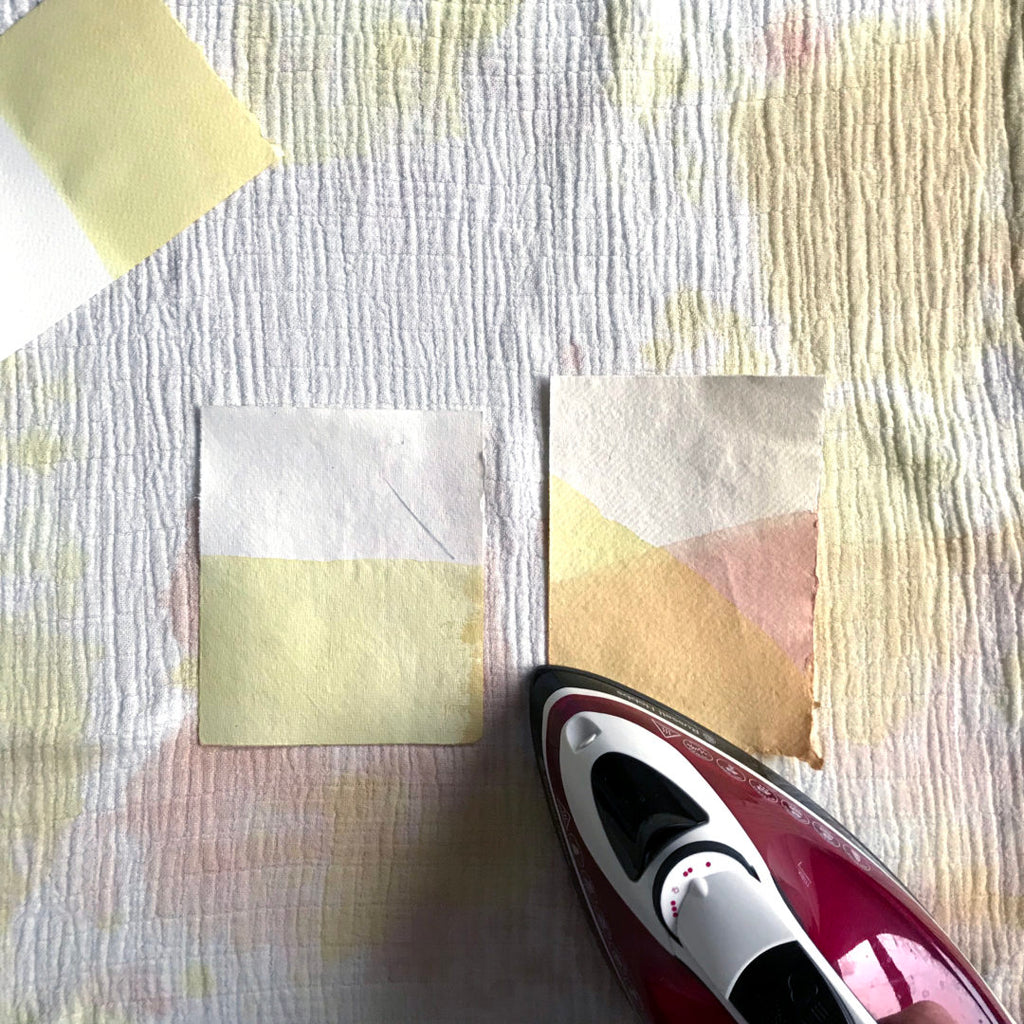
8. Then use your paper for whatever project you have in mind!
How well do the colours last?
When we do any form of natural dyeing, I suggest you carry out a light fastness test to see how the colour lasts.
Take a sample of dyed paper and cover half with a thick piece of paper or card. Leave it in the light for a few weeks, then take off the piece of paper to see how the two halves compare. Has the colour lightened or changed colour?
In my experience, pomegranate skin yellow actually becomes even darker after exposure to sunlight. Avocado skin dye is more light sensitive: in direct sunlight it will lose the intensity of pink after a few weeks and shift to a more yellow shade. So, if you choose to make some artwork with avocado dye, keep this in mind.
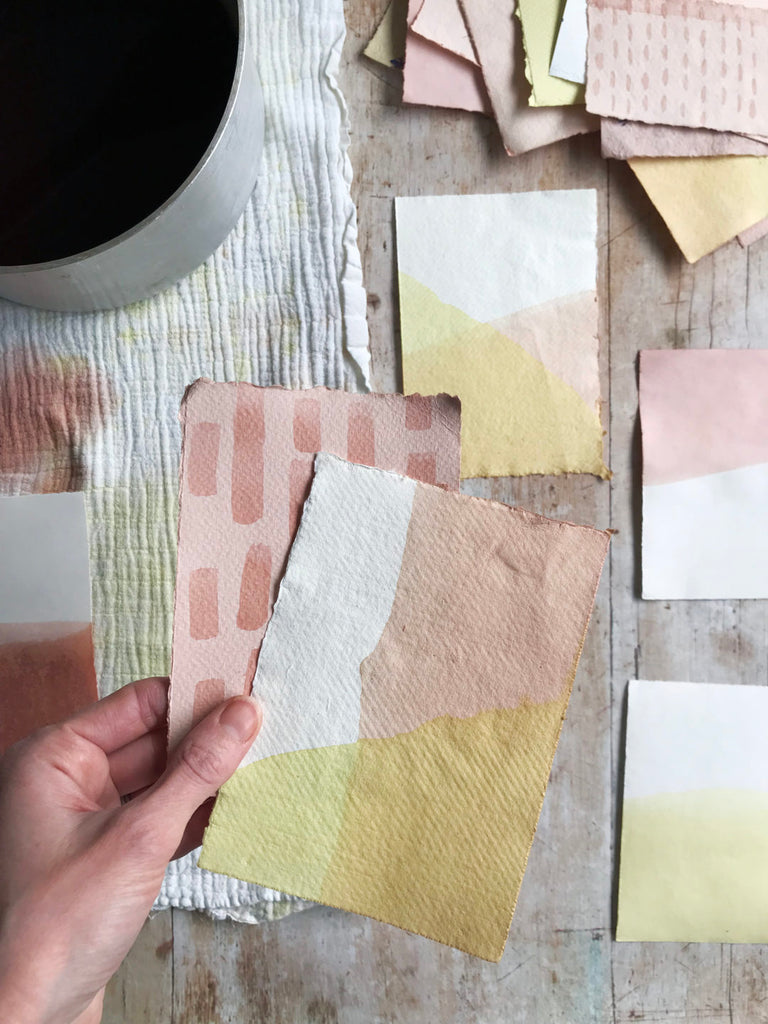
I hope this tutorial was helpful for you.
If you’d like to learn how to dye fabric and yarn, my book Botanical Colour at your Fingertips will guide you.
And if you’d like to dye or paint wood, my eBook Botanical Dyes on Wood will take you through the process step-by-step. The concentrated dyes in this book are perfect for dyeing paper, so you can get several projects from one dye pot! I’m going to dye some beads with my left over dye.
For an indepth look at avocado dyeing, take a look at this course…

