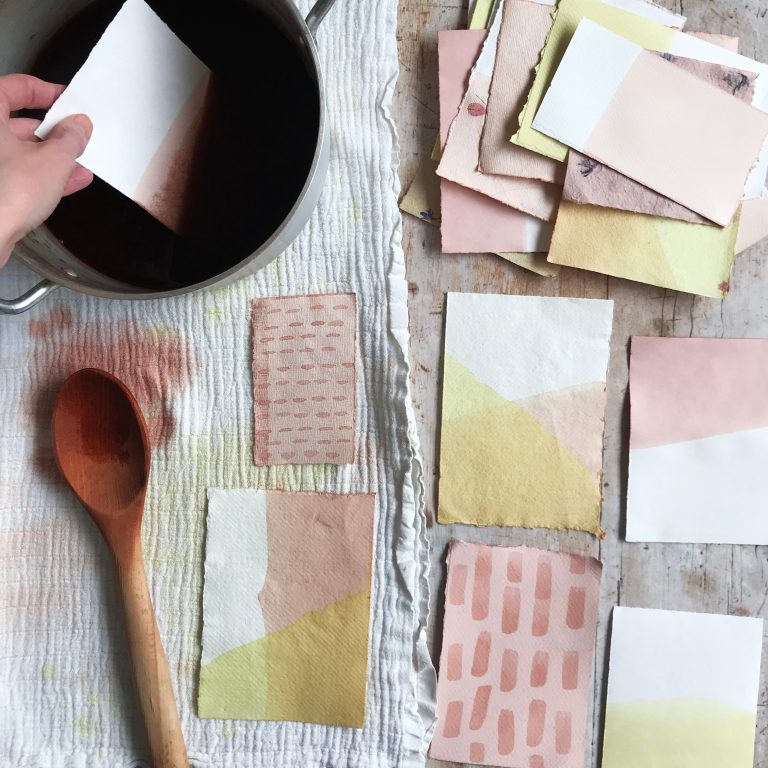
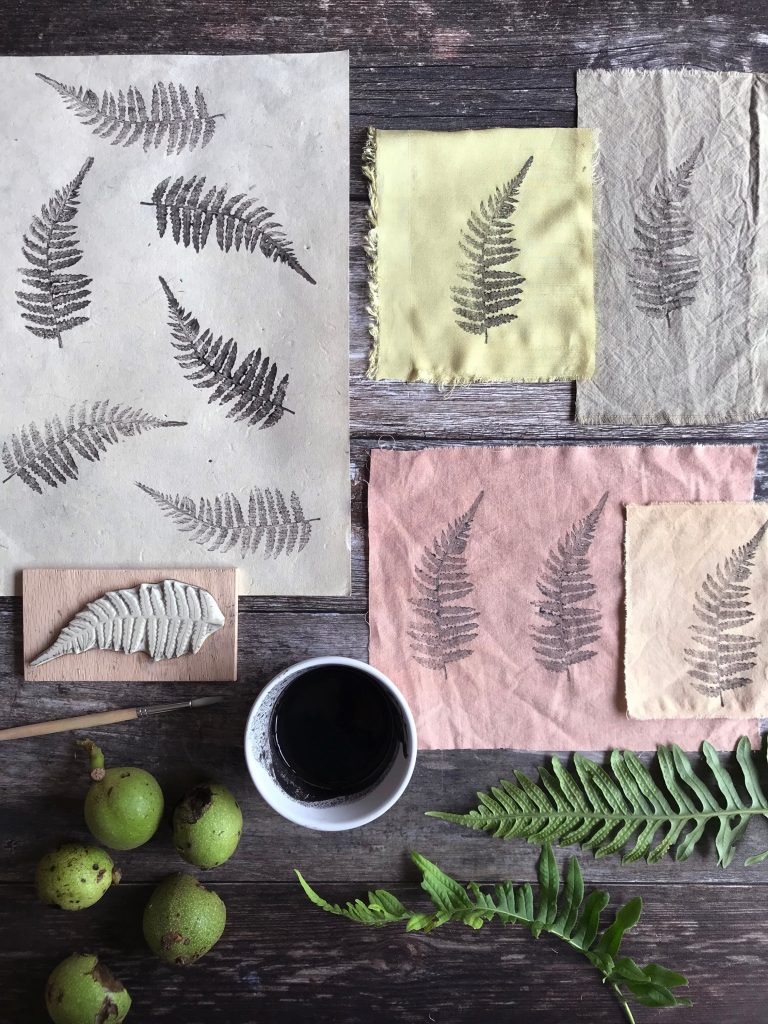
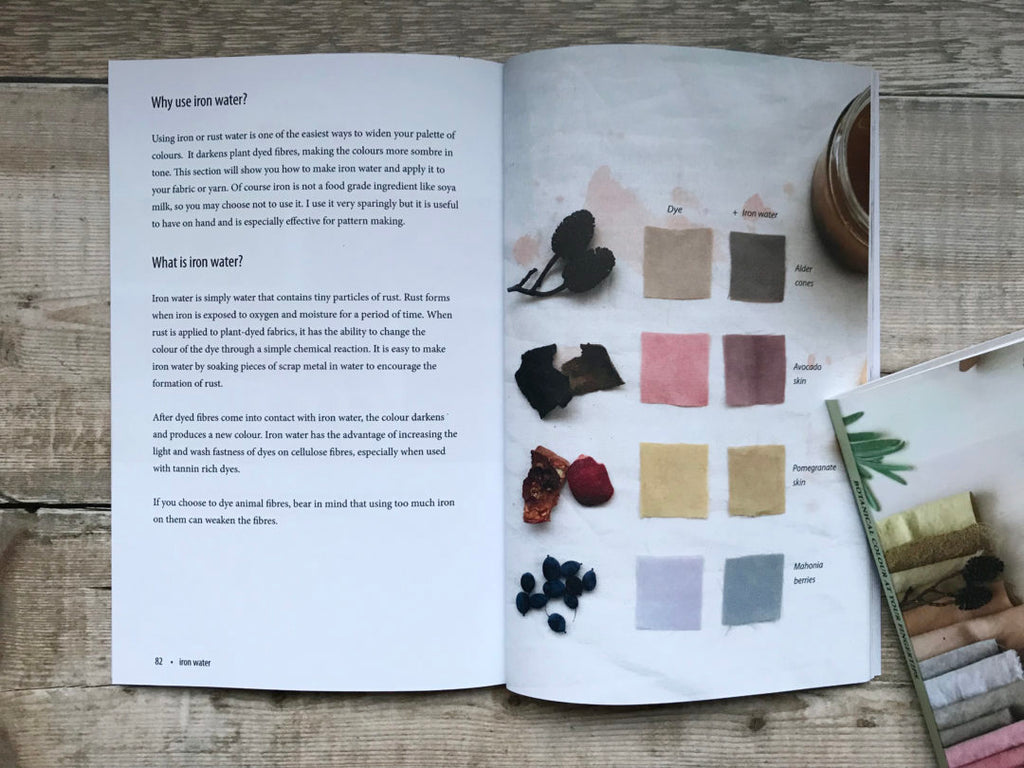
Today I’m going to share a really simple method for making patterns with iron water. Iron or rust water can be use as a “colour changer” with almost all types of plant dyes. When iron comes into contact with plant dyed fibres, it shifts the colour to a deeper tone: we say that iron “saddens” dyes. You can modify an entire piece of fabric with iron to make a darker colour, or you can apply iron with a paint brush and create a darker pattern. Painting with iron water is one of my favourite ways to create patterns: it’s so simple and not messy at all!
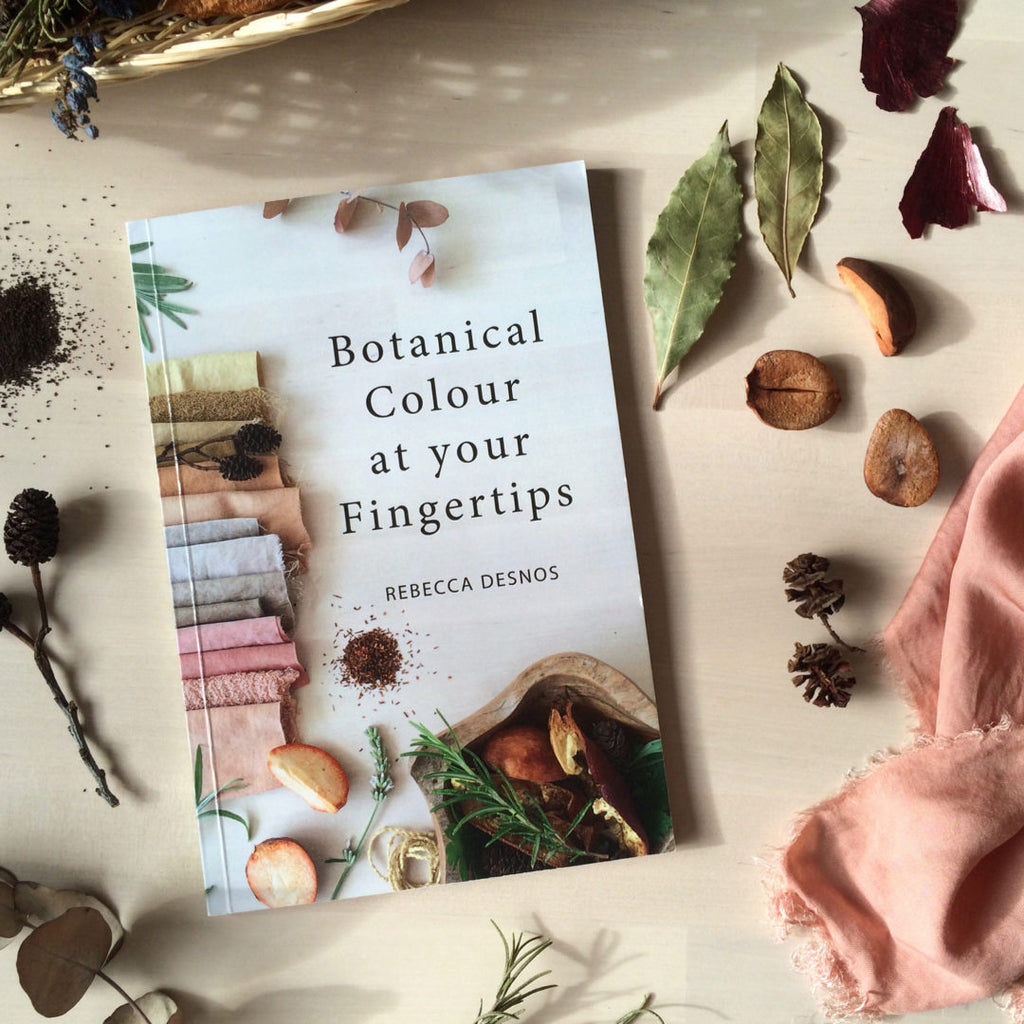
There’s a section about iron water in my book Botanical Colour at your Fingertips. I show you how to use iron to darken an entire piece of fabric and also paint patterns. In this blog post I’ll give some extra tips for creating patterns.
What you need
- Fabric that has been dyed with plant dyes (my book Botanical Colour at your Fingertips will help you get started)
-
Iron water
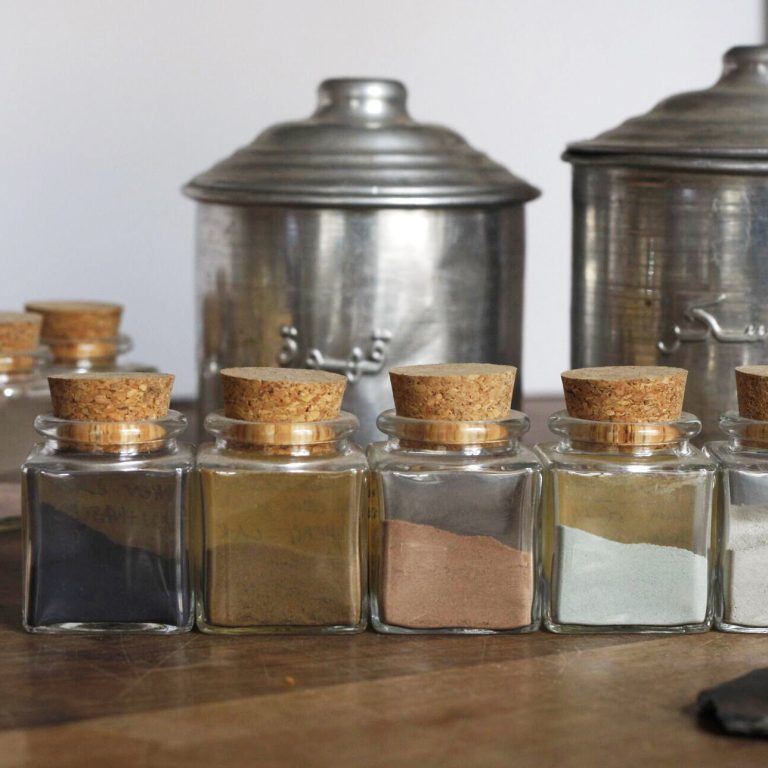
- ferrous sulphate crystals that we’ll mix with water.
- for homemade iron water: soak pieces of metal in a jar of water and vinegar for a few weeks (full details in my book).
- Small jar or bowl*
- Spoon*
- Paintbrush
- Protective covering for your table
- Gloves to protect your hands*
*do not use these for food again
Safety:
- Do not get iron water or ferrous sulphate crystals on your skin. The iron will stain your fingers and irritate your skin. I haven’t used gloves in these photos, but I was wearing gloves when I mixed the iron water.
- Don’t paint with iron water with young children. It’s best to stick to food grade ingredients, such as this other tutorial: painting with milk and dyeing with tea.
Let’s get started
Choose the fabric that you will paint. It doesn’t need to be recently dyed – iron will modify colours that were dyed a long time ago. Make sure your fabric is completely dry, then iron it. It’s easier to paint smooth fabric than wrinkled fabric.
Now let’s prepare the iron water.
- If you’re going to use your homemade iron water, pour out a little of the liquid from your jar and sieve out any bits of metal or larger pieces of rust to leave a clear liquid. If your homemade liquid is very concentrated, you may need to dilute it with fresh water.
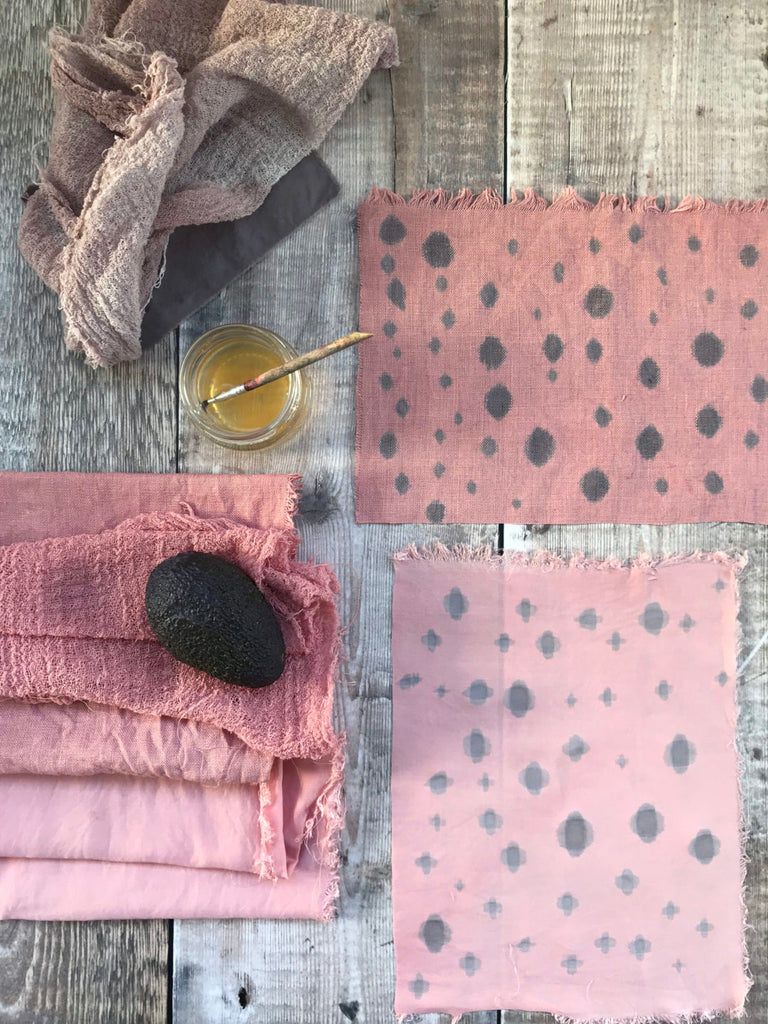
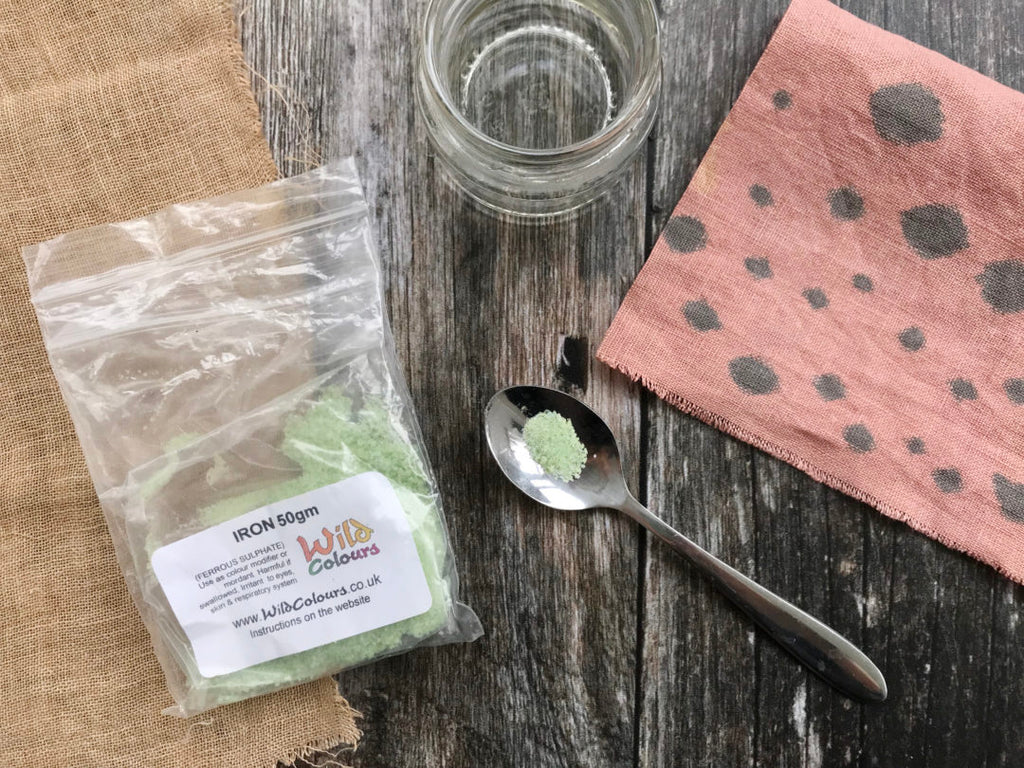 Fabric dyed with tea (left) and avocado skins (right)
- Next, I’ll show you how to make iron water with ferrous sulphate. Sprinkle about ¼ teaspoon ferrous sulphate crystals into a small jar of warm water (about ¼ cup water). A packet of ferrous sulphate lasts for years as we use so little each time. I like to use warm water to help the crystals dissolve, then mix very well with a spoon. As you mix, the liquid is oxygenated and the water will turn a rusty orange. Once it’s dissolved completely, it’s ready to paint onto the fabric.
- Tip: Don’t be tempted to make the iron water too concentrated, as it could sit on the surface of the fabric and then when it’s eventually rinsed out, it may spread onto the rest of the fabric and darken it all.
Now lay out your dry fabric onto the table (with a protective covering if you choose), and roughly plan out your pattern. We will be painting with droplets of water onto the surface of the fabric. The resulting patterns are soft and natural, as the water bleeds across the fabric. The less iron water you apply, the finer and more detailed the patterns will be. If you apply splashes of iron water, the iron water will bleed out into the fabric in an unpredictable way, which can be fun to play with!
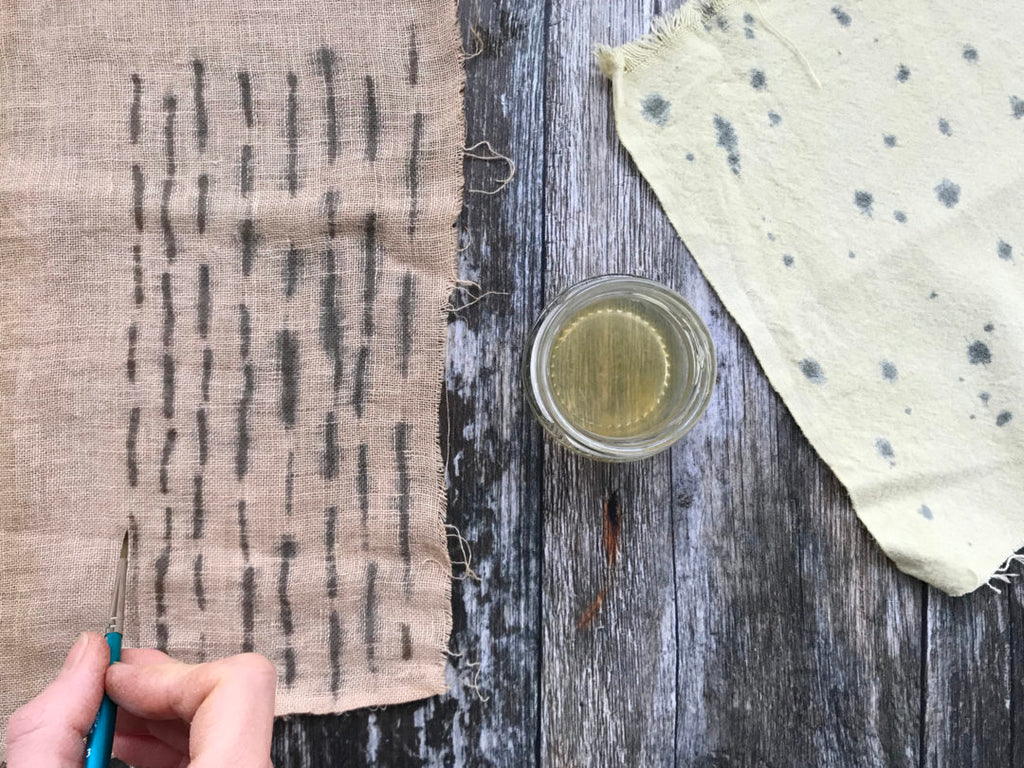 Fabric dyed with tea (left), and pomegranate skins (right).
The pattern may take a few seconds to appear and even longer to darken fully. When you first start painting, it can be helpful to wait for the first part of the pattern to appear before continuing.
Experiment on a swatch of fabric to get a feel for how the water travels through the fibres. The result will vary on different types of fabric.
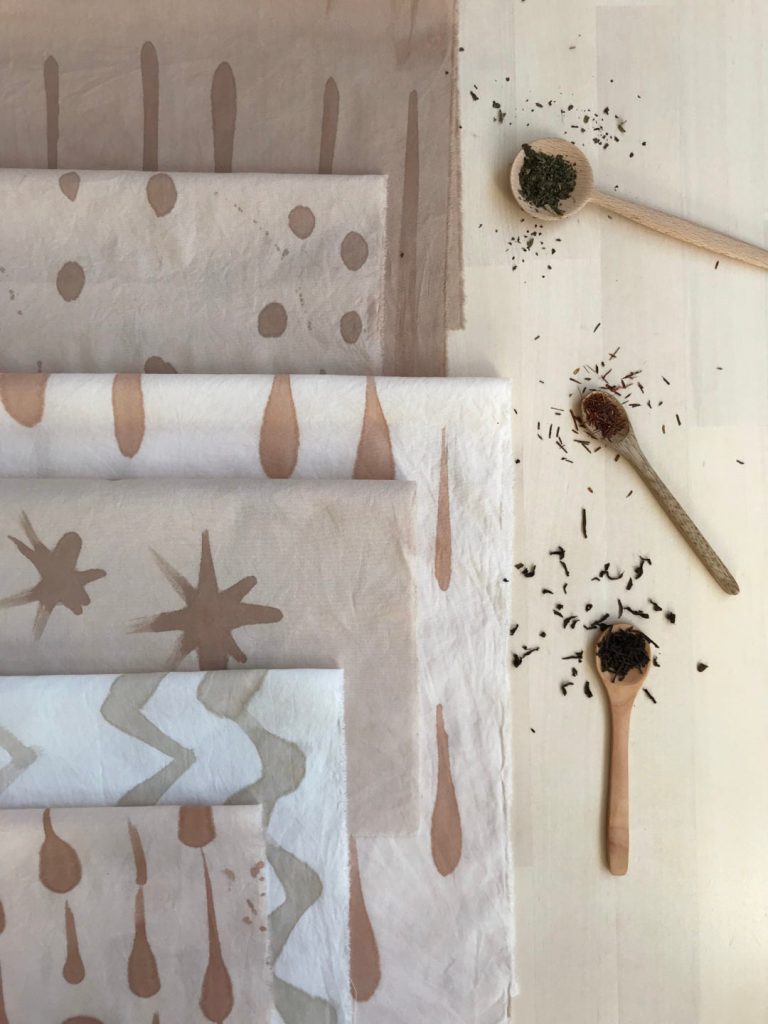
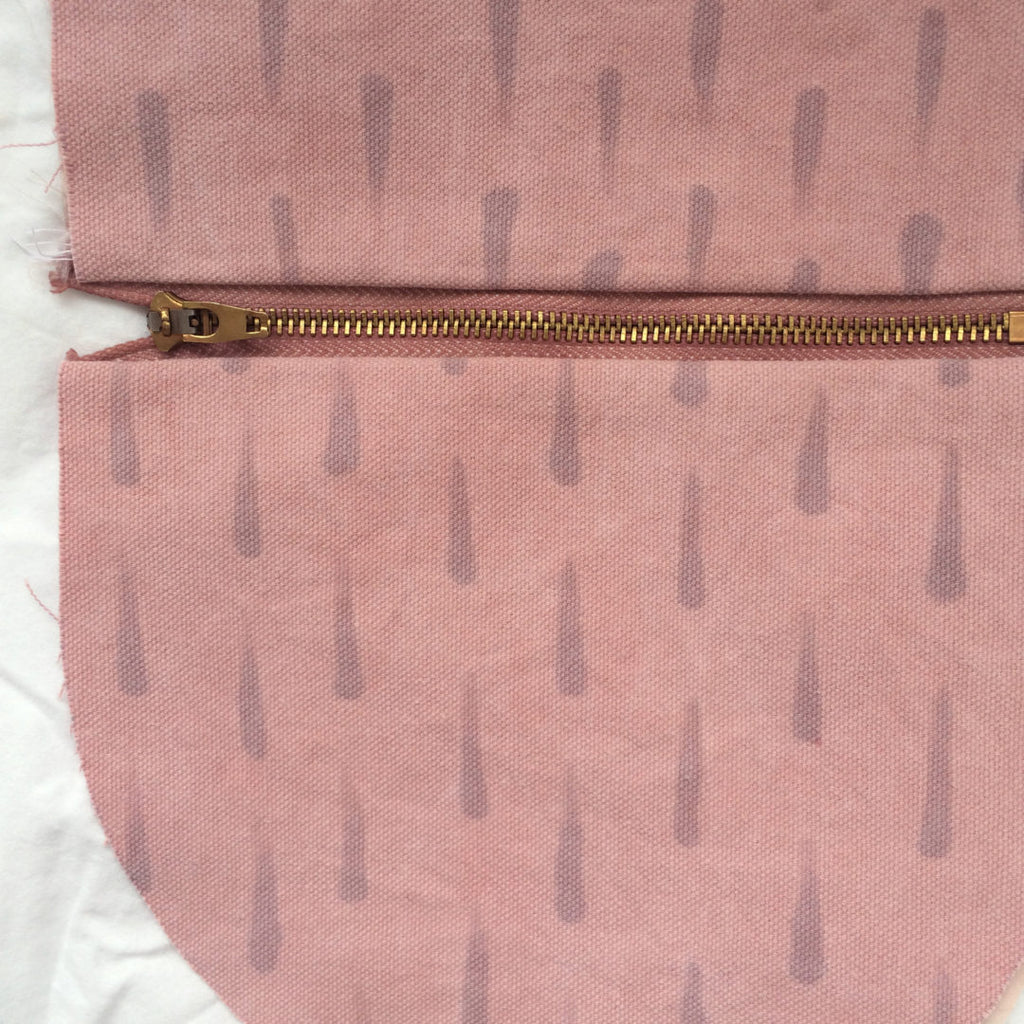
Try painting droplets of iron water to create a teardrop pattern. The painted pattern below is from Botanical Colour at your Fingertips. I used homemade iron water for this pattern. The fabric was thick canvas and the water didn’t bleed, so the pattern is precise. The fabric samples in the photos above are on much finer fabric, where the iron water bleeds more.
When you’ve finished painting, let the fabric air dry completely.
Next we will rinse and wash the fabric to remove any traces of loose iron particles. As we used diluted iron water, there is very little iron to wash out, so the surrounding fabric is unlikely to be affected when we rinse it. The aim is to use just enough iron to react with the dye, and no more. If the iron water was very concentrated or the iron crystals hadn’t dissolved entirely, then there is a chance that there is excess iron sitting on the surface of the fabric.
Rinse the fabric in a bowl of plain water. Change the water and rinse again, if you like.
Now wash the fabric to remove any further traces of iron. I wash my fabric with a natural laundry liquid – I use BioD. For smaller pieces of fabric, I handwash, and for clothing I use the washing machine on a 30°C cycle.
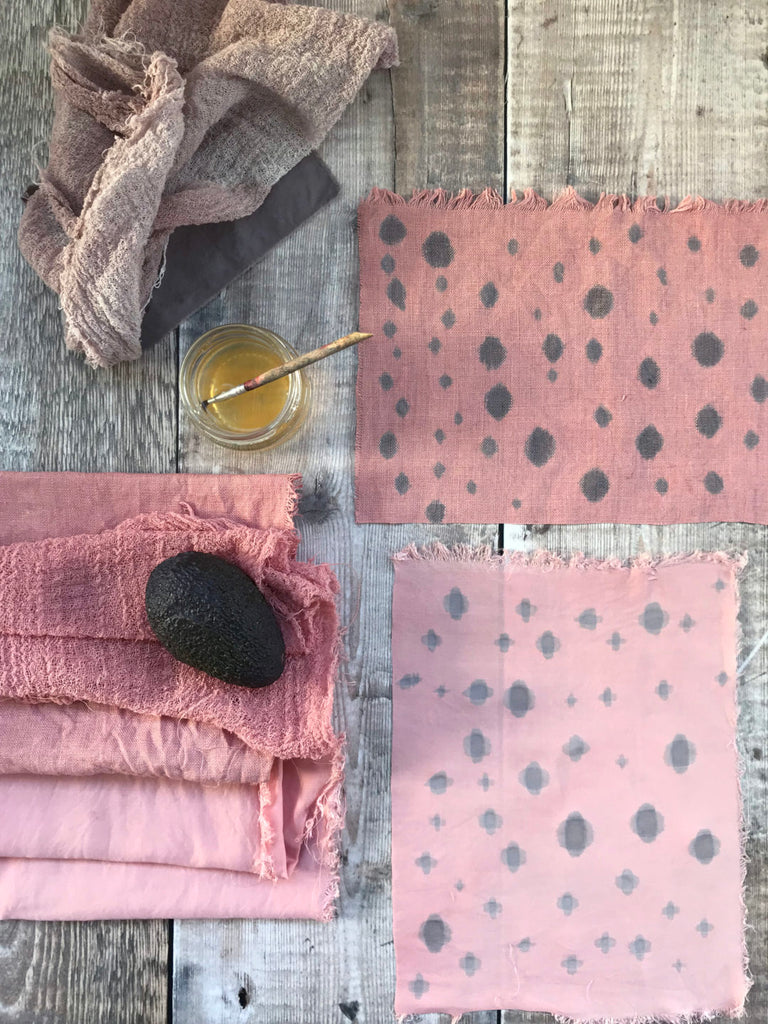 Fabric dyed with avocado stones – linen (top) and bamboo silk (bottom)
Extra notes and tips:
- If you use the soya milk method to pretreat your fabric before dyeing (as outlined in my book), you might find that it creates an almost water-resistant finish to the fabric. This means that water can sometimes take a little time to soak into the fabric. I find that this happens on some types of fabric more than others. If this seems to be a problem, just allow the water to sit on the surface of the fabric and it should soak in after a few seconds. The colour change will happen once the iron has absorbed.
- Some plants that contain iron, such as nettles, don’t seem to undergo a very noticeable change in colour from the iron water. The colour has already darkened in the dye pot from the naturally occurring iron.
- Some very pale dyes, such as from dandelion flowers, react dramatically with iron. Be prepared for some surprises!
- If you paint clothing with iron water, depending on the thickness of the fabric, the iron may soak through both layers of fabric and darken the underneath layer too. I like to cut a big piece of cardboard and slot it into the garment so the water can’t reach both layers. Paint one side, then let it dry, then turn it over and paint the back.
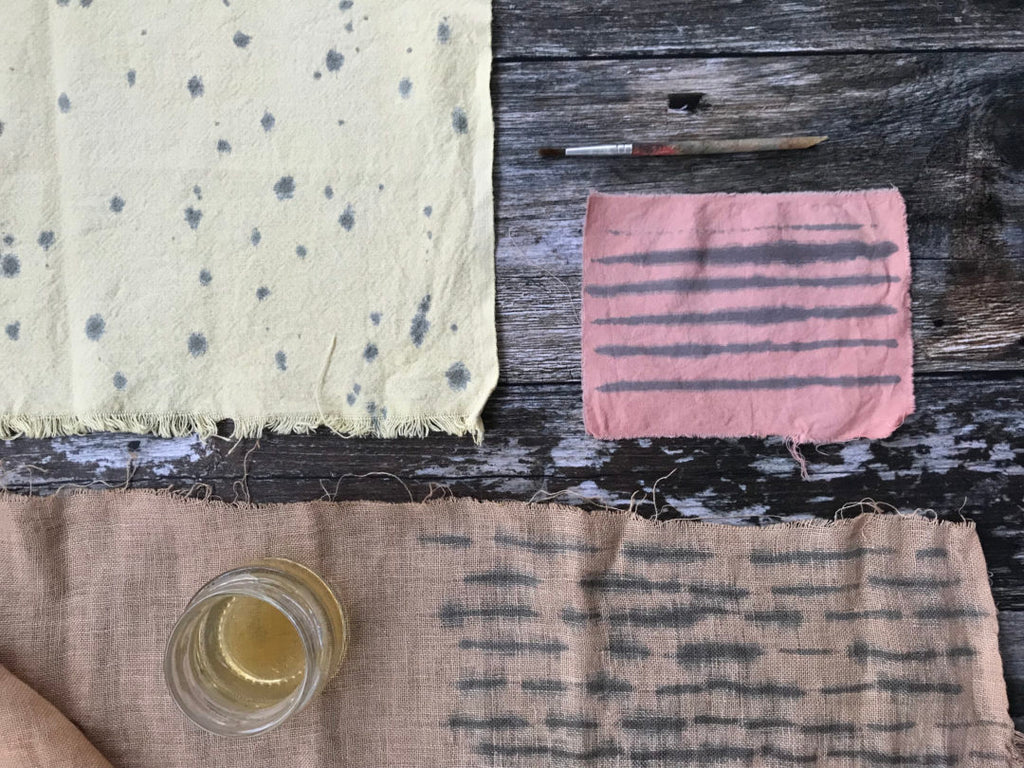
For more natural dyeing step-by-step tutorials, take a look at my book (and eBook) Botanical Colour at your Fingertips.
